BUNNY Bows
I. LOVE. BOWS.
I’ve said it before and I’ll say it again! I couldn’t let Easter go by without sharing a quick, easy craft tutorial for one of my favorite festive bows.
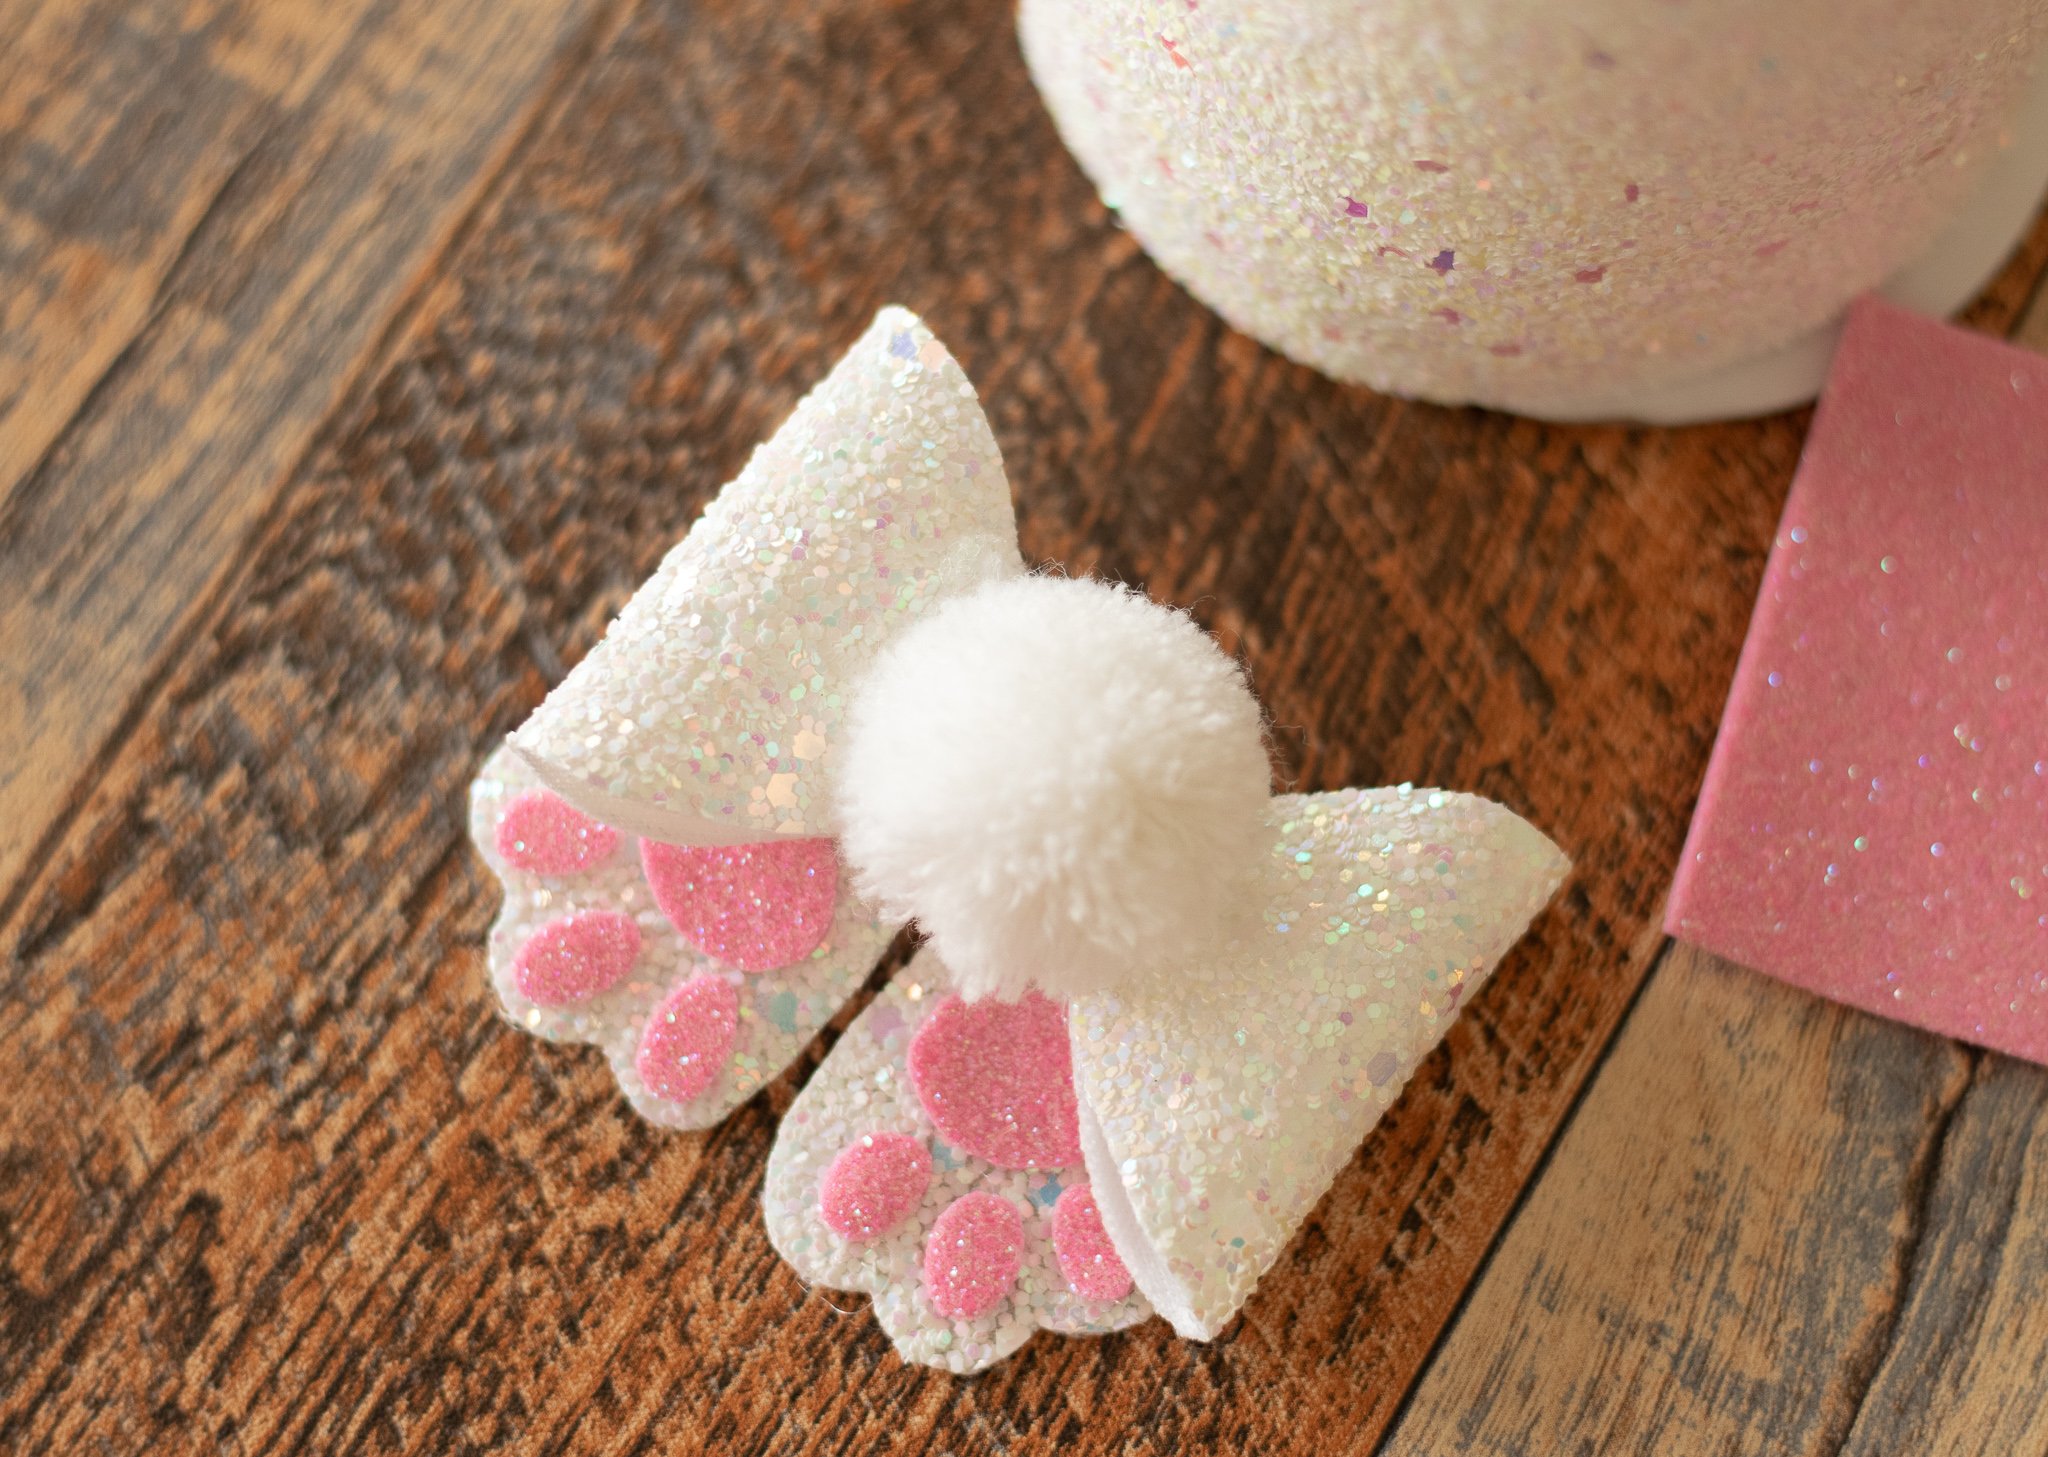
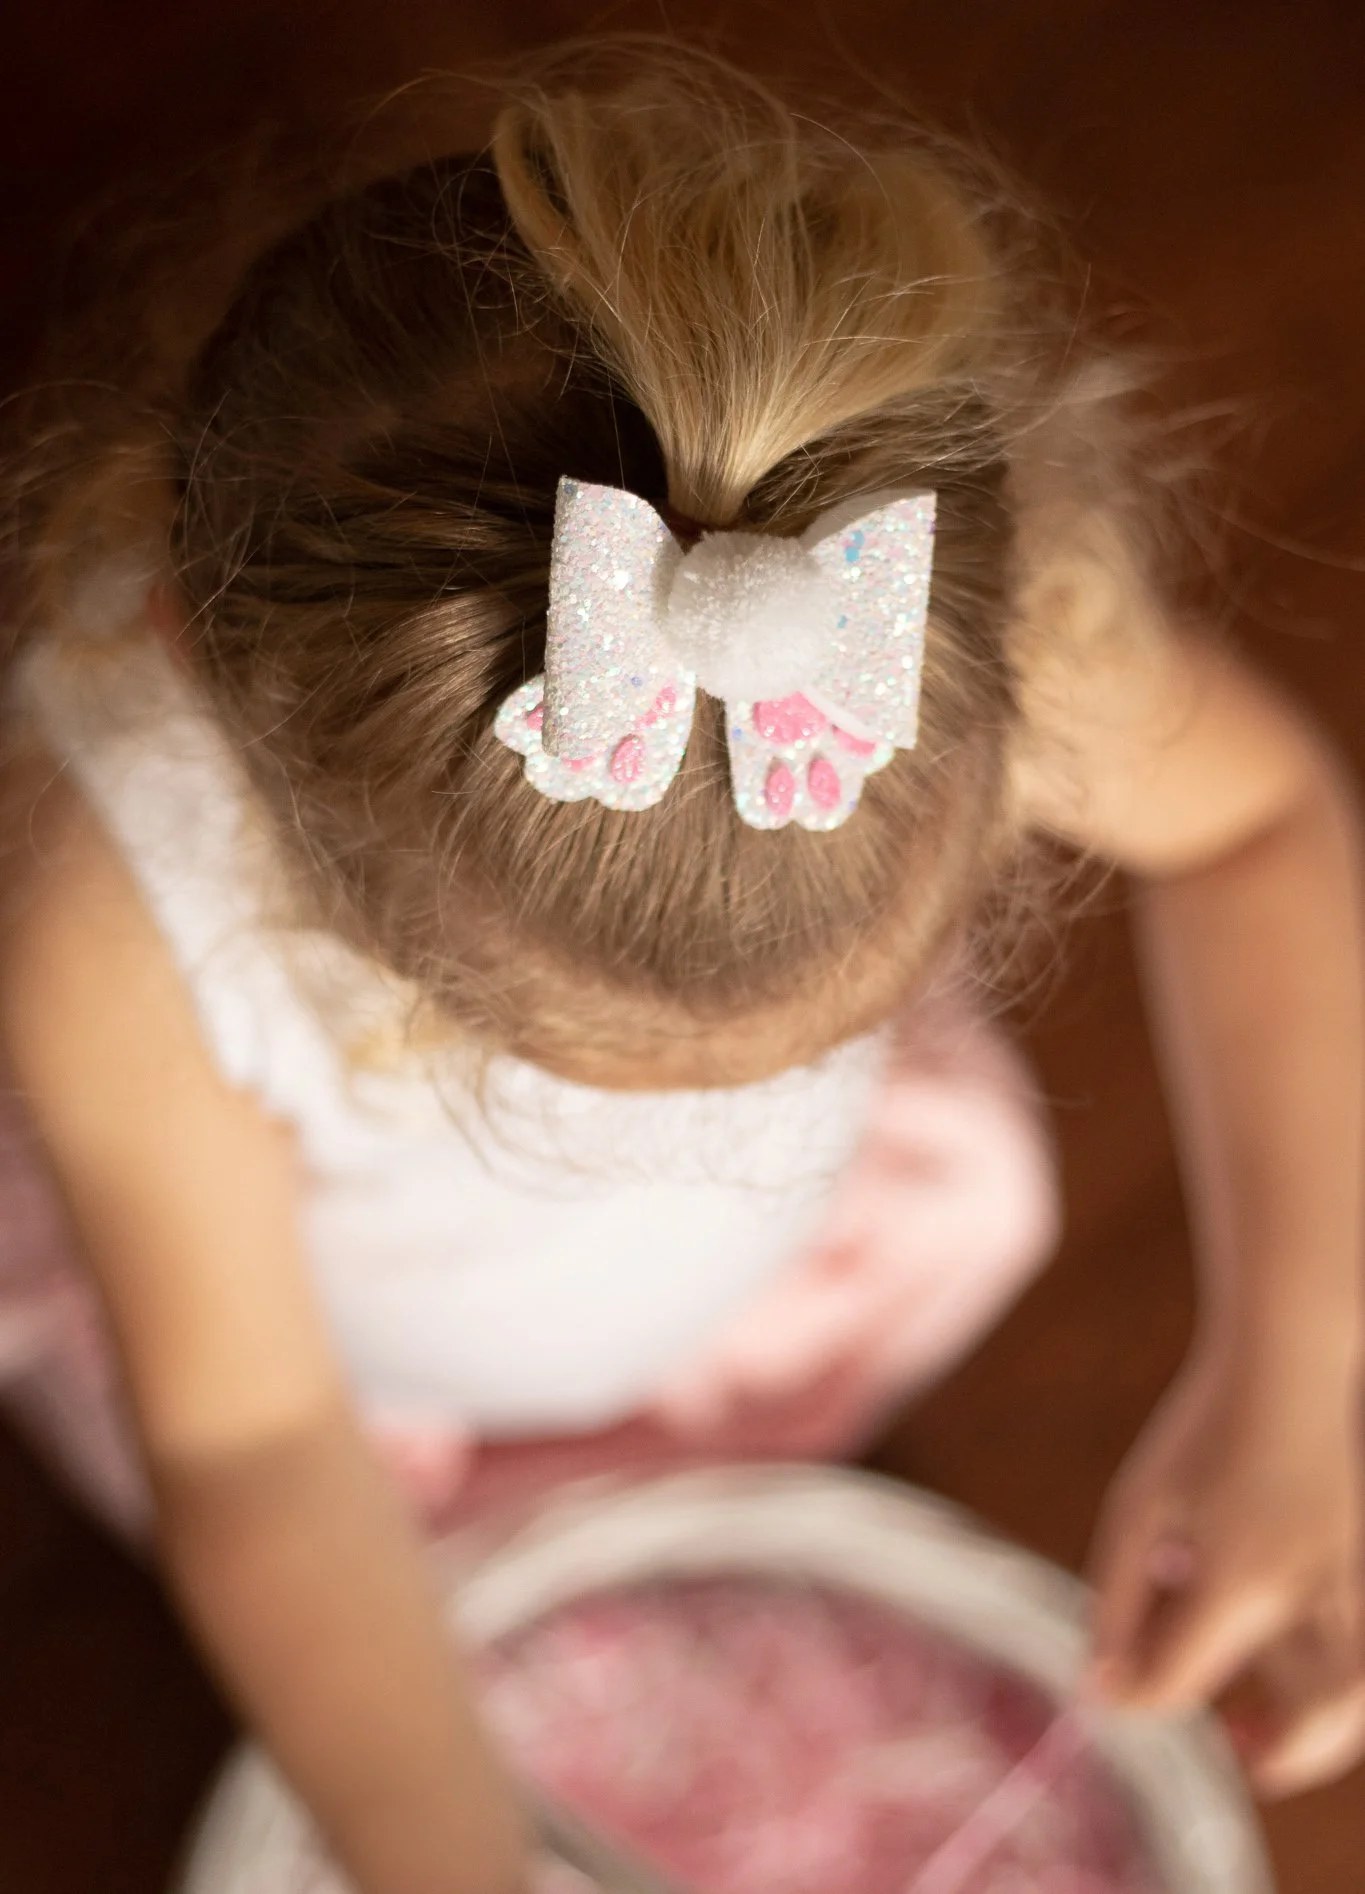
I wanted to make something small & cute for my girls to wear around Easter. This simple little bunny bow was exactly that!
If you missed my last BOW post, here’s the basics:
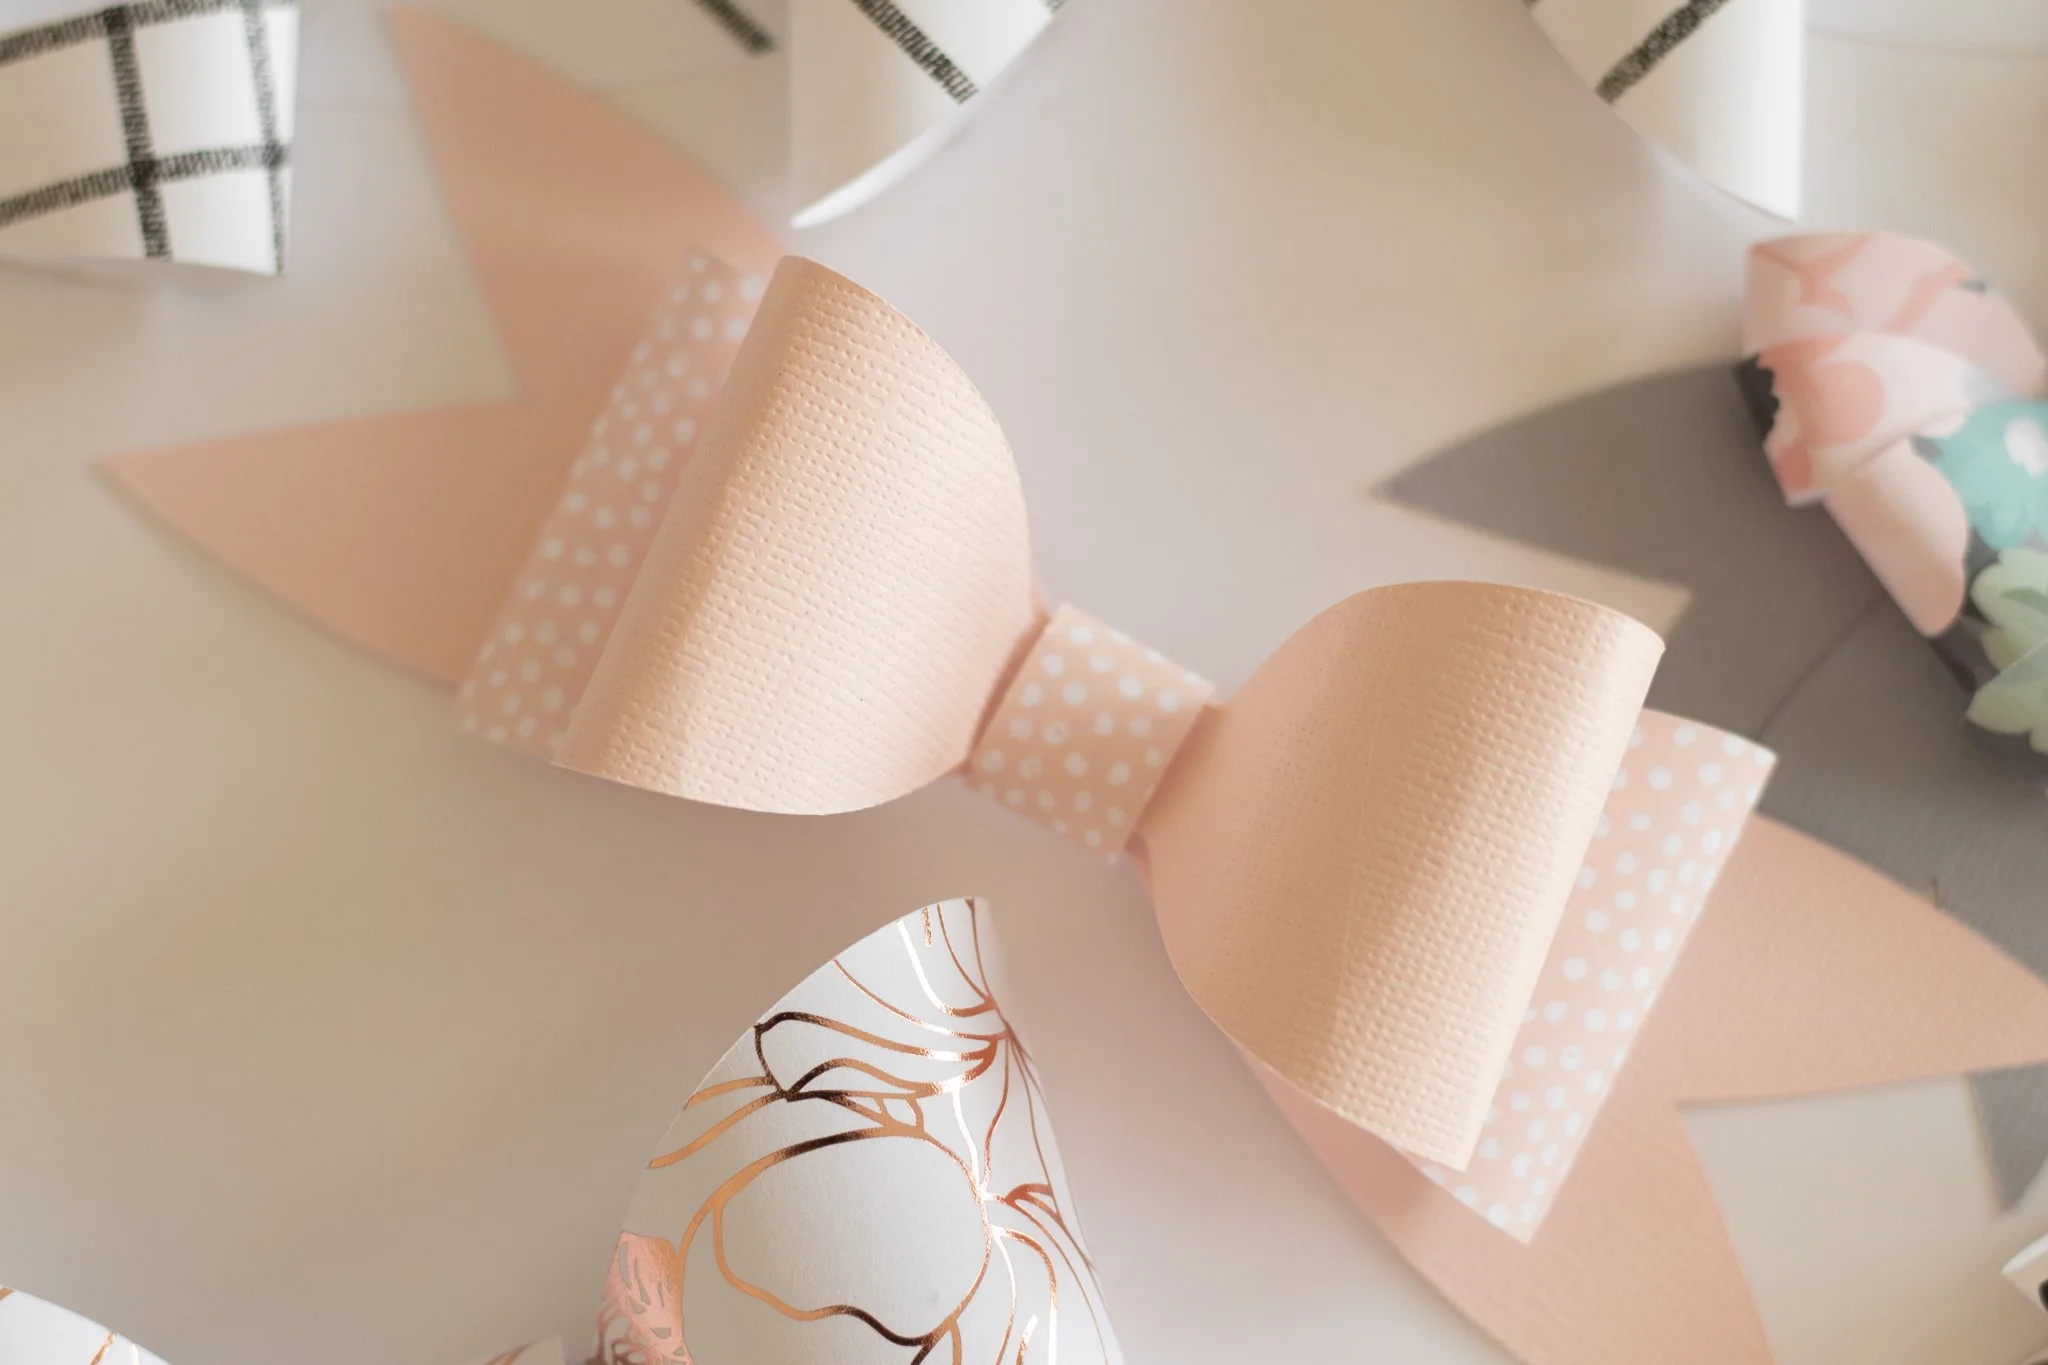
I created some really pretty bow patterns (SVG for a Cricut & PDF files you can print to use as tracers)
The patterns can be mixed & matched to create beautiful bows!
The templates are FREE so that makes this entire project even better :)
Click HERE if you want to read the entire post, check out my paper bows & get all of the patterns!
Here’s a quick little project using a couple of my patterns. The steps are SUPER simple!
I used the Bow Loop #2 at the printed size. You can use a different bow pattern or layer multiple sizes.
The bunny feet are a smaller version of the tulip shaped tails. I rounded out the toes a little bit when I cut out the pattern (see the pink guides above).
Steps:
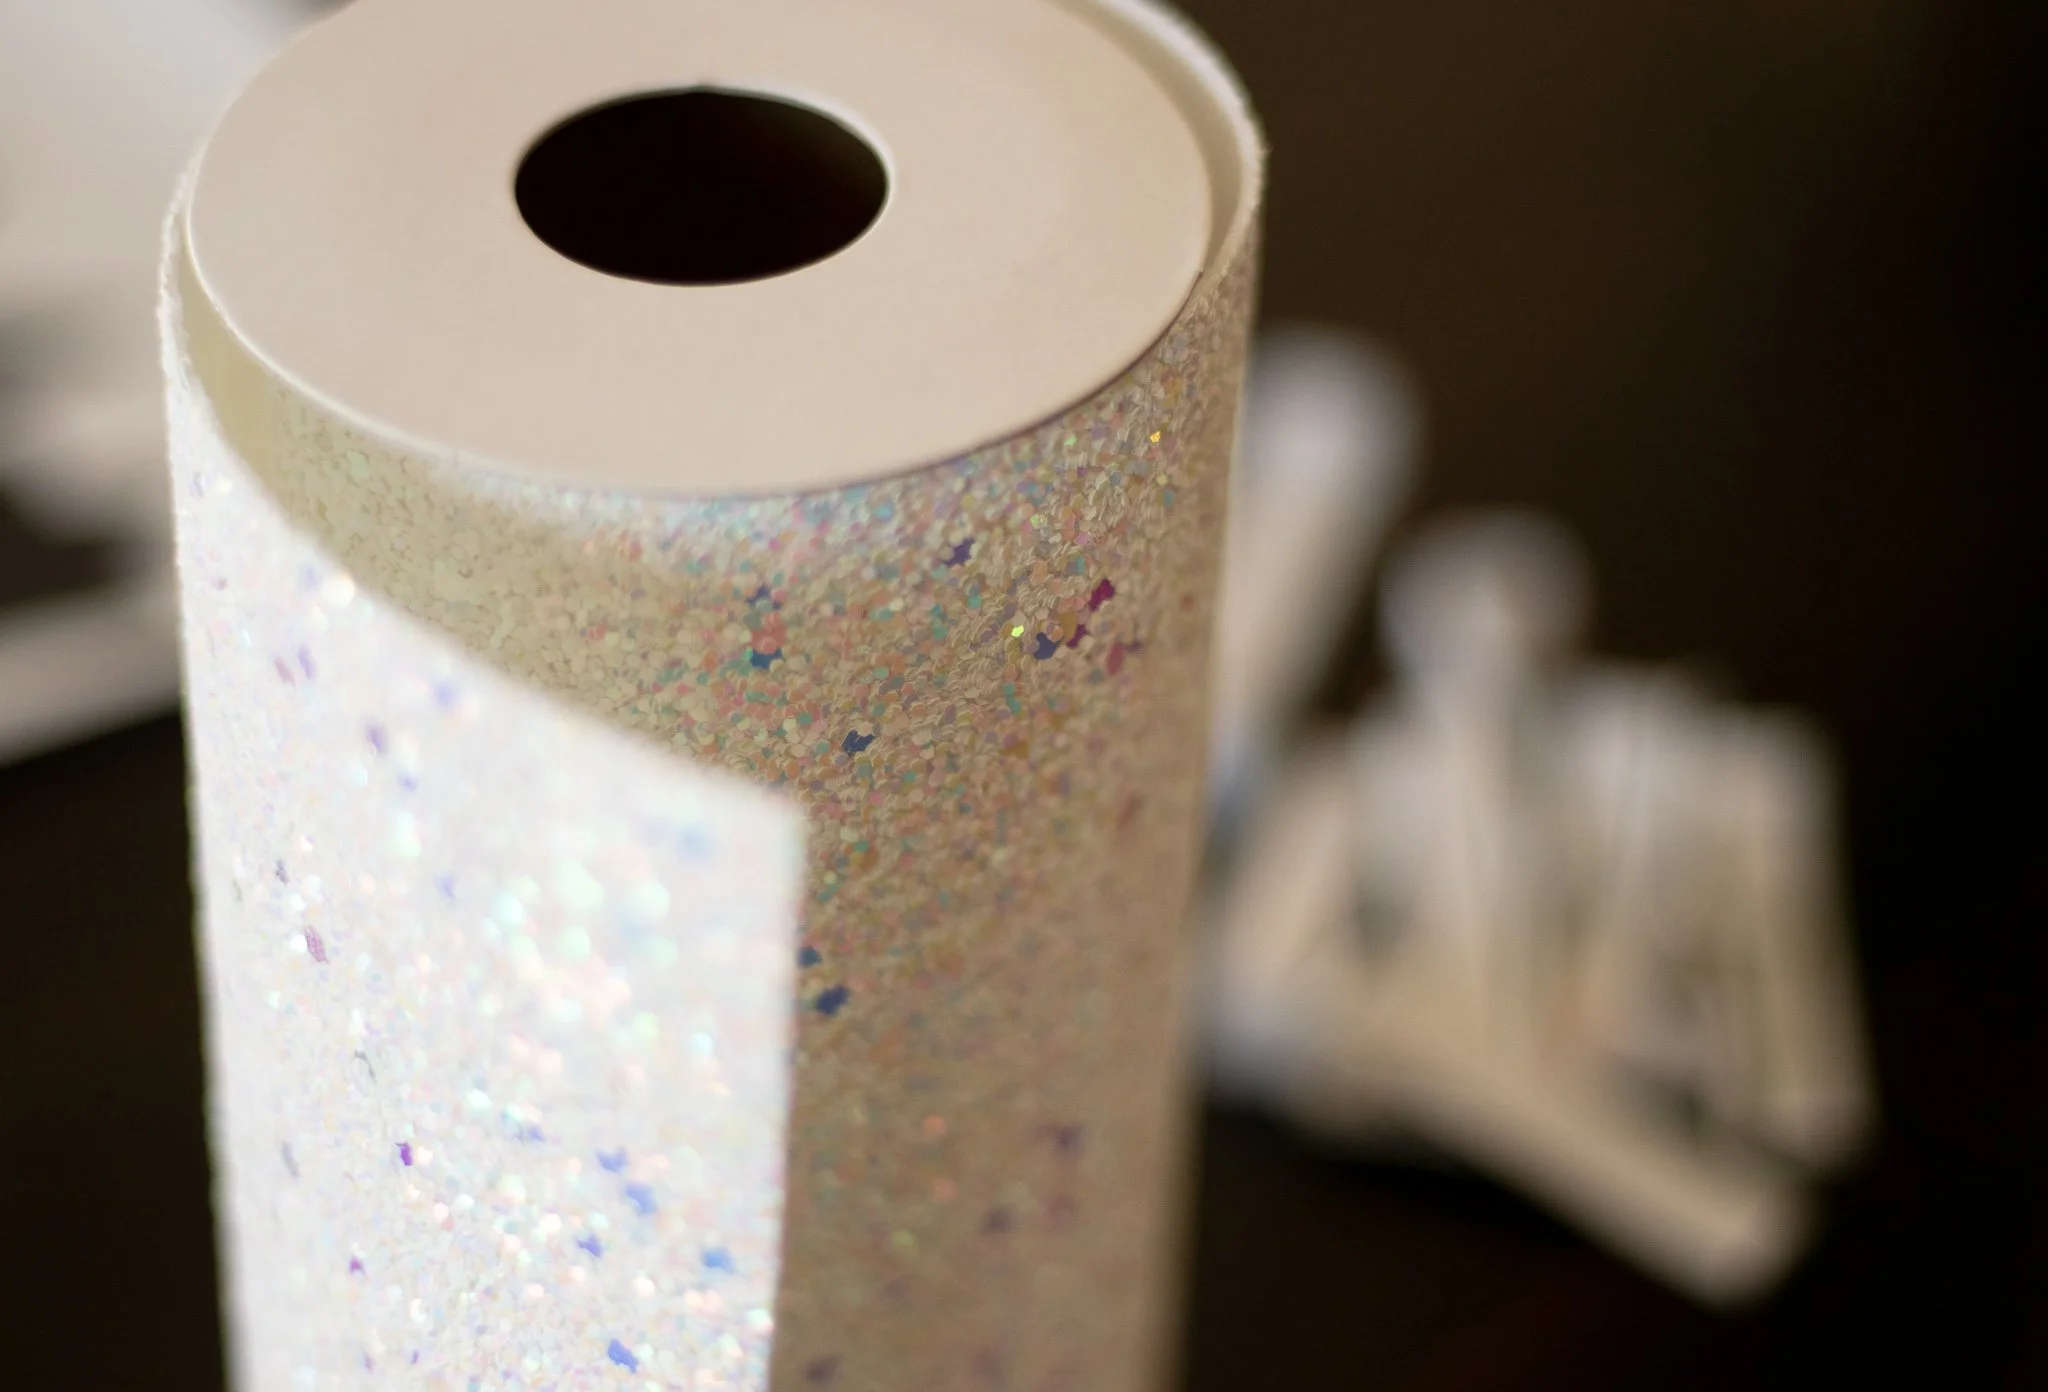
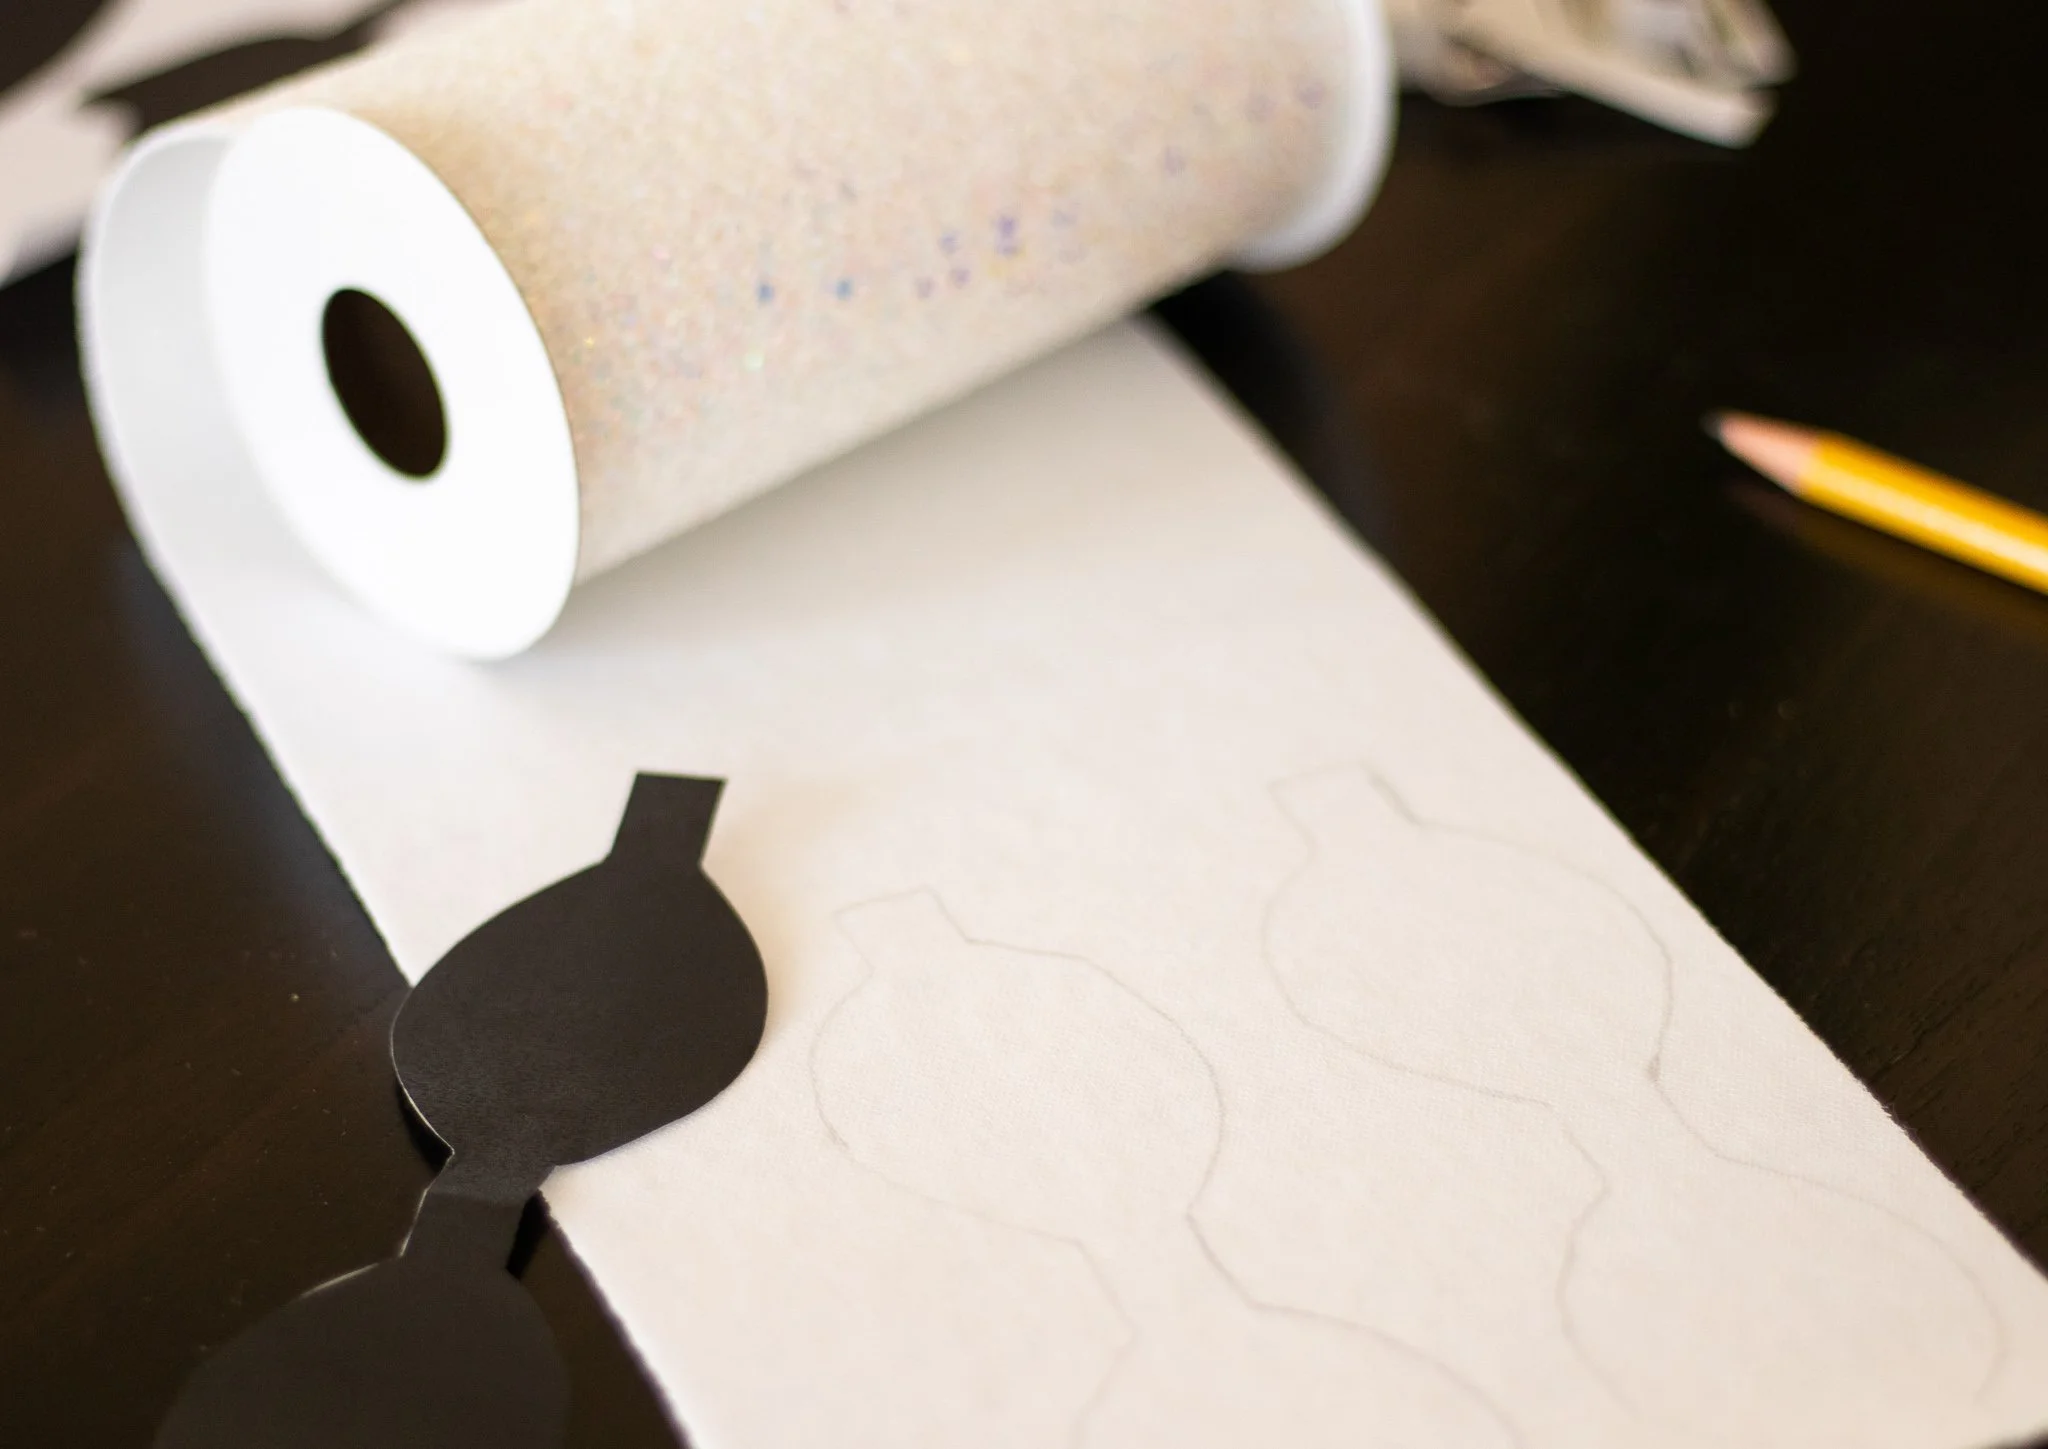
Cut out the bow loop pattern you want to use and trace it onto the back of the faux leather.
Cut out the traced bow loop.
Loop the ends into the center & secure them with glue.
Trace & cut the tails.
5. Using either foam or felt, cut the small and large oval pads for the feet. Glue them onto the top of the tails.
6. Cut the tails in half to glue them at the correct angle on the back of the bow.
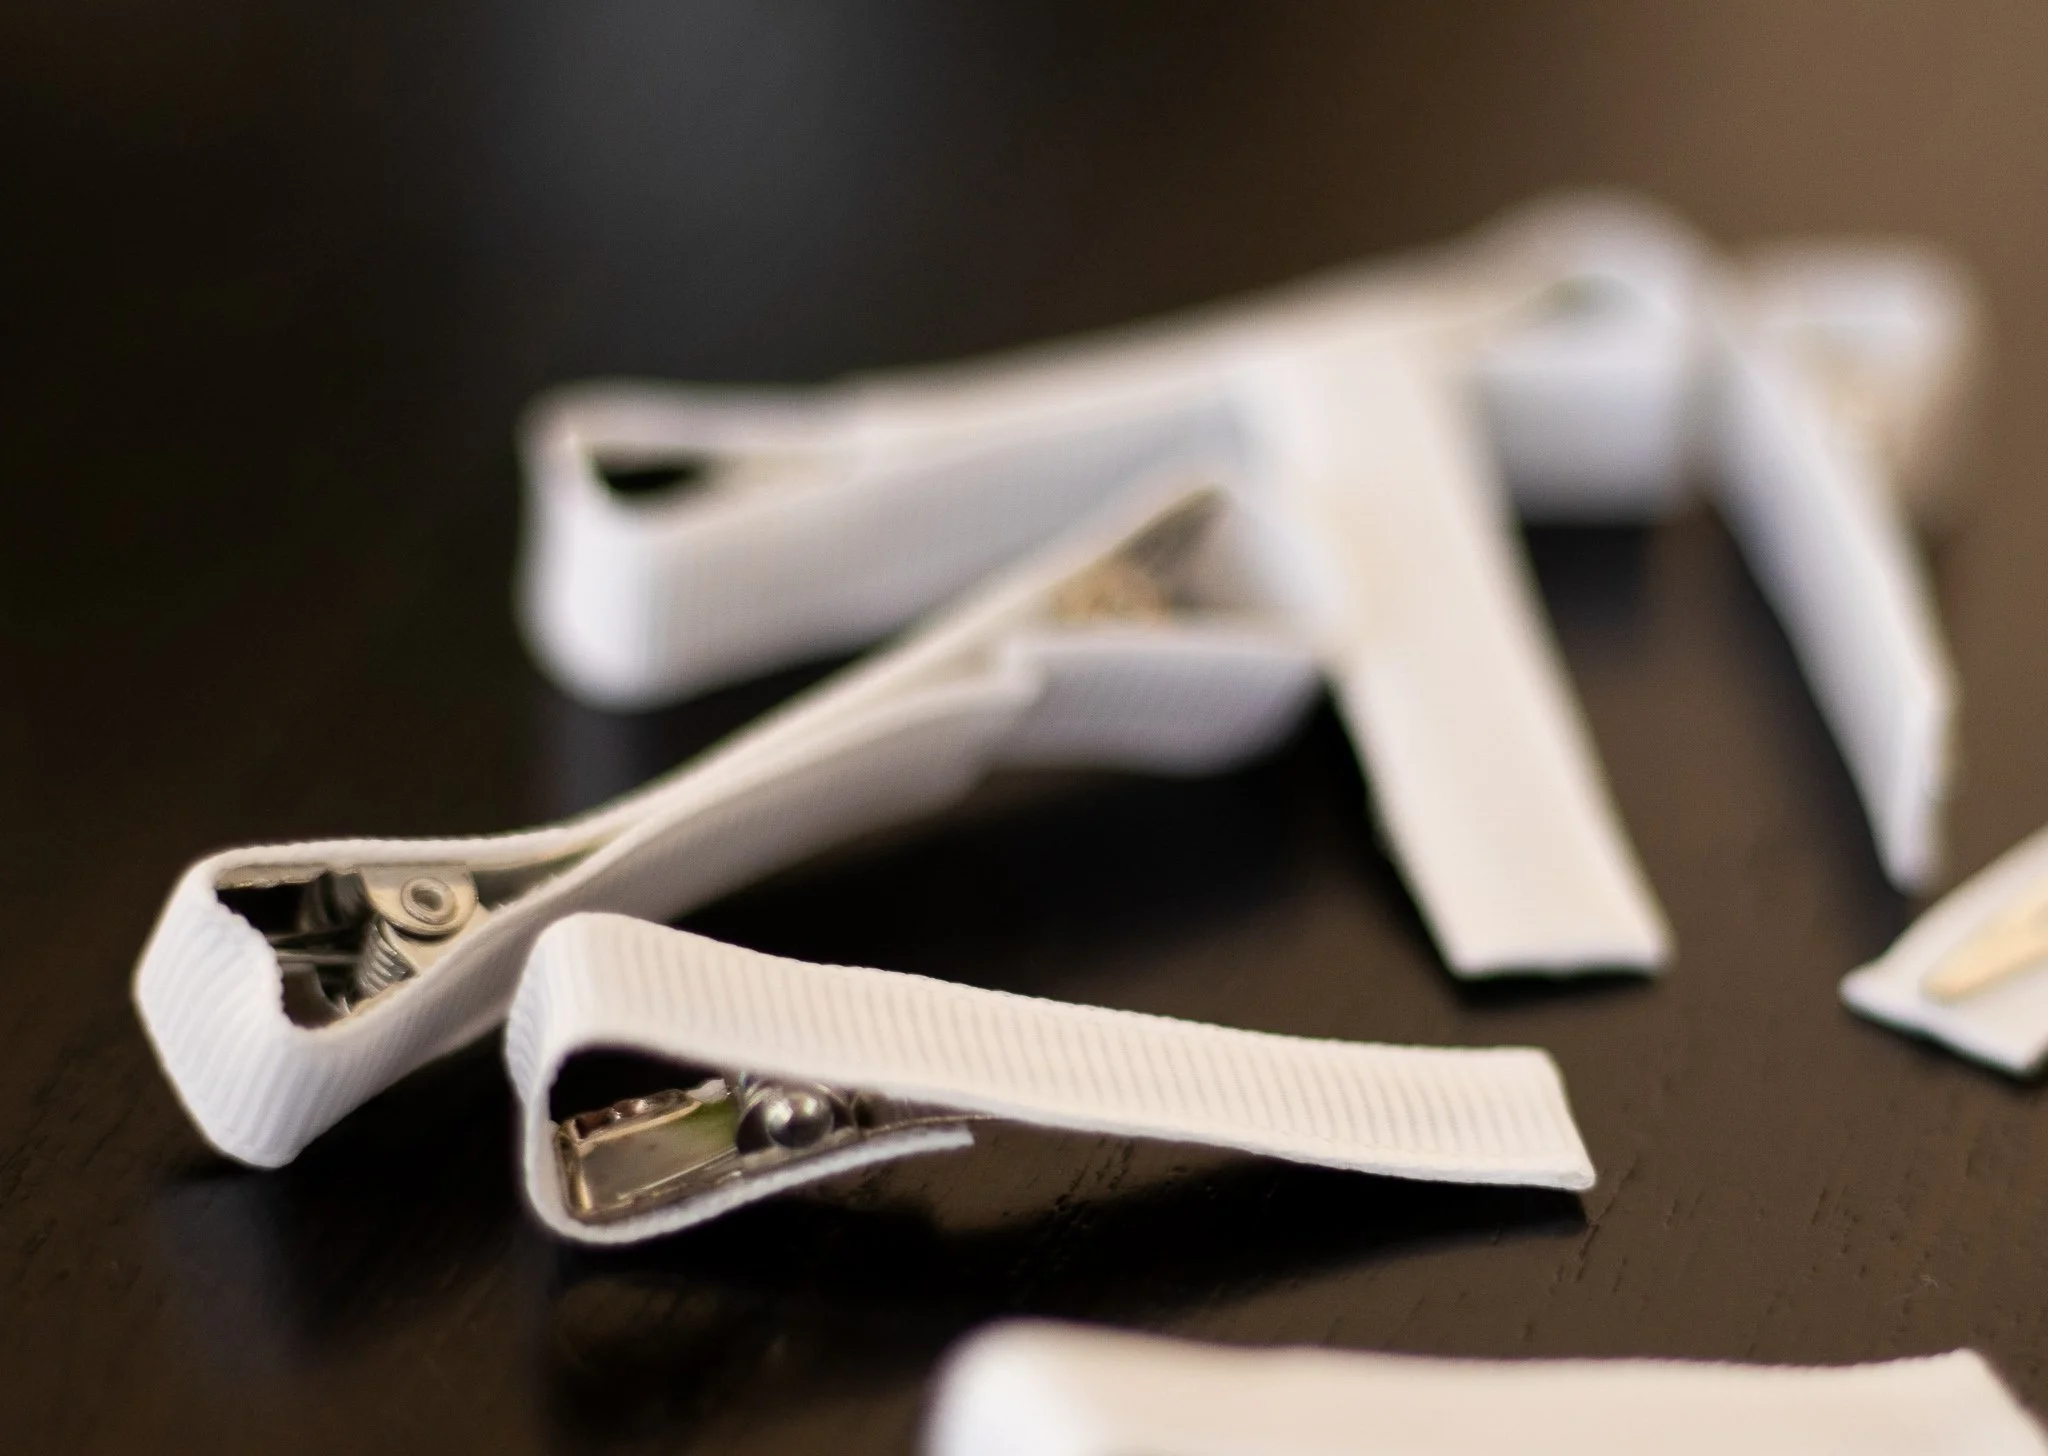
7. Glue the white pompom in the center & the hair clip to the back.
That is literally it! It looks so cute in their hair.
Like I said, I kept mine simple and small. This is just the BASIC bunny bow. Feel free to get even more creative with the patterns or even some additional colors & materials. If you give it a try, tag me or comment below!
Hoppy crafting <3 😝


