

Bows, Bows, & BOWS
I’ve ALWAYS loved bows.
It really began with my special request as a bride to have a HUGE one custom made for the back of my wedding dress. (I’ve mentioned before I like customized things!😜) Being a mom of two girls, I’ve now fallen into the trend of collecting a plethora of bows to match everything and anything they wear. It snowballed, as things like this typically do, and I’ve become a magnet to really any kind at this point.
I’ll just say it, I’m obsessed with pretty bows.
To customize them to my own personal preferences, I started making them. Believe it or not, it is actually unbelievably EASY!
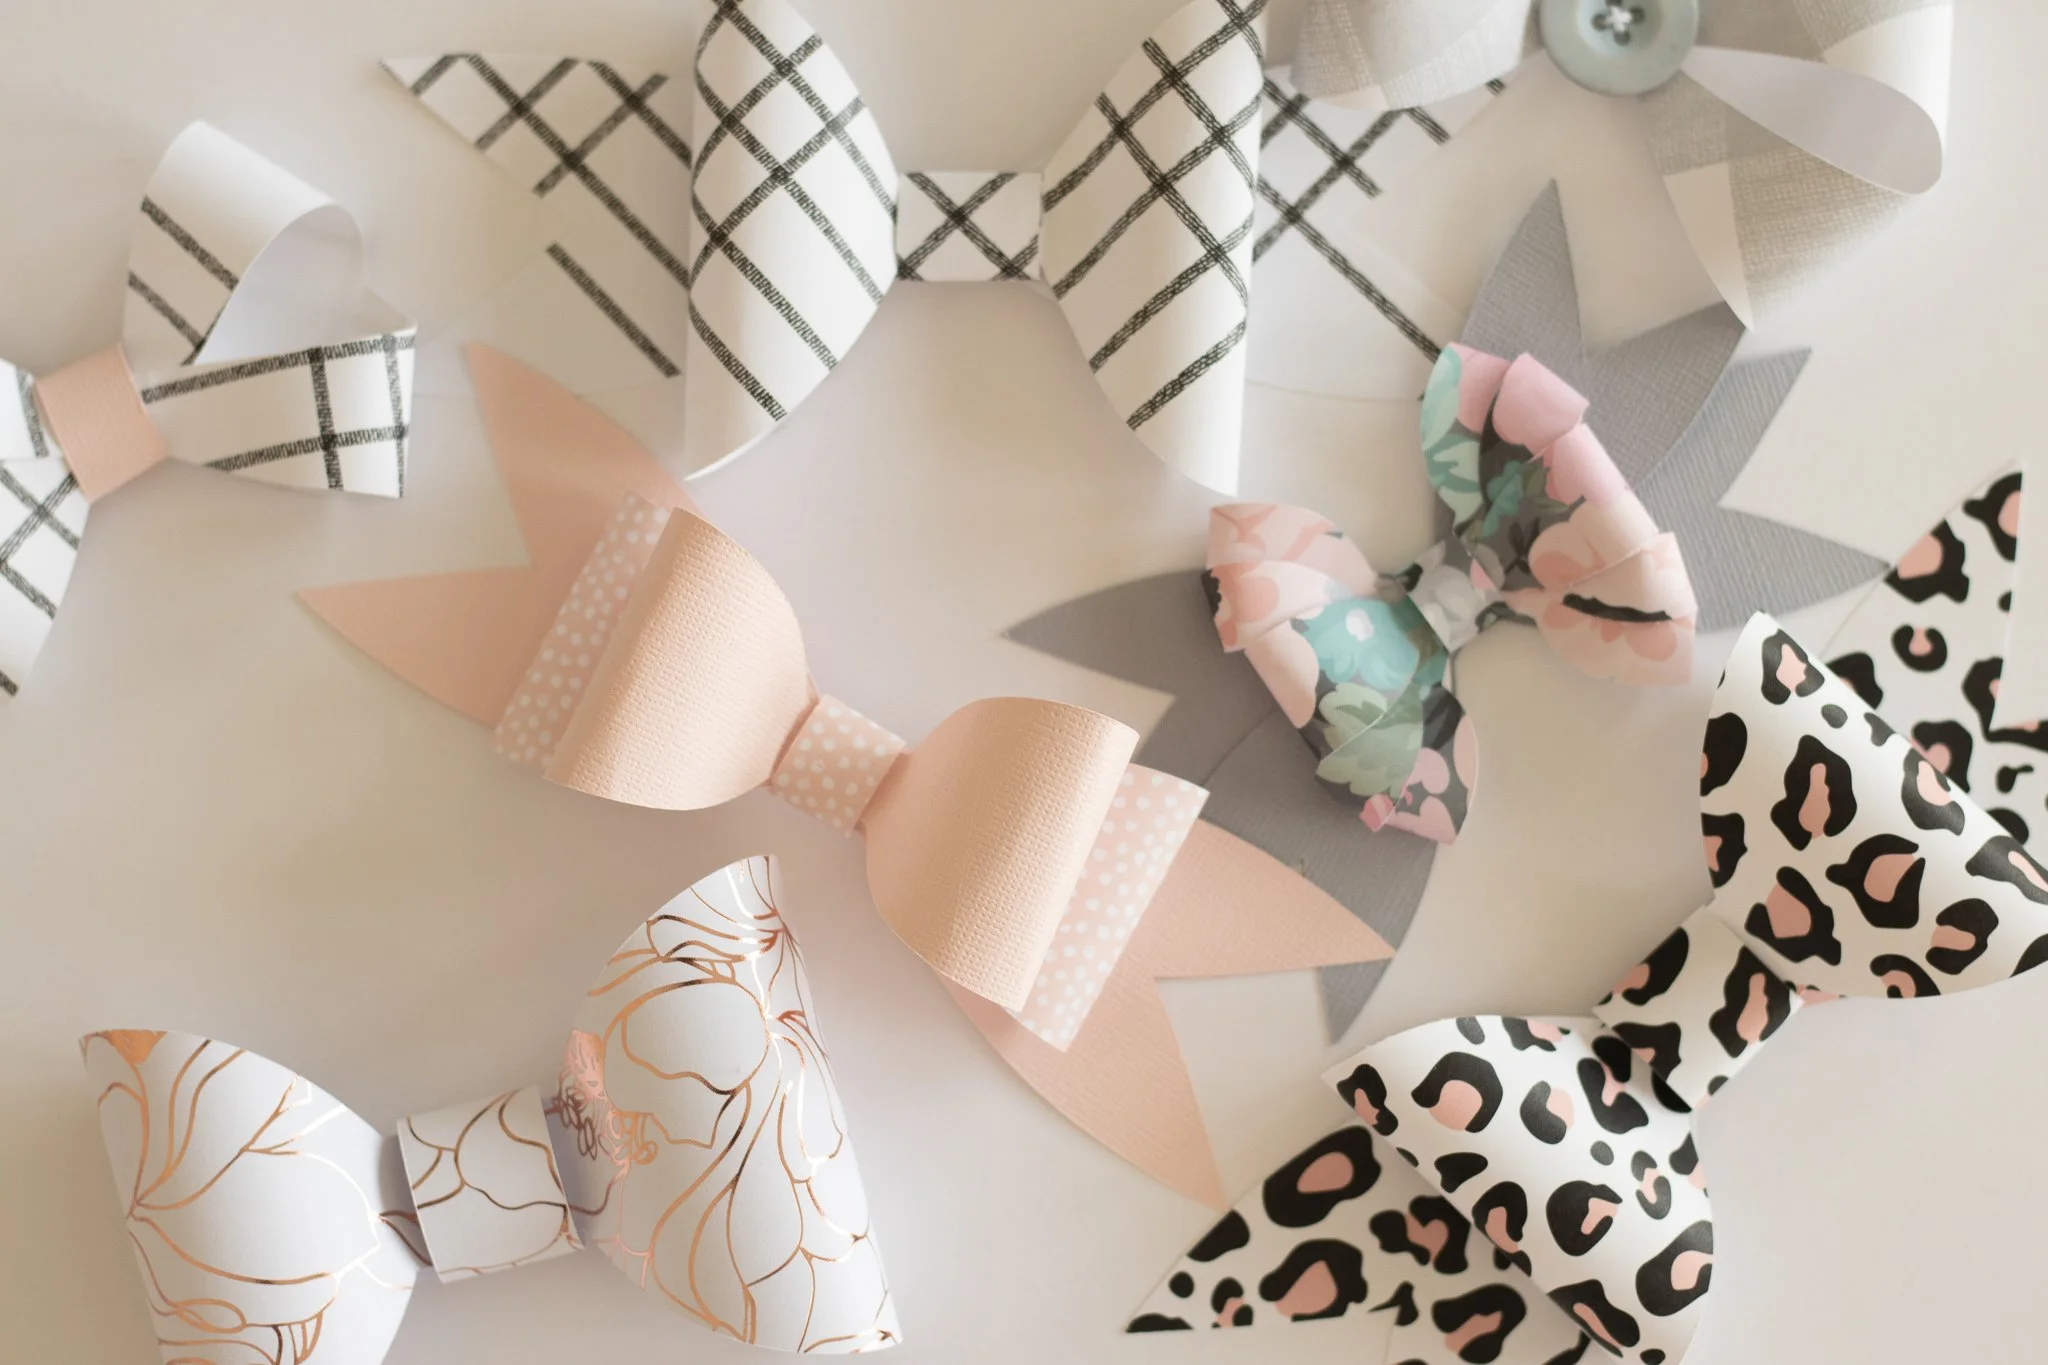
There’s obviously multiple kinds of bows, so I’m starting simple with a how-to on my paper bows & sharing my patterns today!
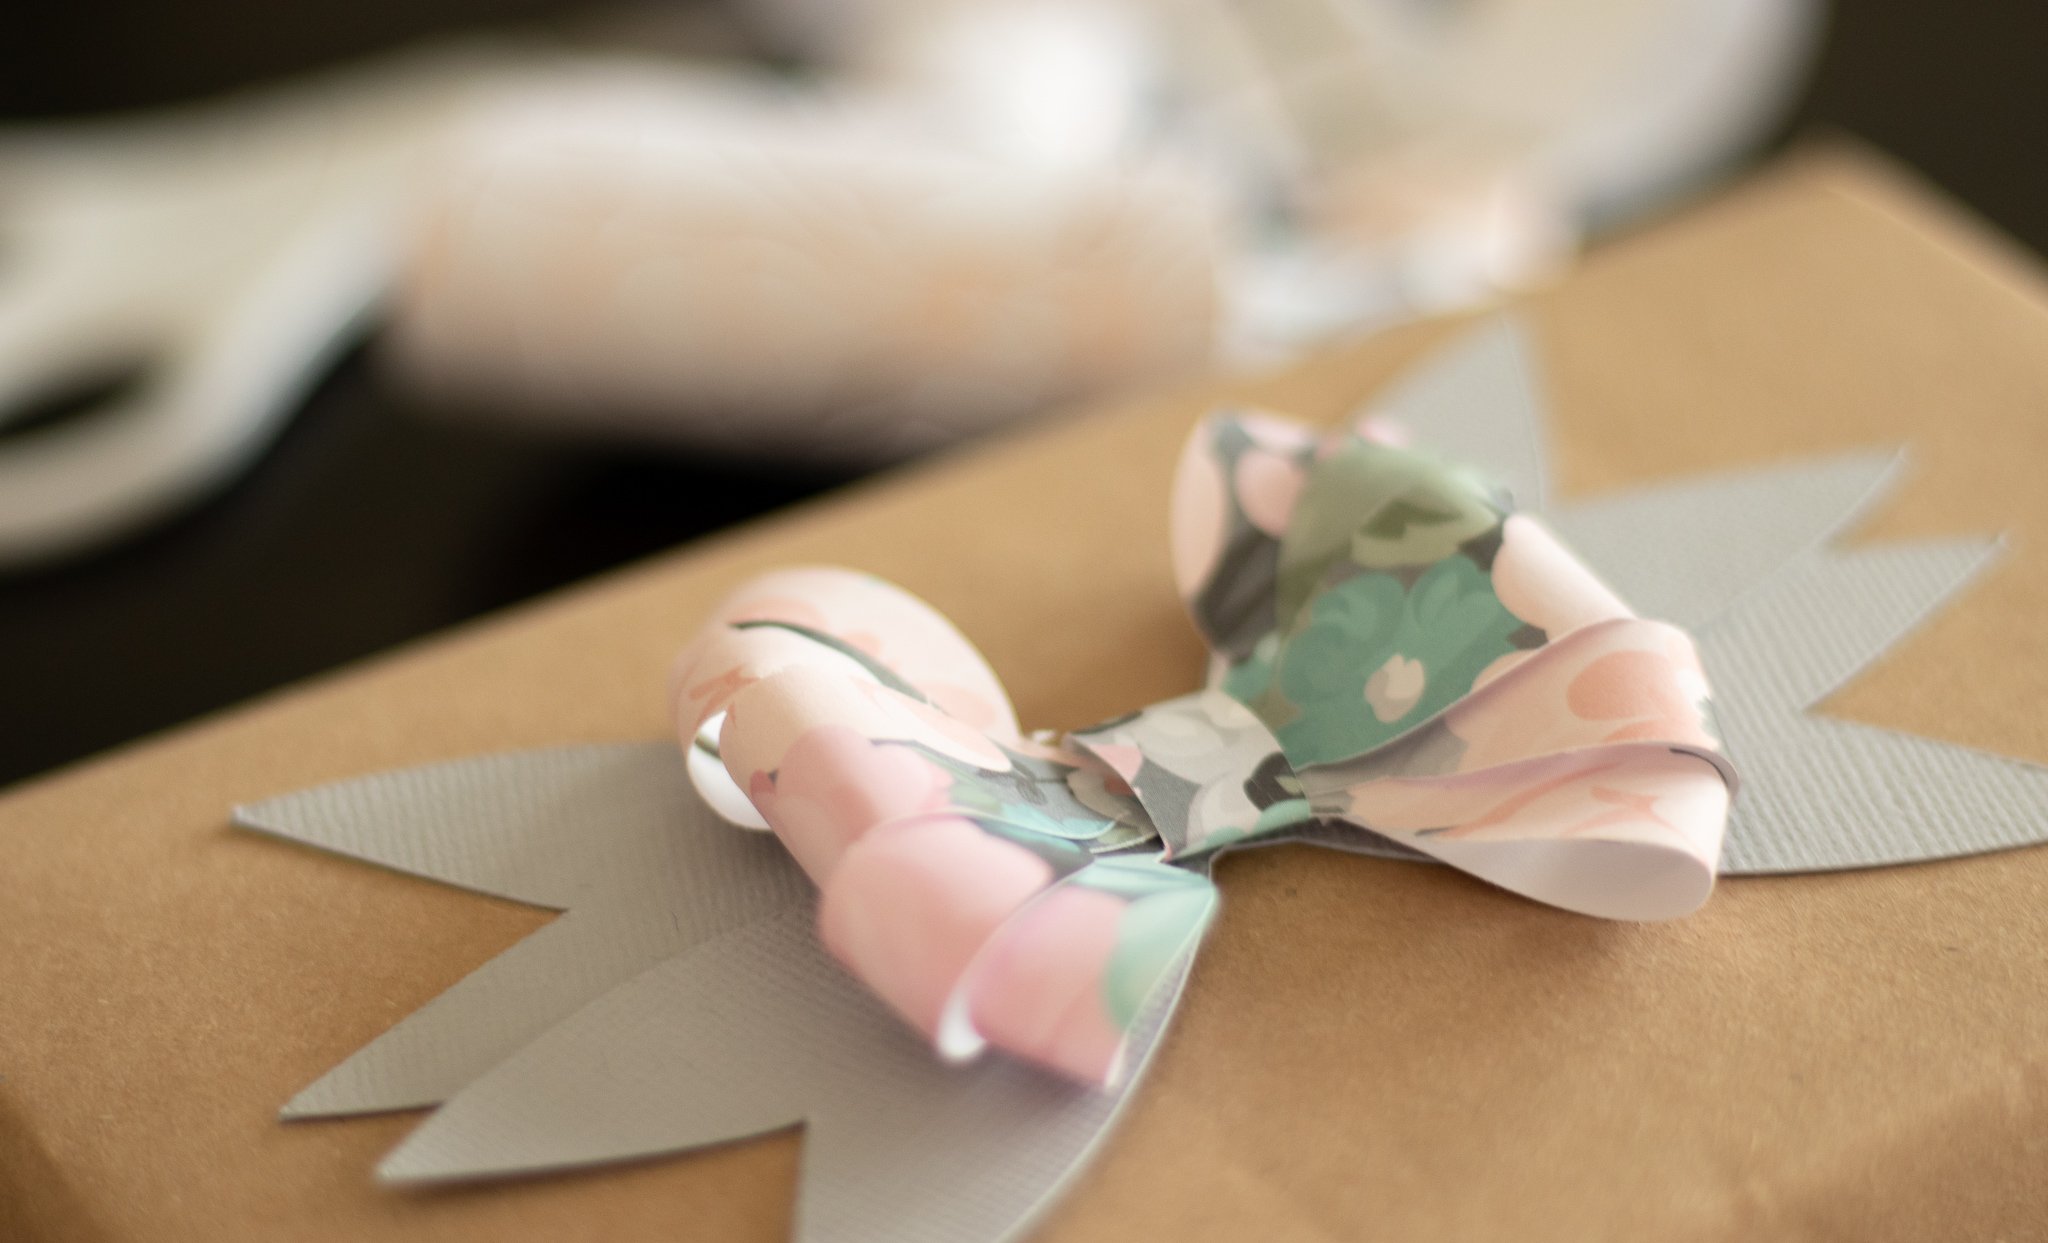
Paper bows are great for gifts & decorations. I shared the ways I add bows to gifts in a previous post. If you missed it, give it a quick read HERE.
Here’s the HOW TO:
Paper bows are simple to make and require only 3 materials, one of which I got you covered on below!
Materials:
Patterned or colored craft paper of your choice (I love mixing & matching colors and patterns!)
Glue
My patterns! (You can find the links to the free SVG files HERE or download these PDF files!)


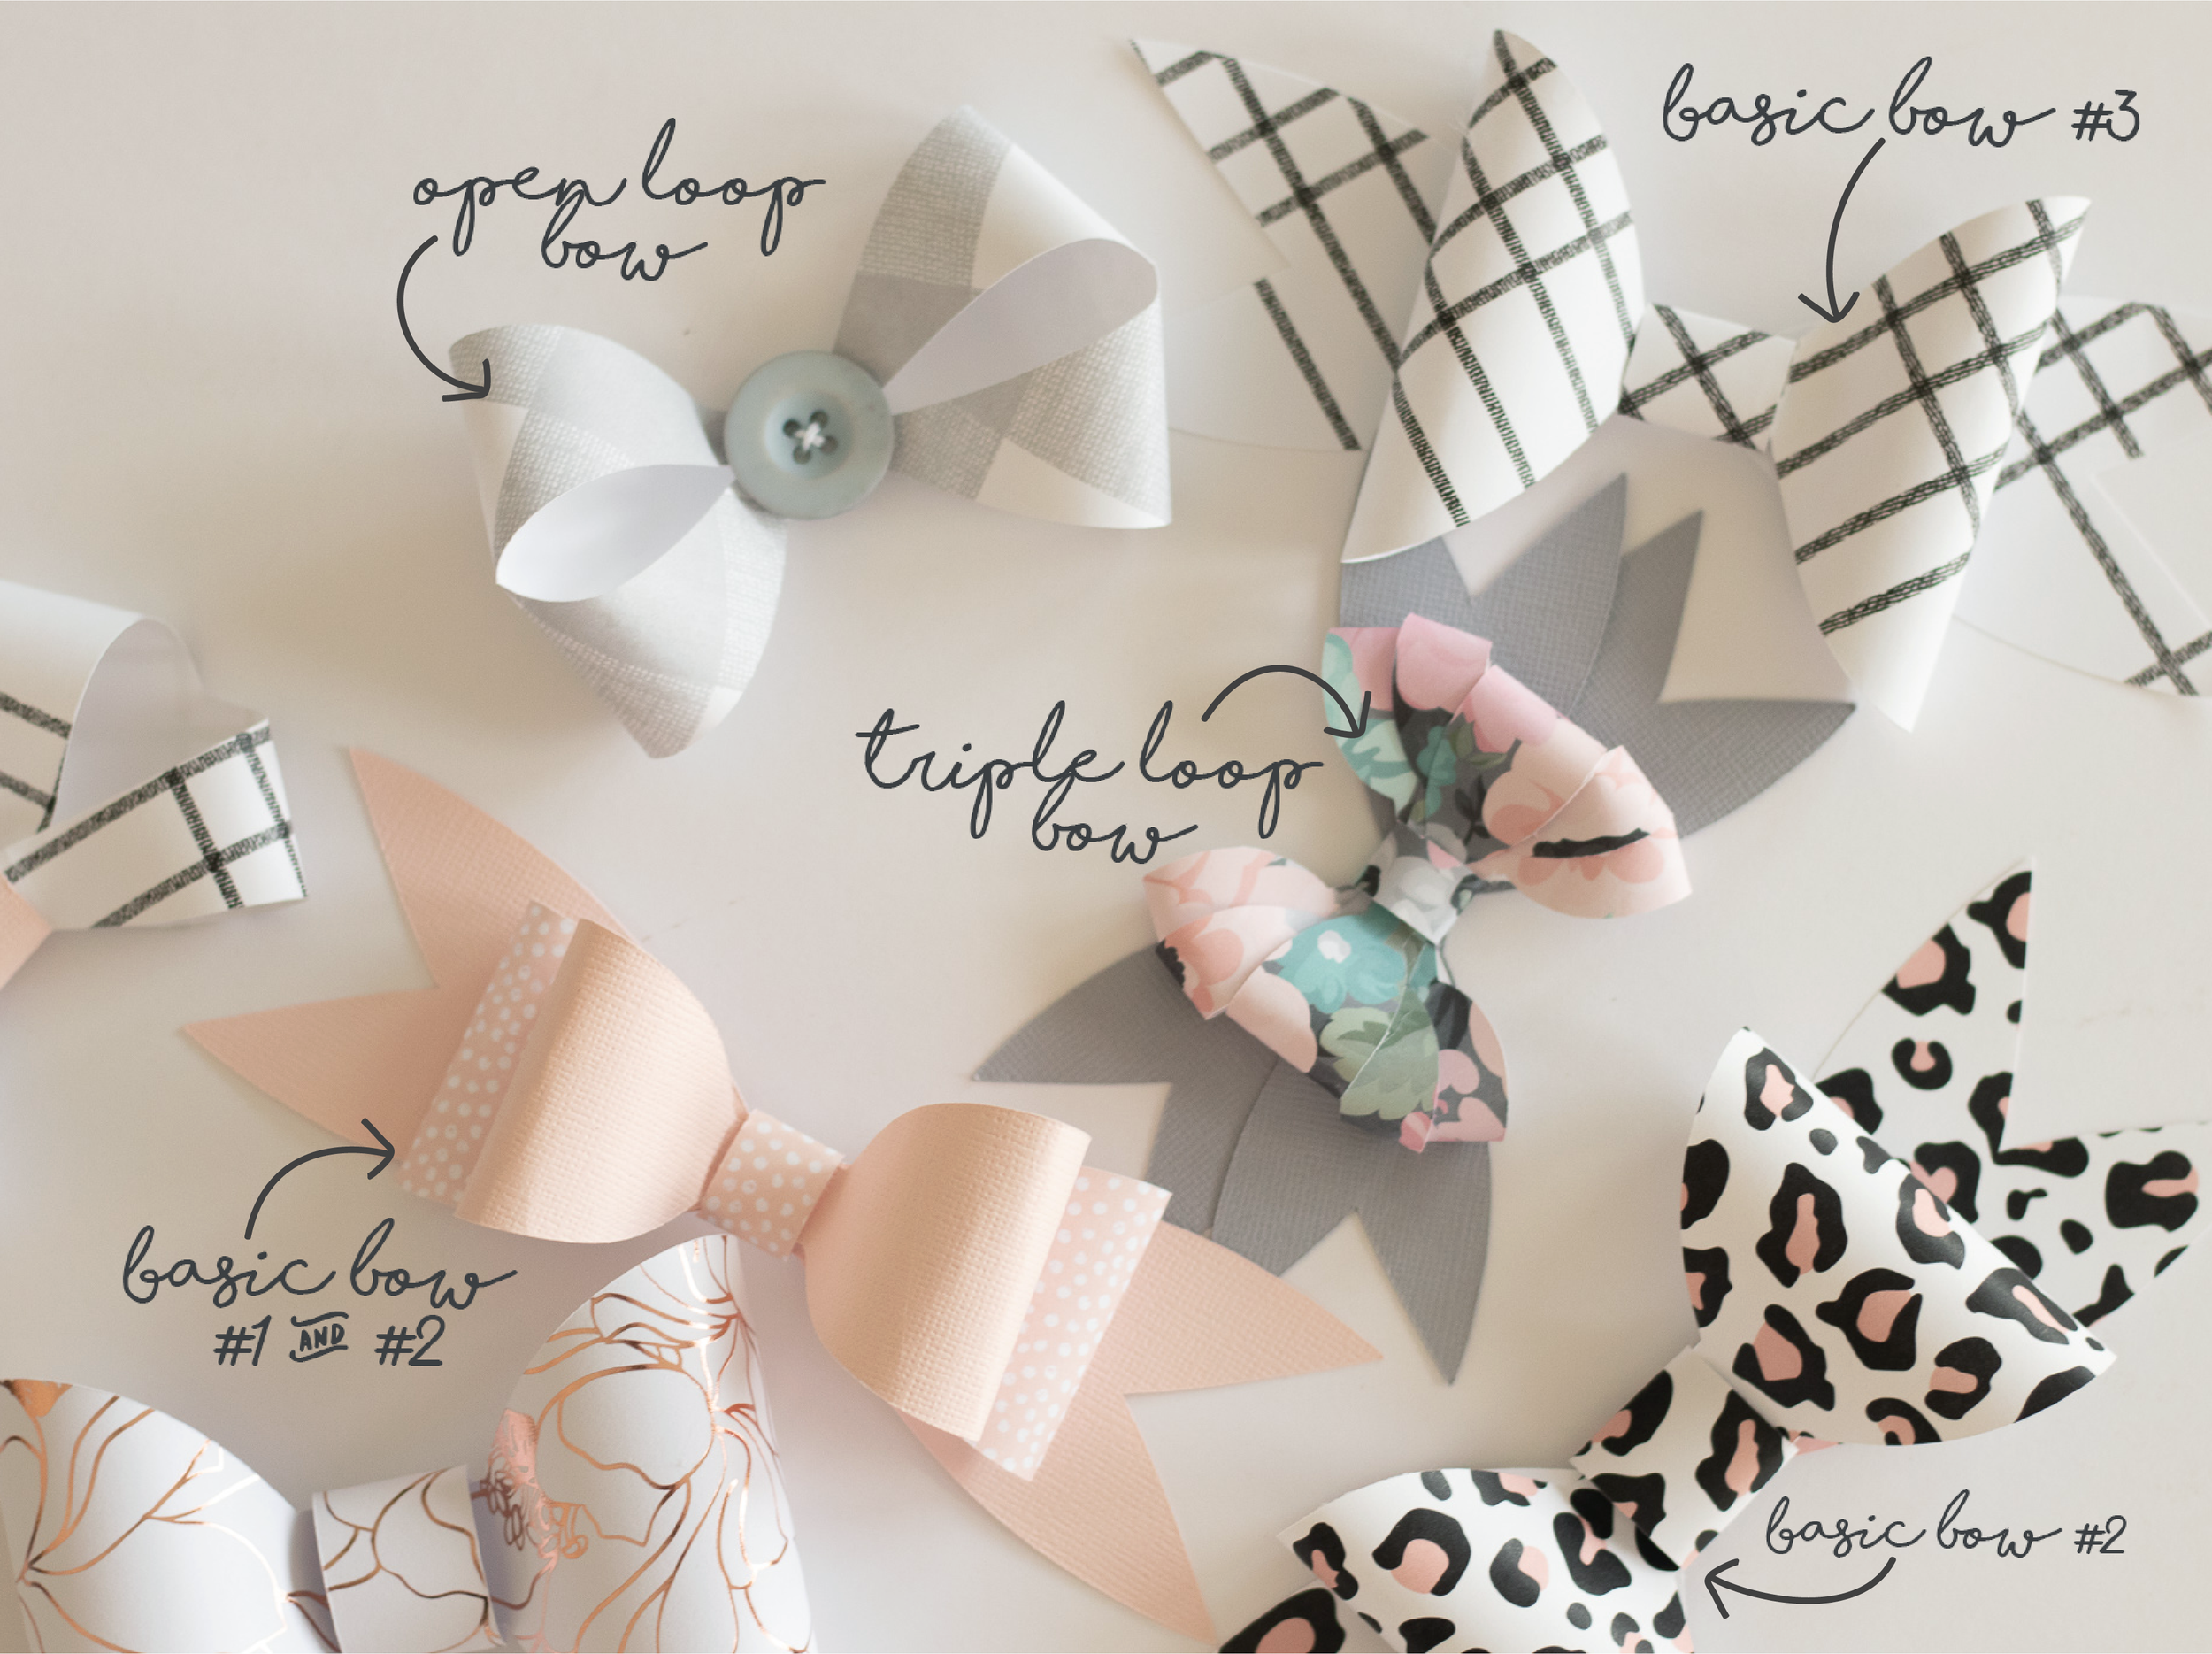
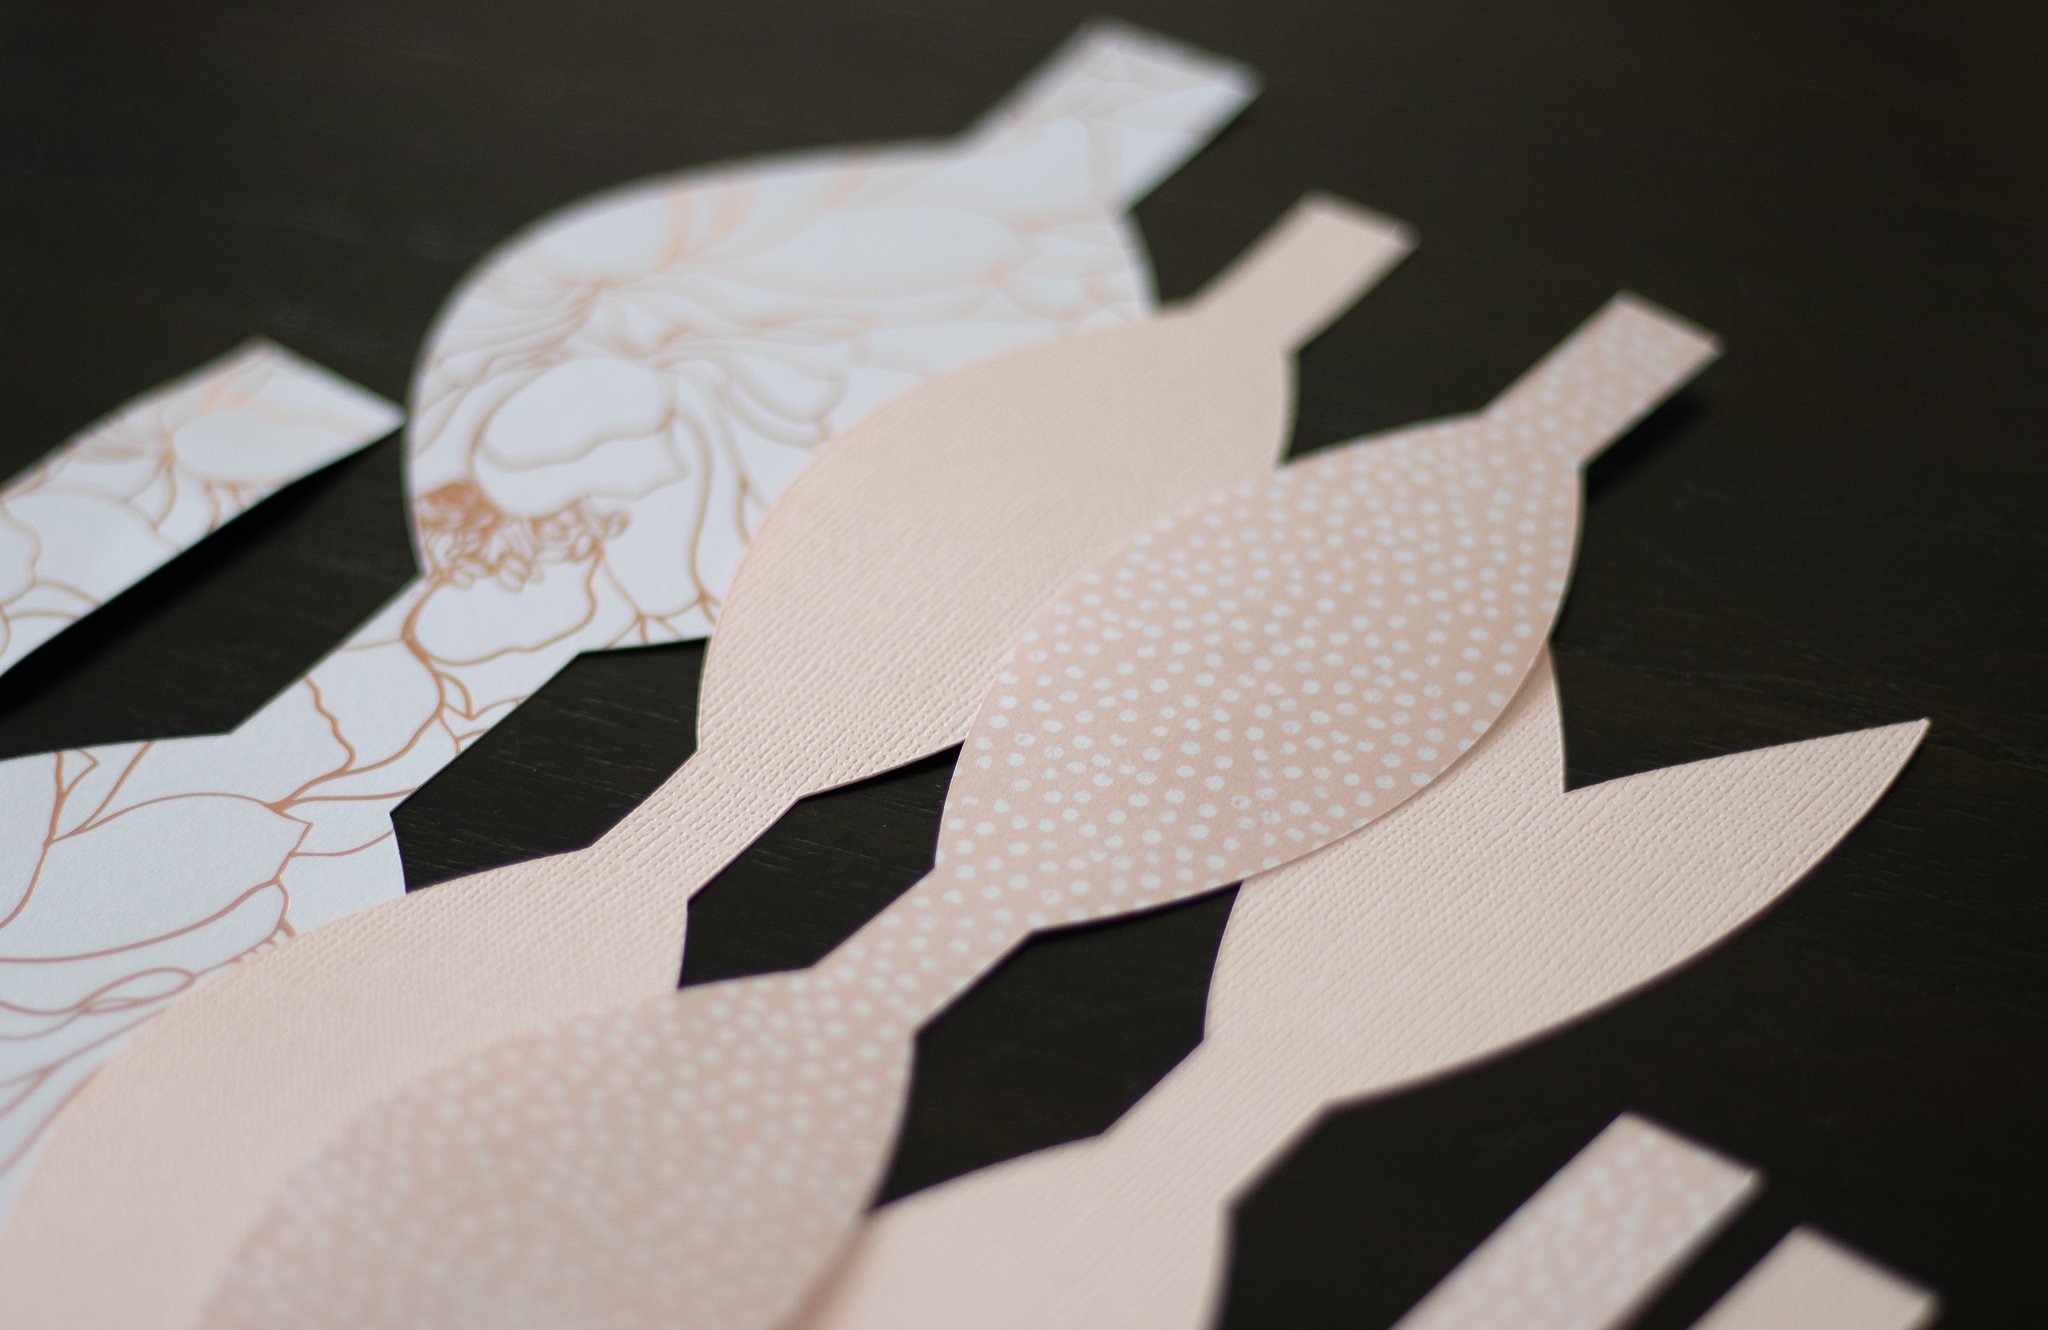
I designed the bow patterns from basic to a bit more detailed. You can mix & match, get fancy or just stick with the basics.
.
MY TIP: Shapes MATTER when it comes to different, unique bows. Adjust sizes, duplicate parts and stack pieces to create more elaborate bows. Use the patterns and get creative with it!
The SVG file can be ungrouped & resized easily in Cricut Design Space.
If you don’t have a Cricut, you can print the PDFs and use them as tracers for hand cutting. This is also handy if you are using leather, felt, foam or any other unique materials.
Assembling:
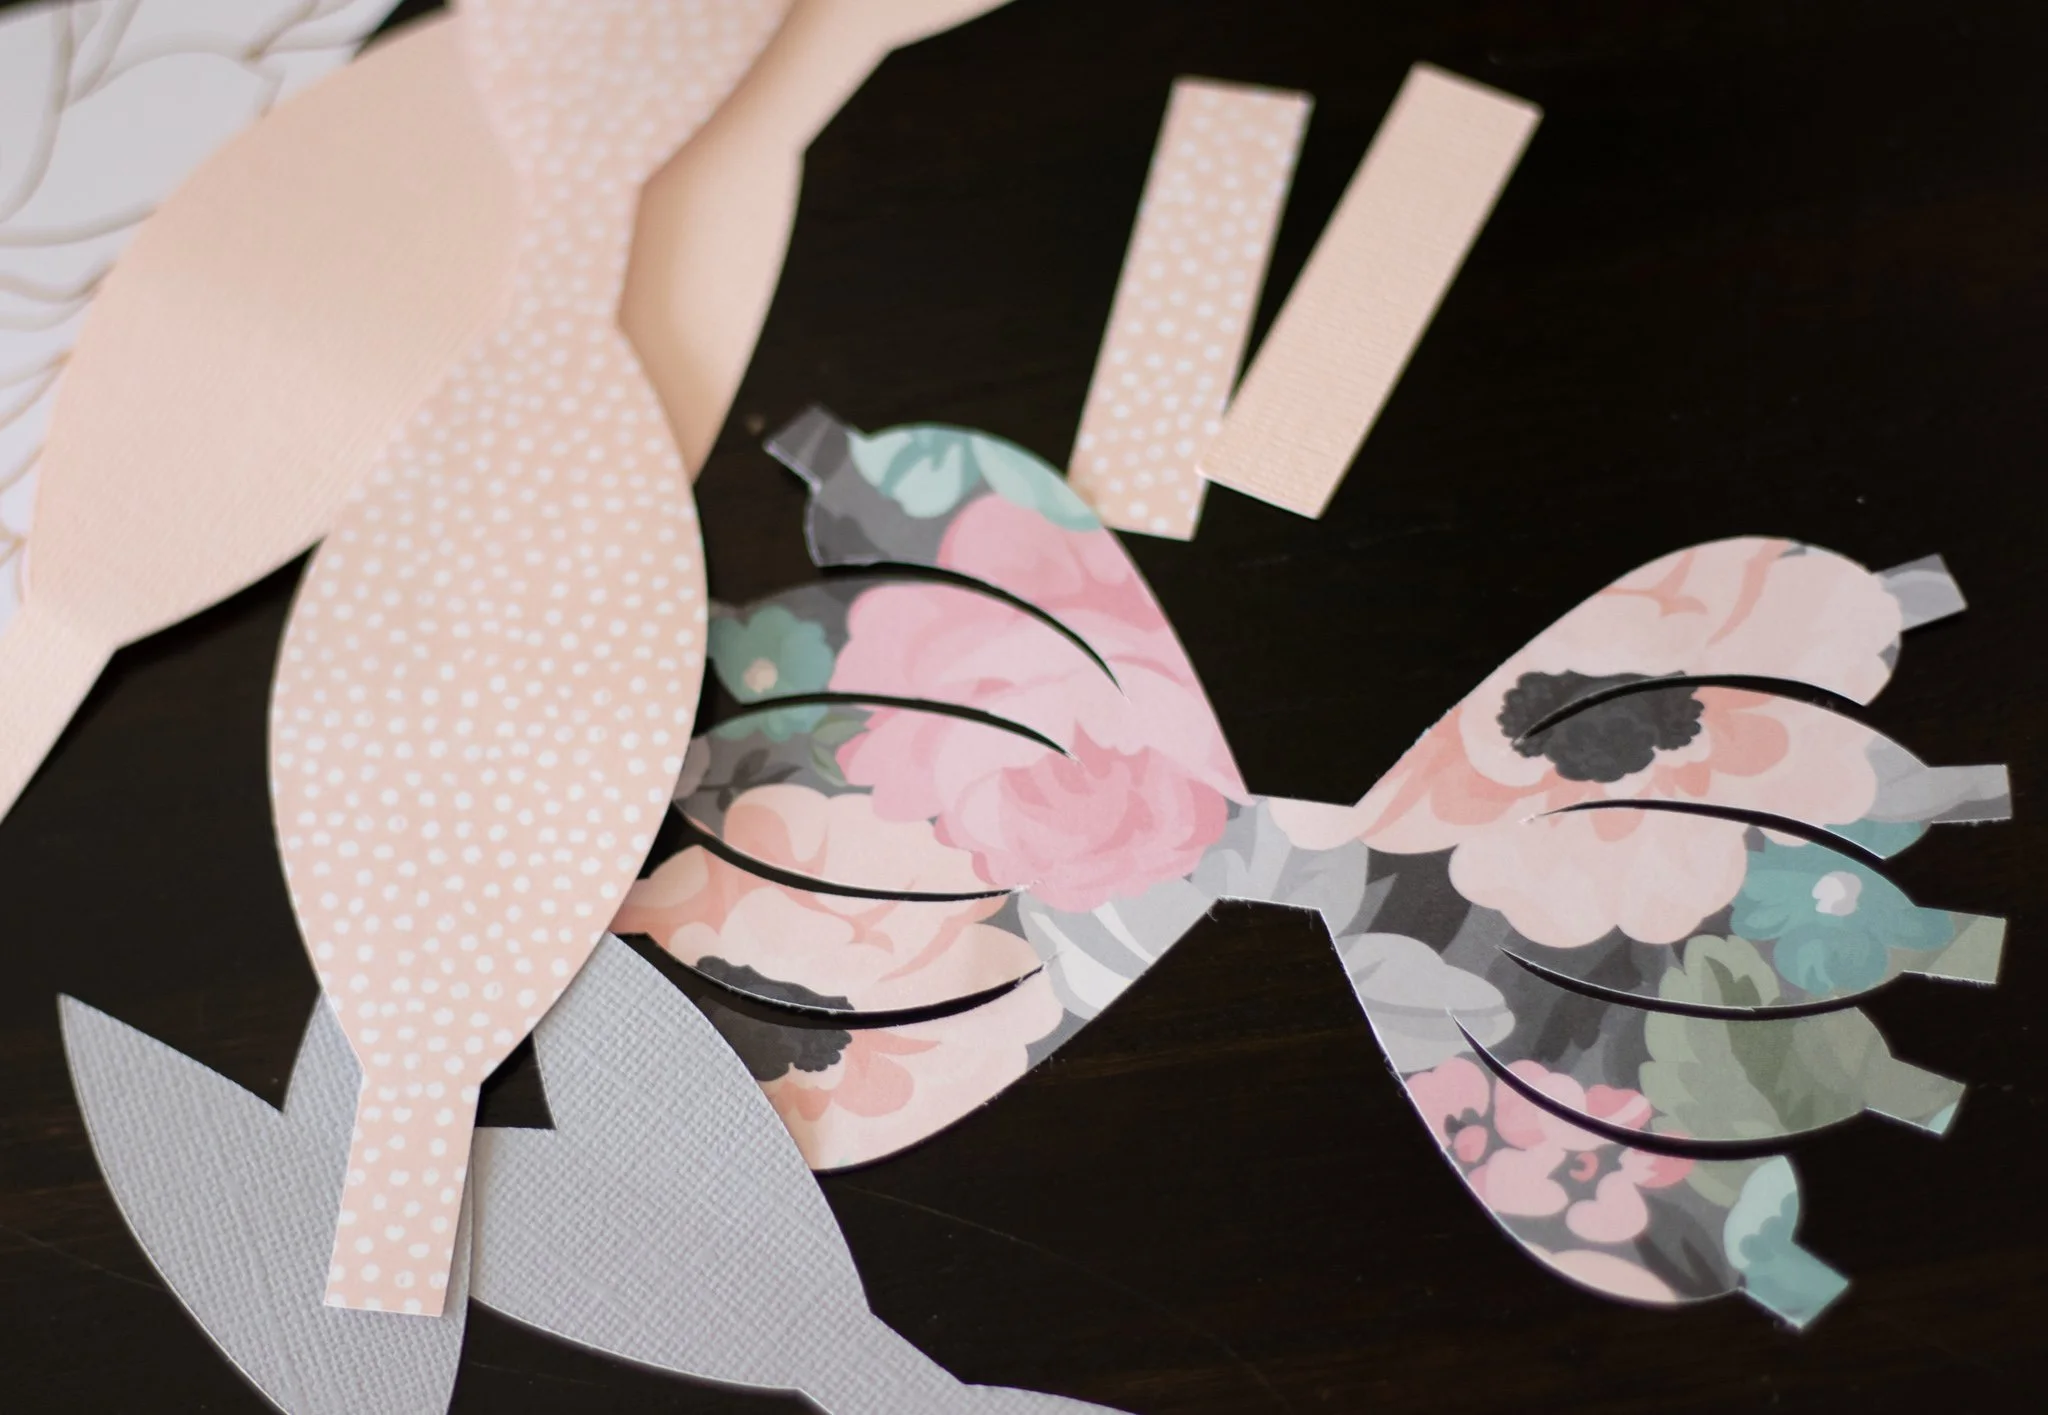
Once you cut the patterns, assembling them is simple.
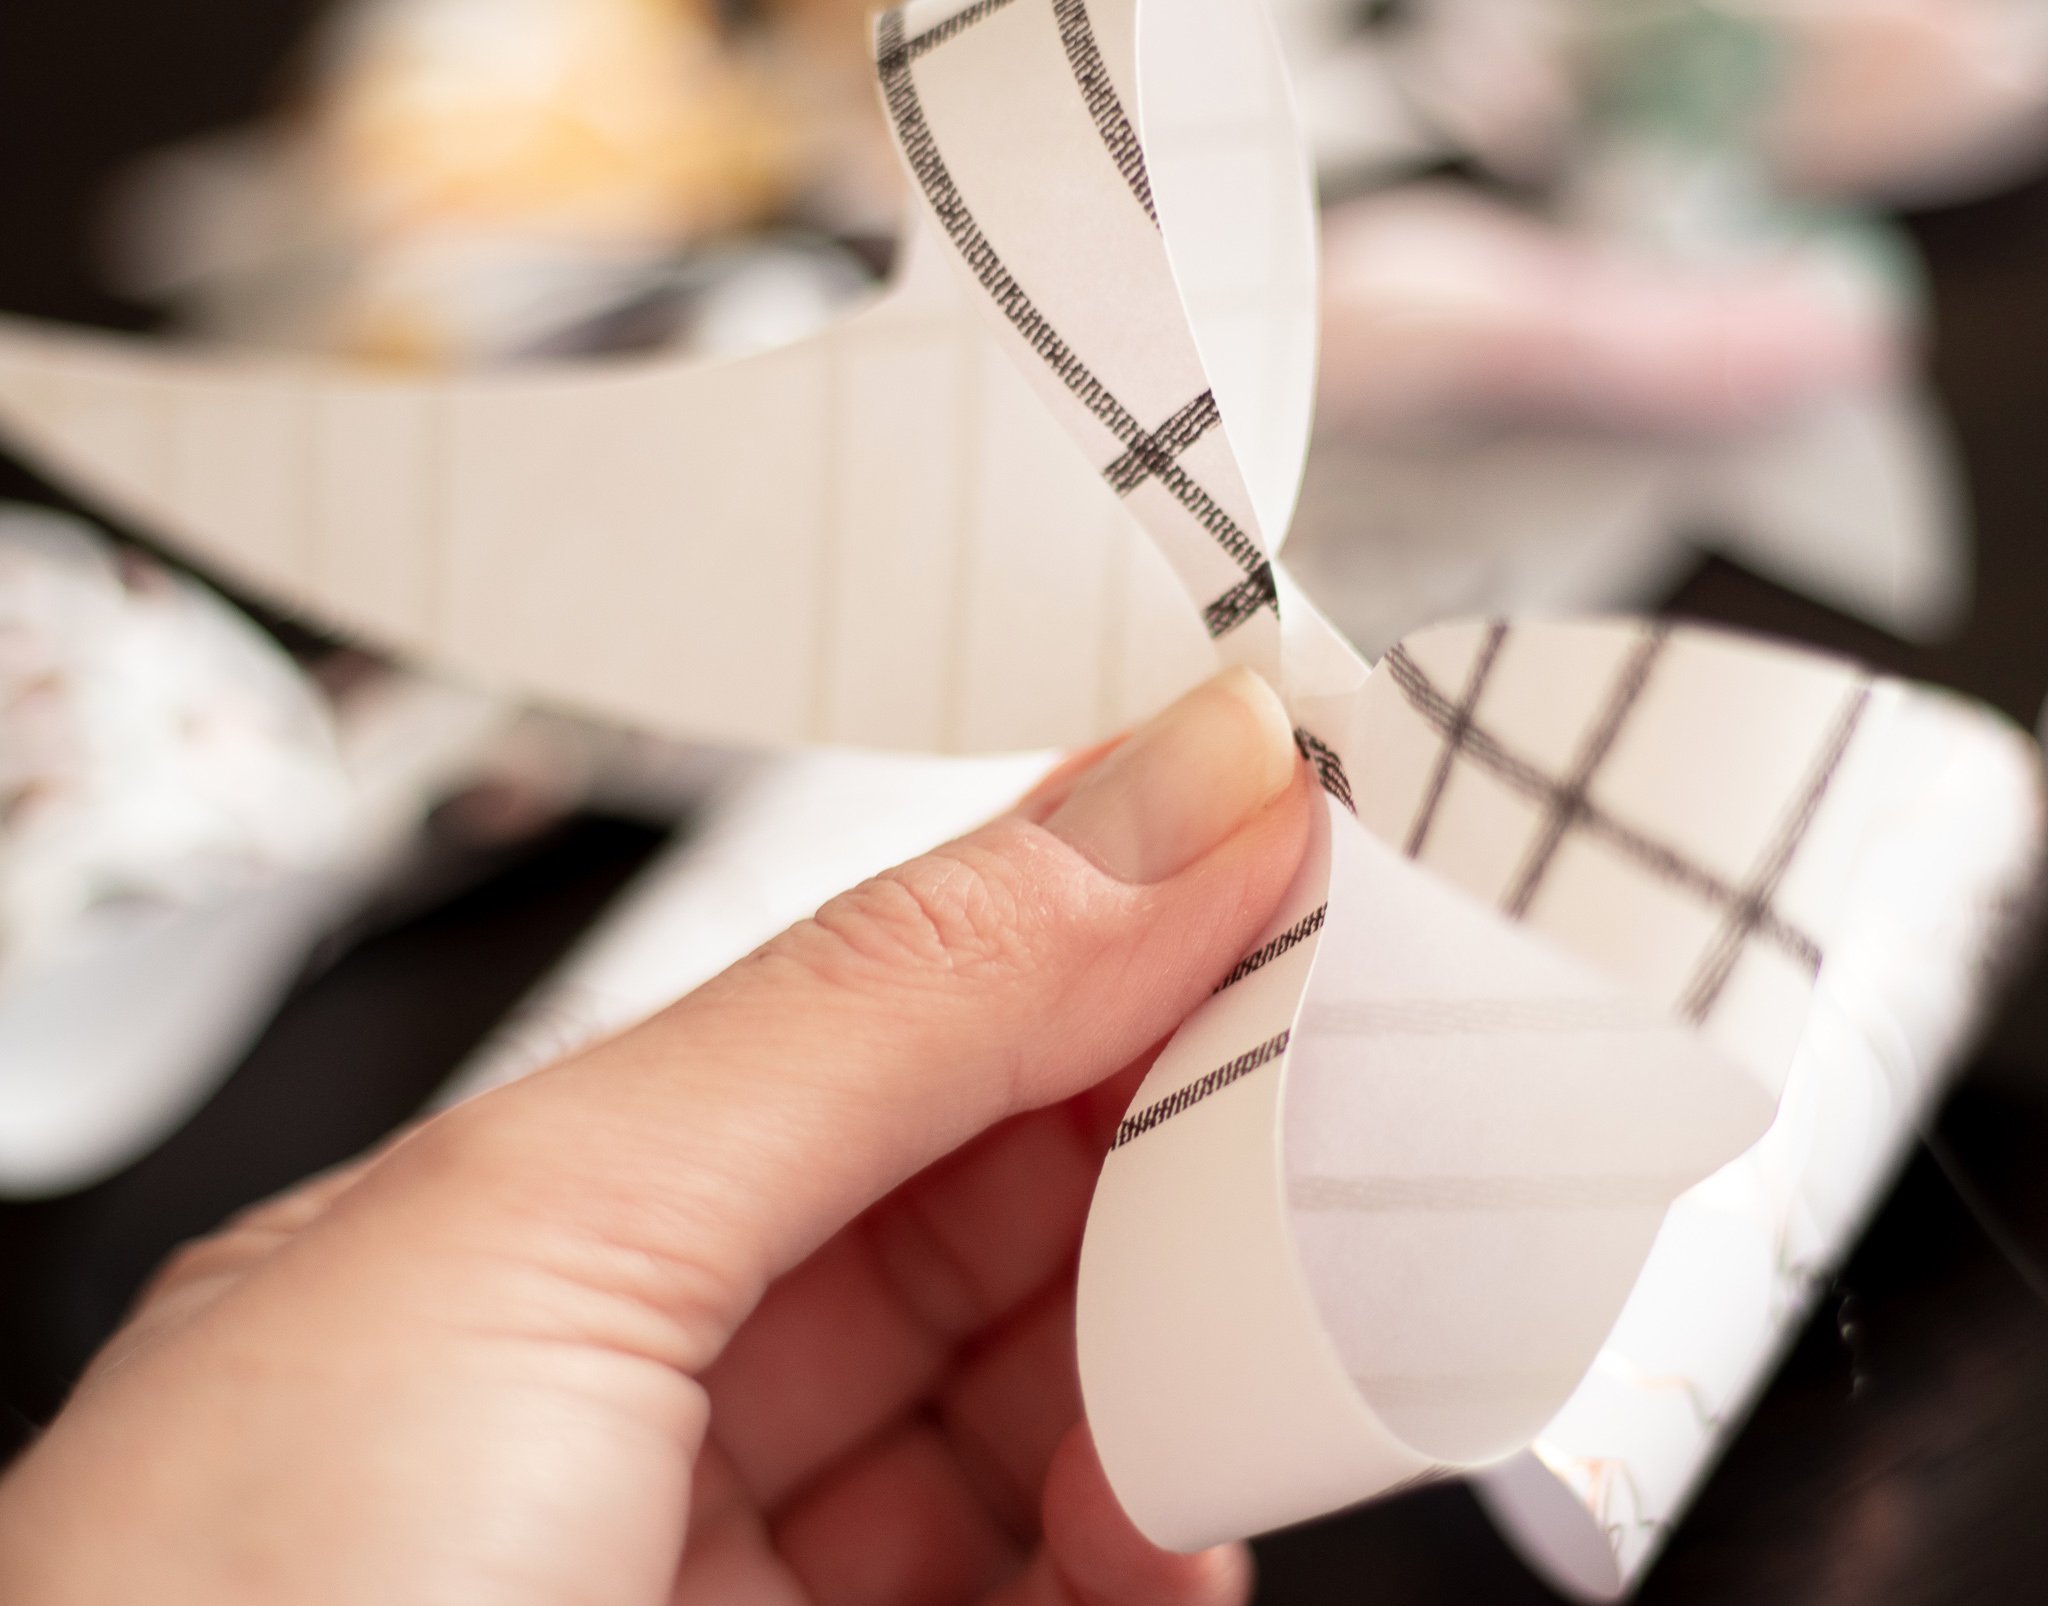
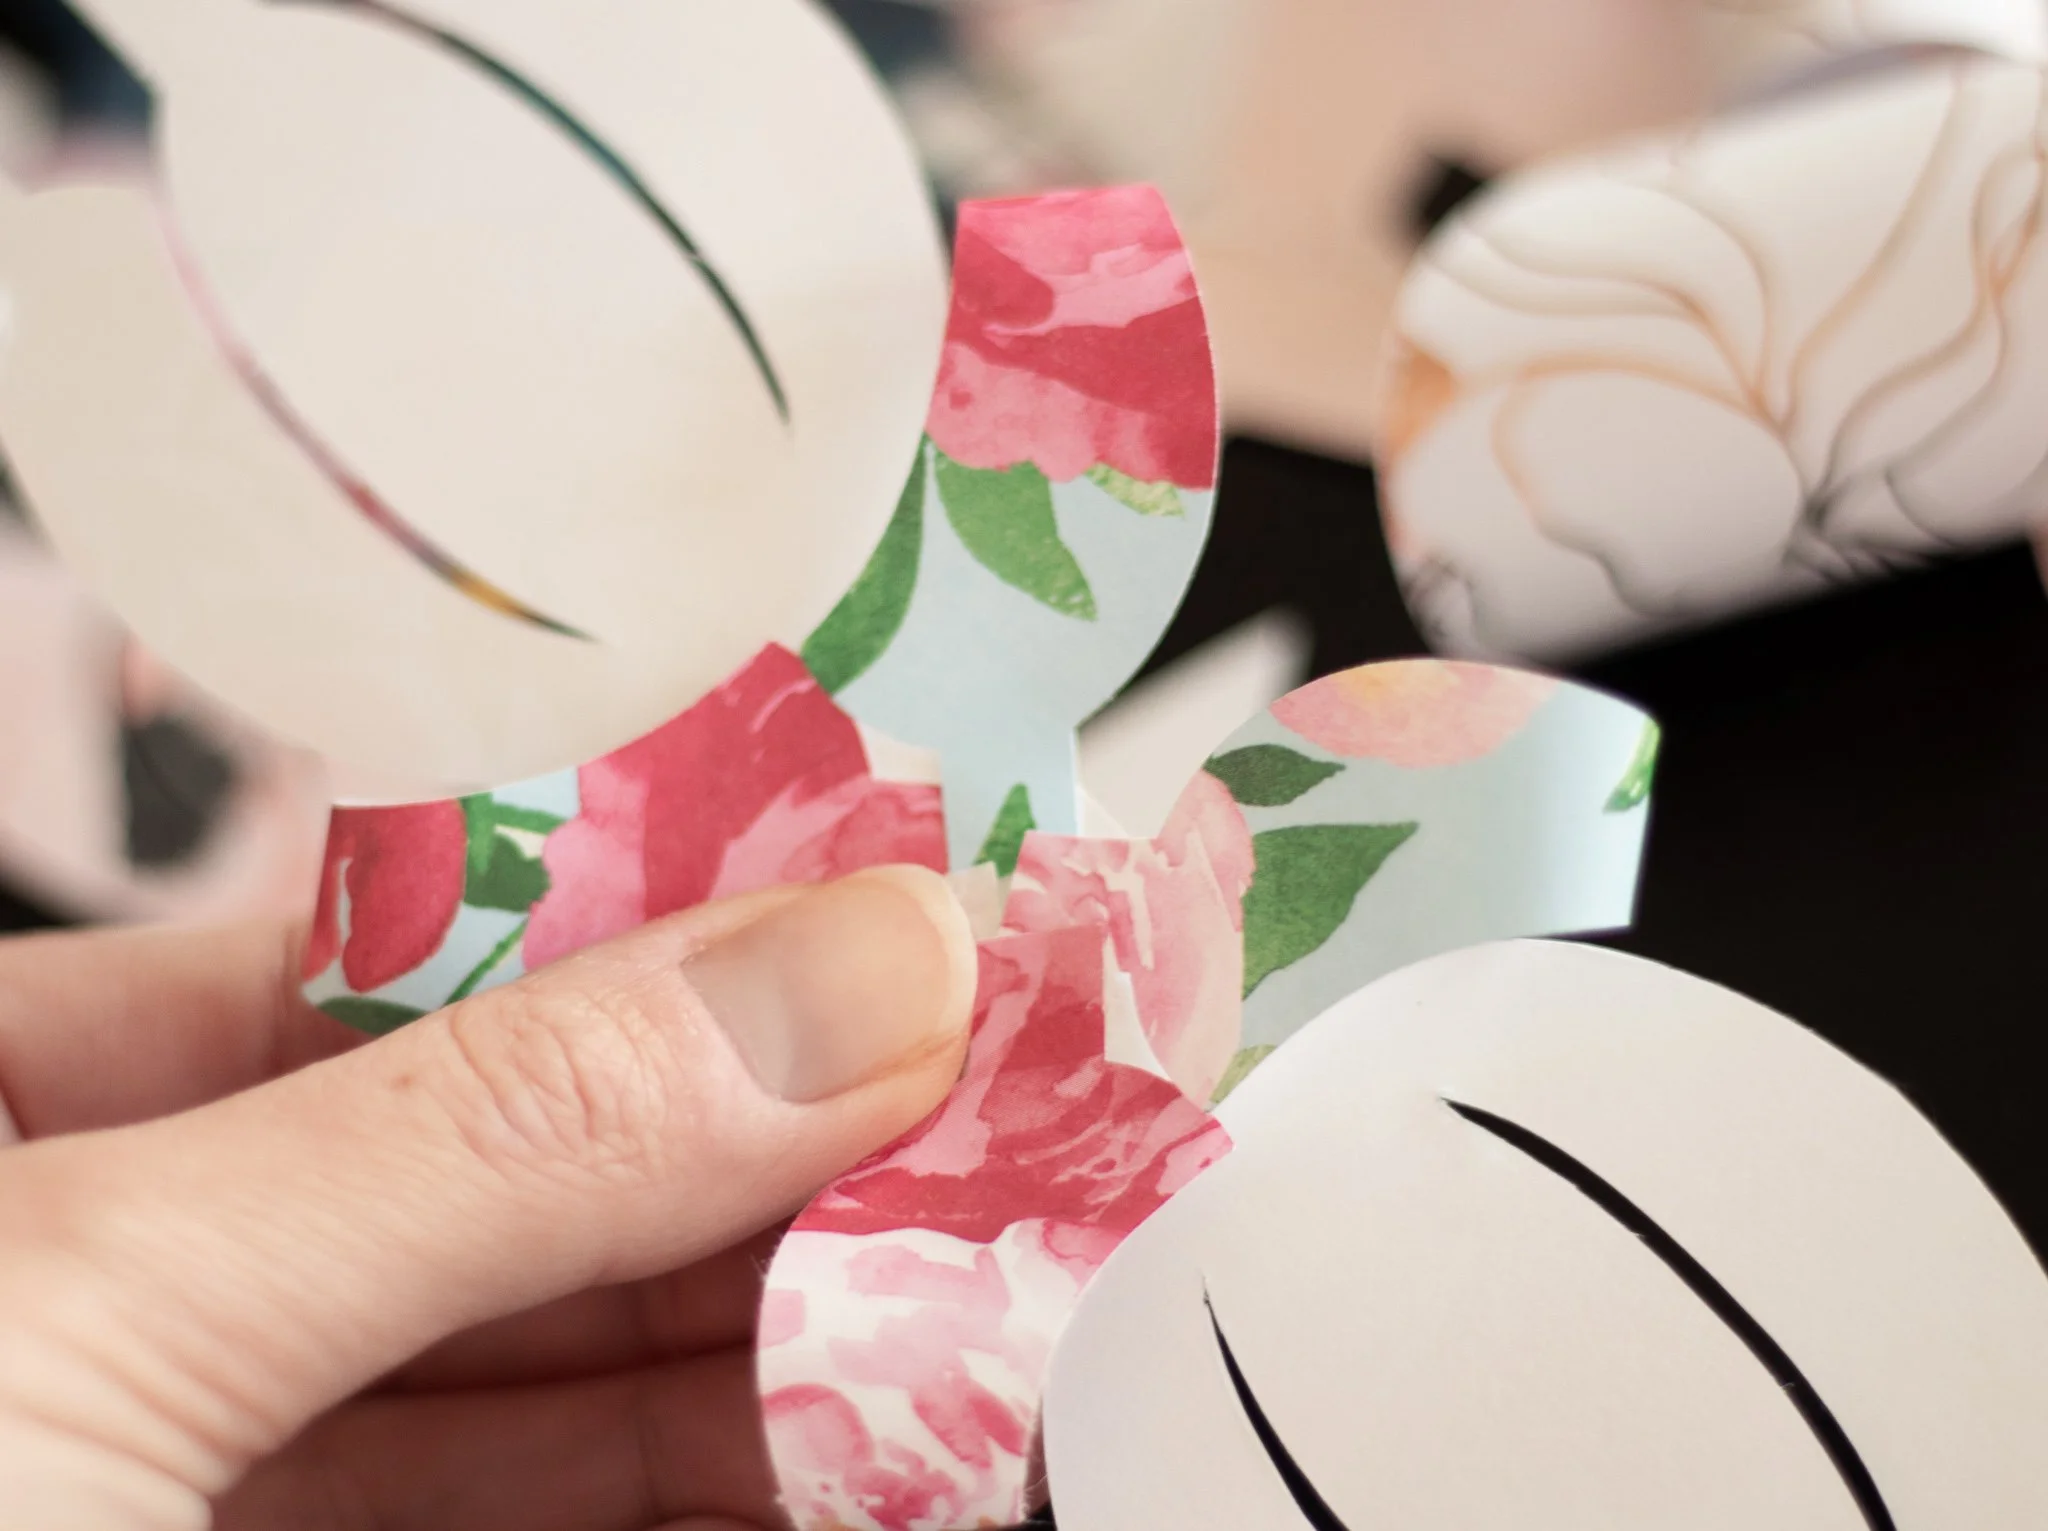
Starting with the bow loop piece, loop the ends over into the center.
Adjust them depending on how much space you want around the middle of the bow.
I typically don’t crease the loops as that flattens the bow giving it less dimension. You could totally try it though for a little more flare!
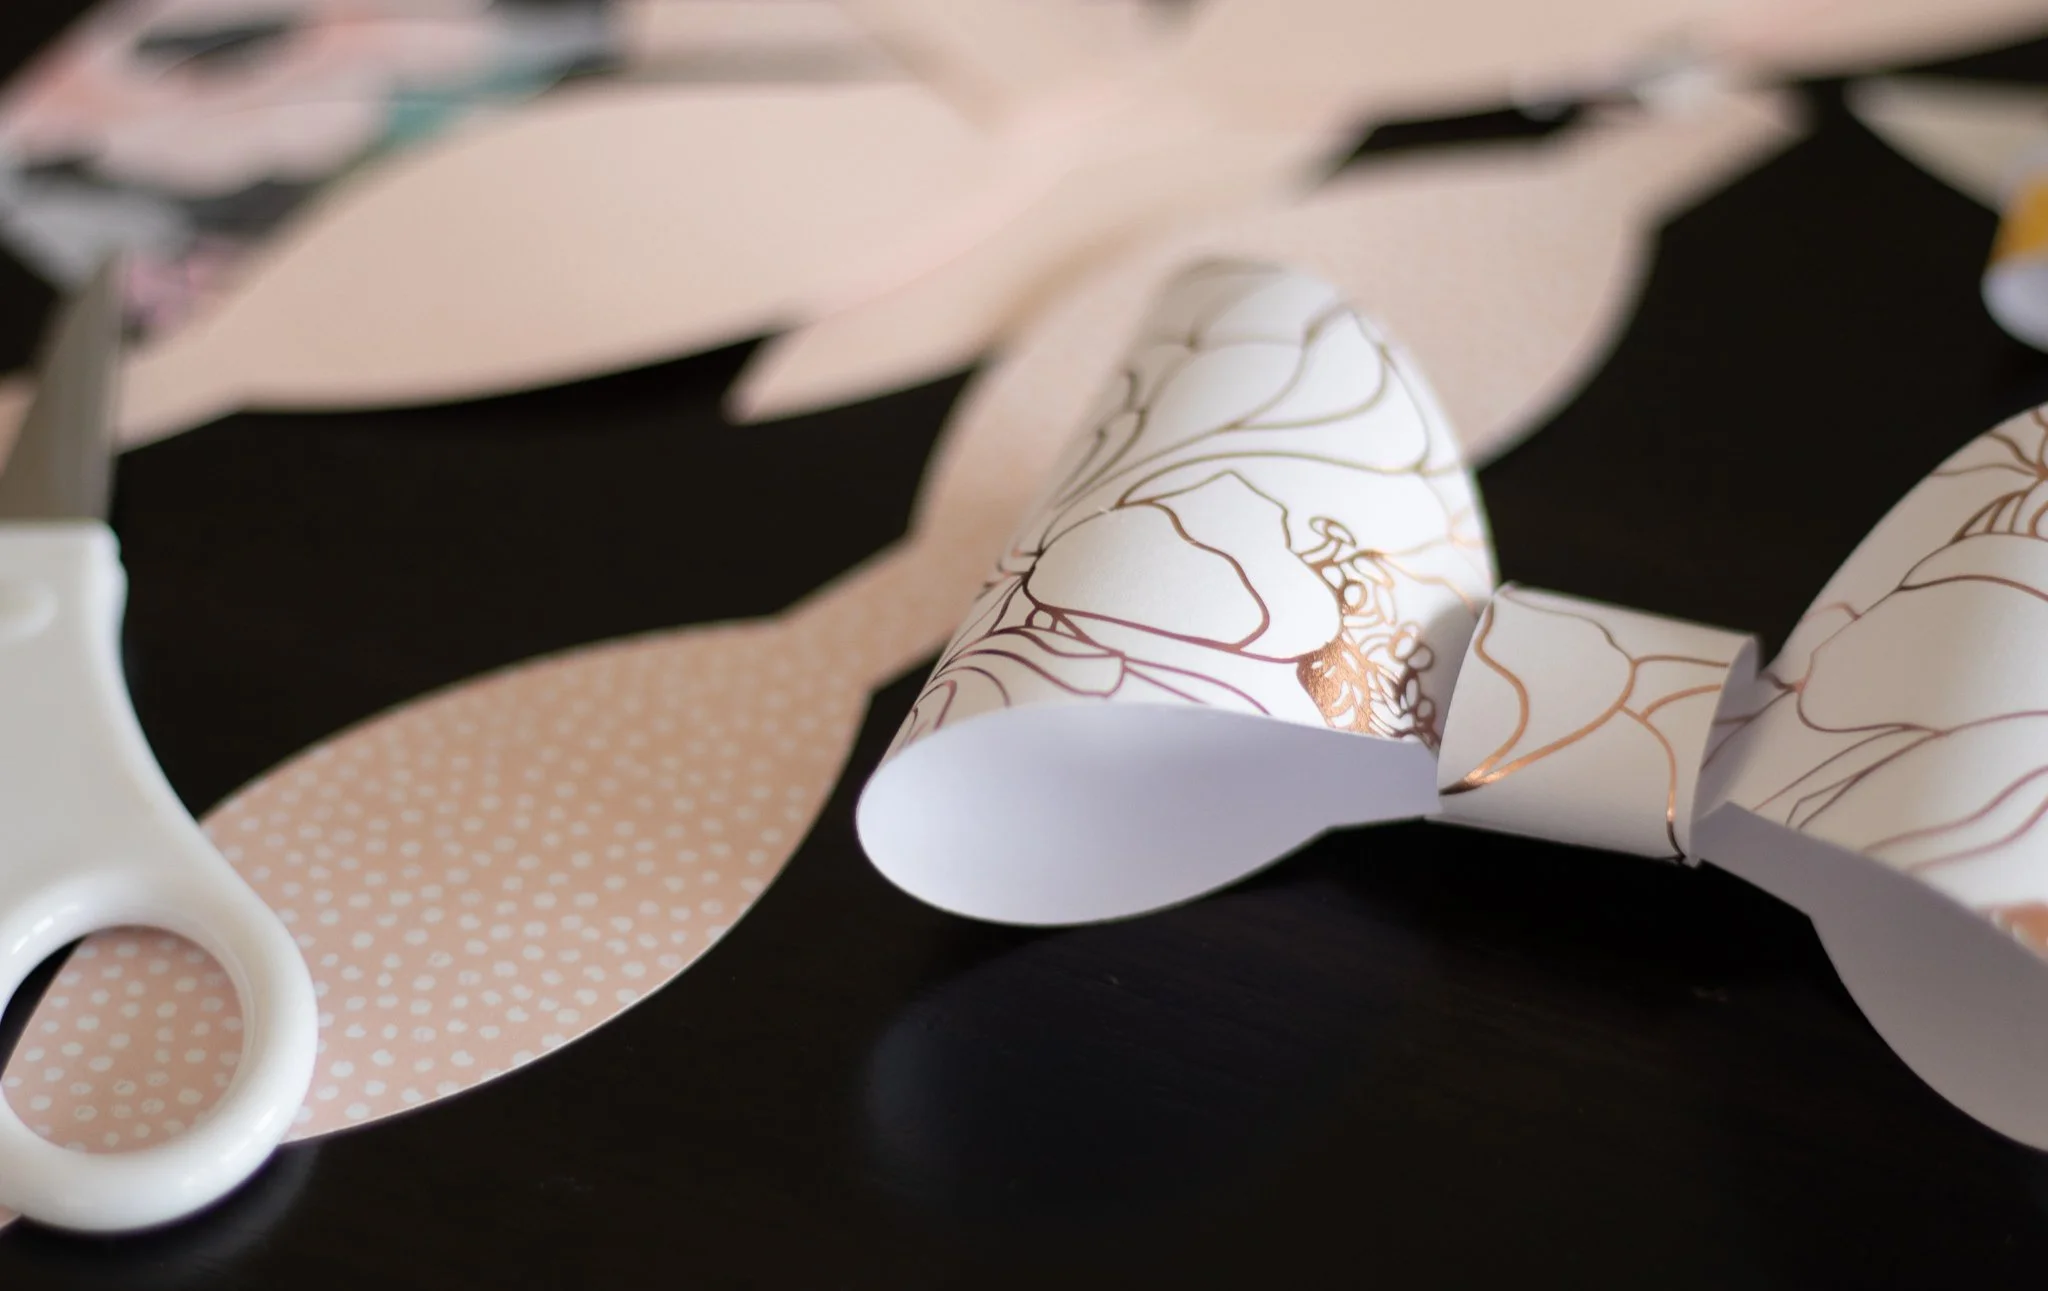
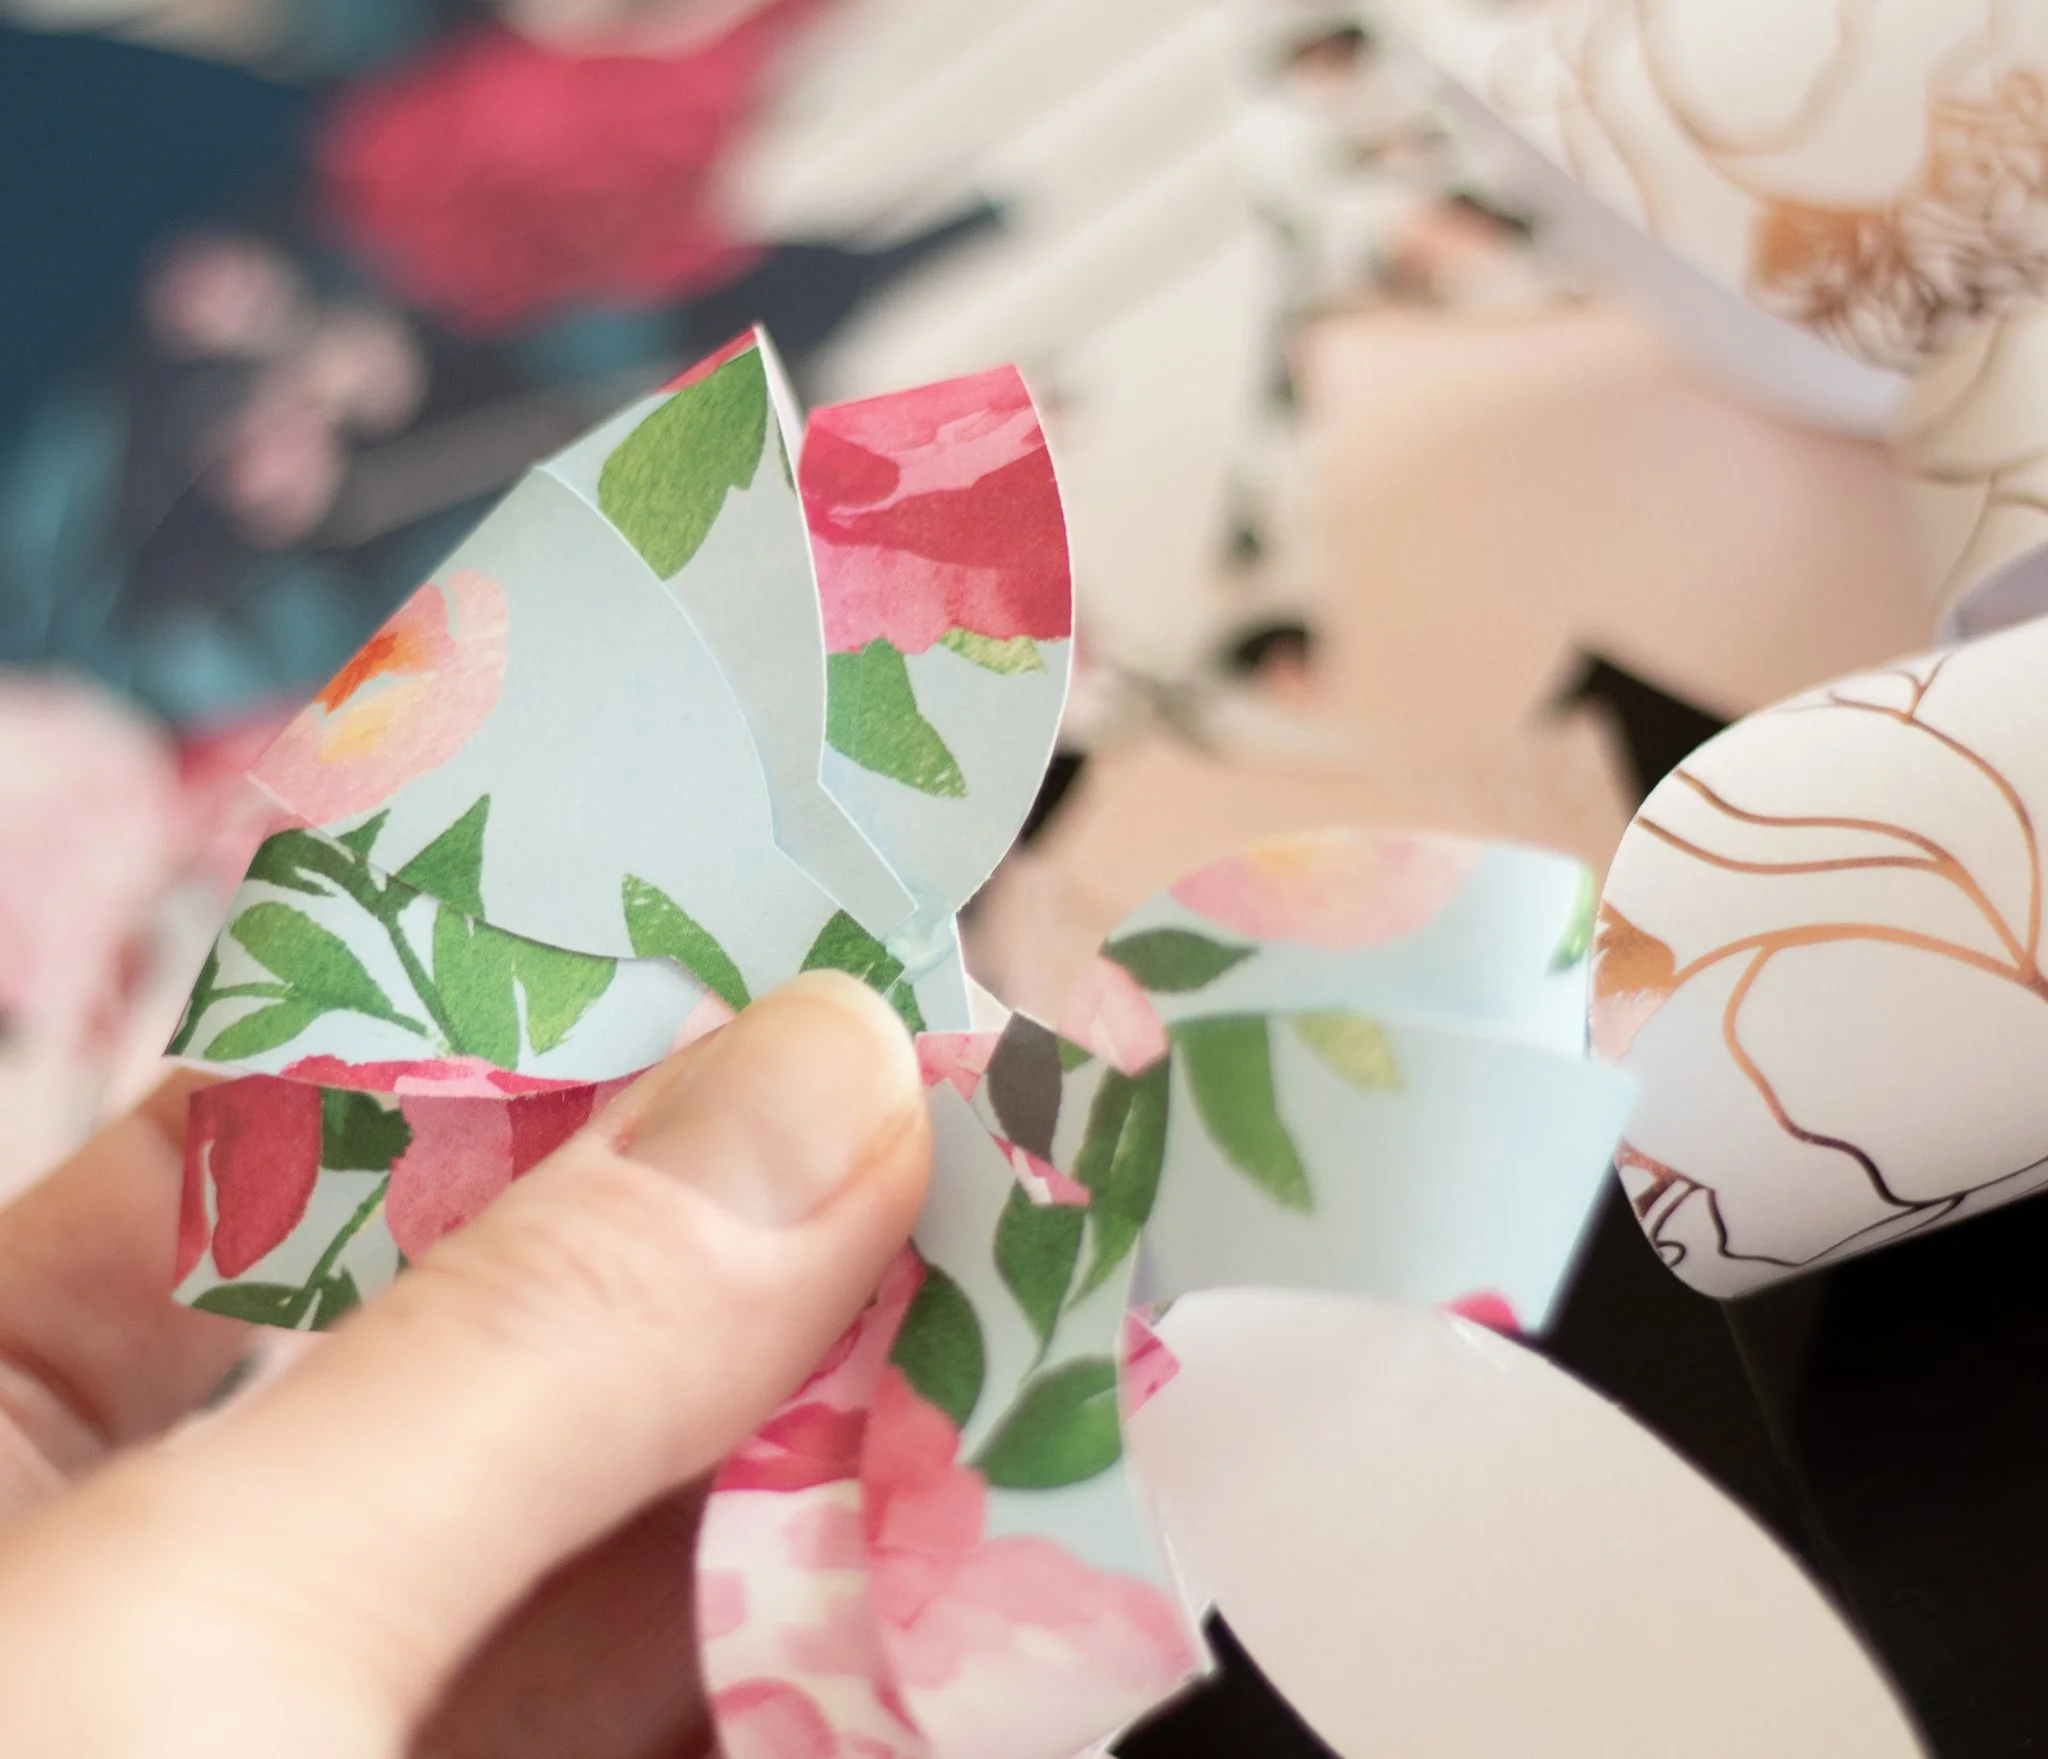
Secure the ends into the center with glue. Once they are stuck, wrap the rectangular middle piece around the center.
I start by gluing one end to the back of the bow. Then I carefully wrap it around again, securing it in place with another small dot of glue. I like to leave this piece a little more rounded so I typically don’t press it down flat.

MY TIP: You can also use a button, sequin or other small detail in place of the middle piece!
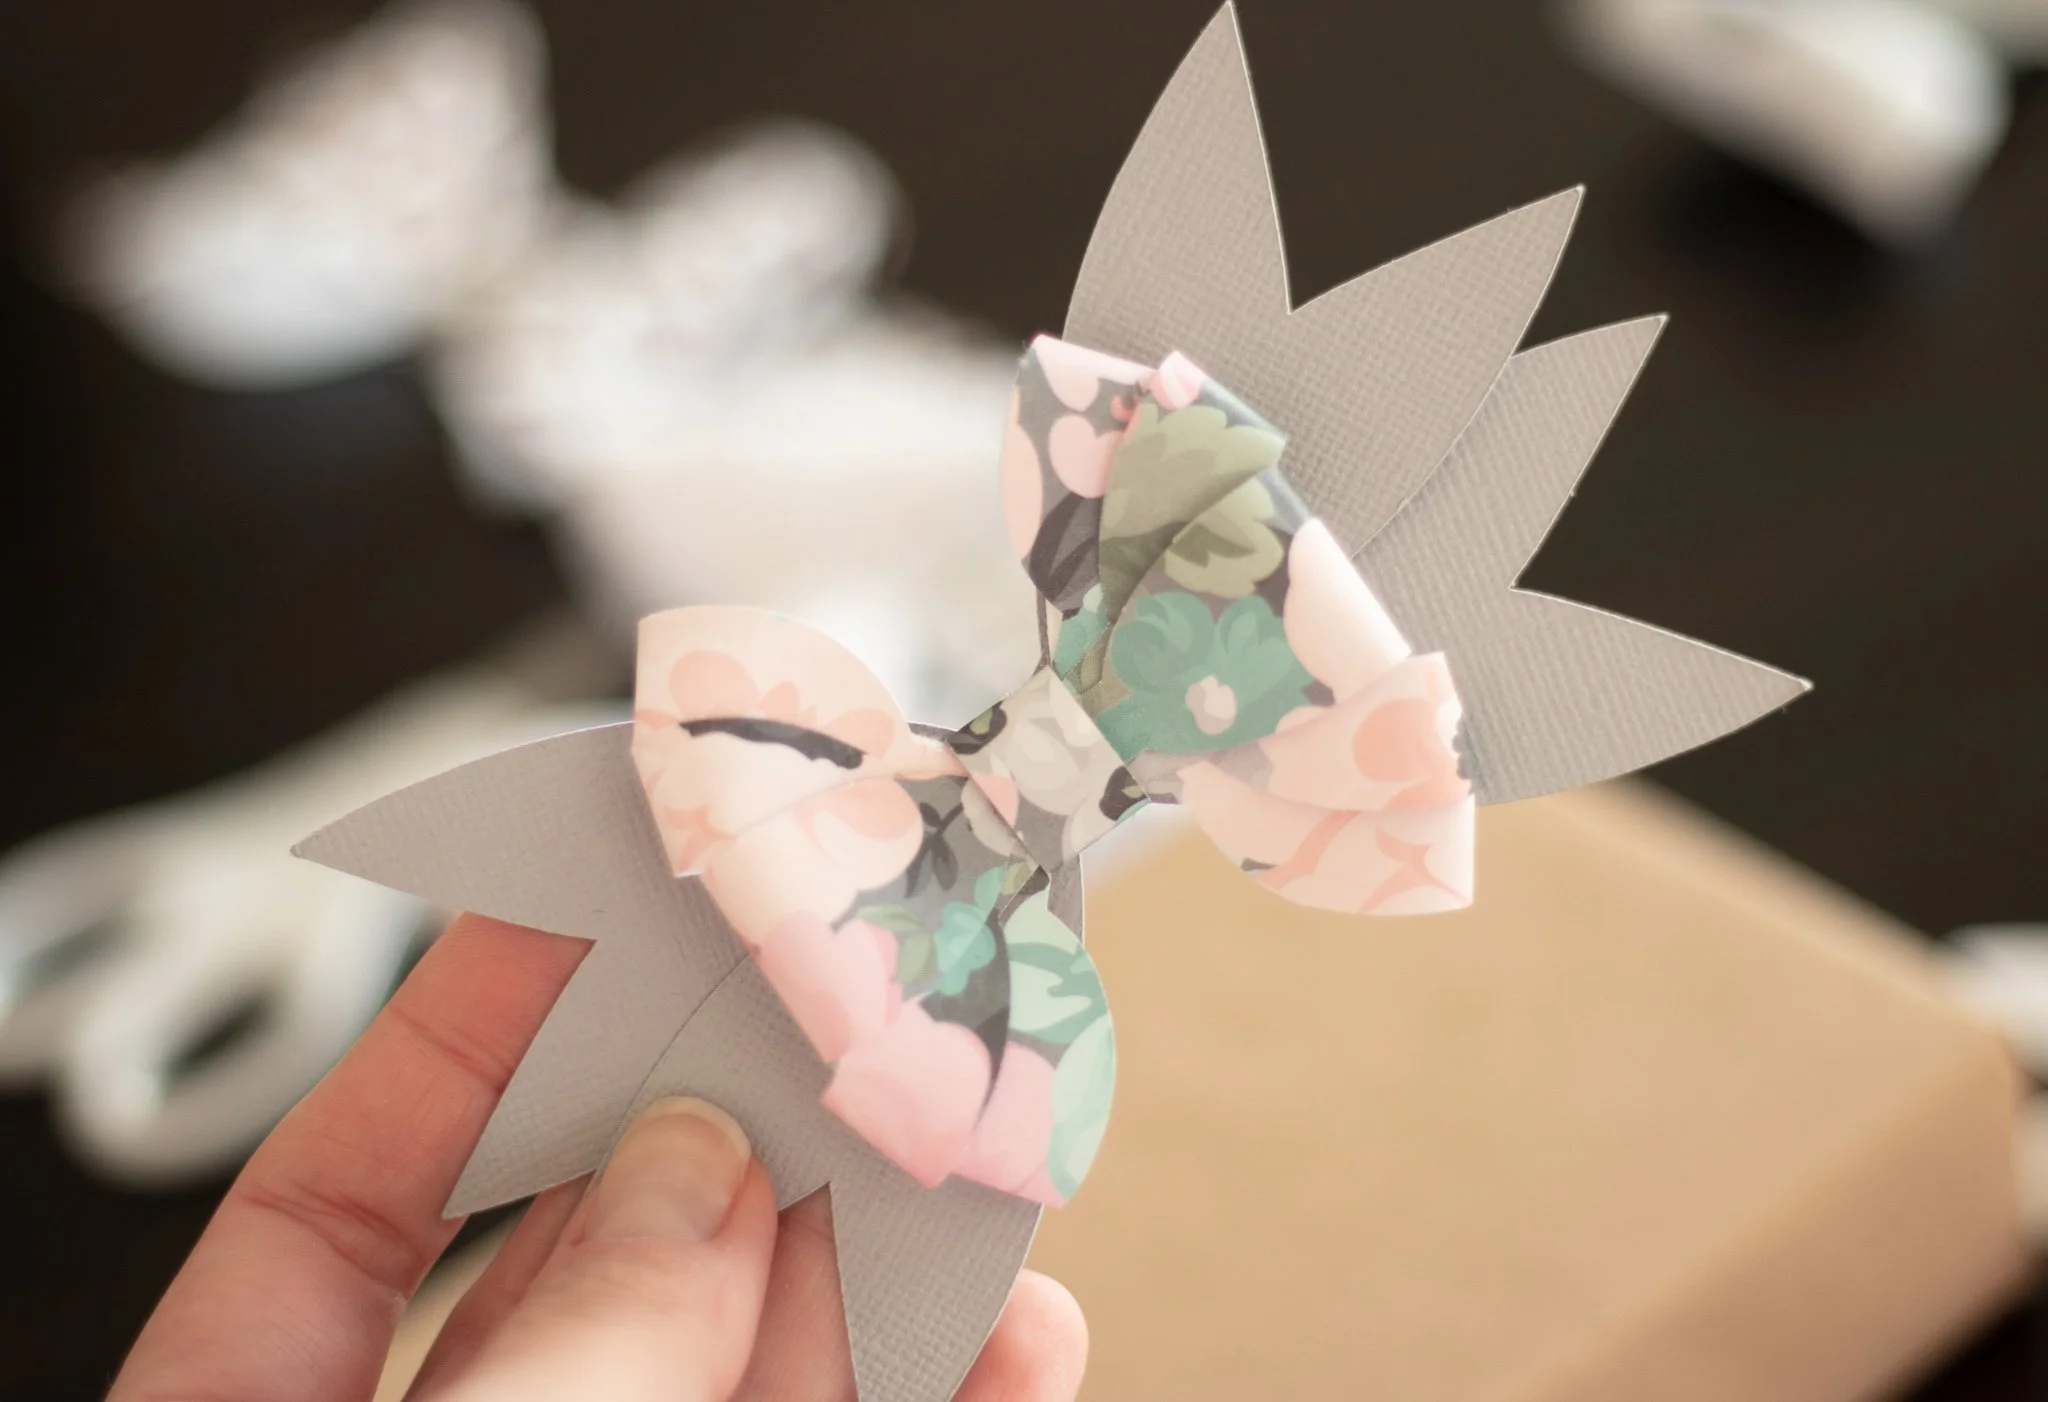
The final part of the bow are the tails. As with the other pieces, you can adjust the size or duplicate it if you are going for a larger, more intricate bow!

The FANCY Bows
The triple loop bow on my pattern page is my favorite. This is the one I use most because I find it just always produces BEAUTIFUL results no matter the craft paper pattern.
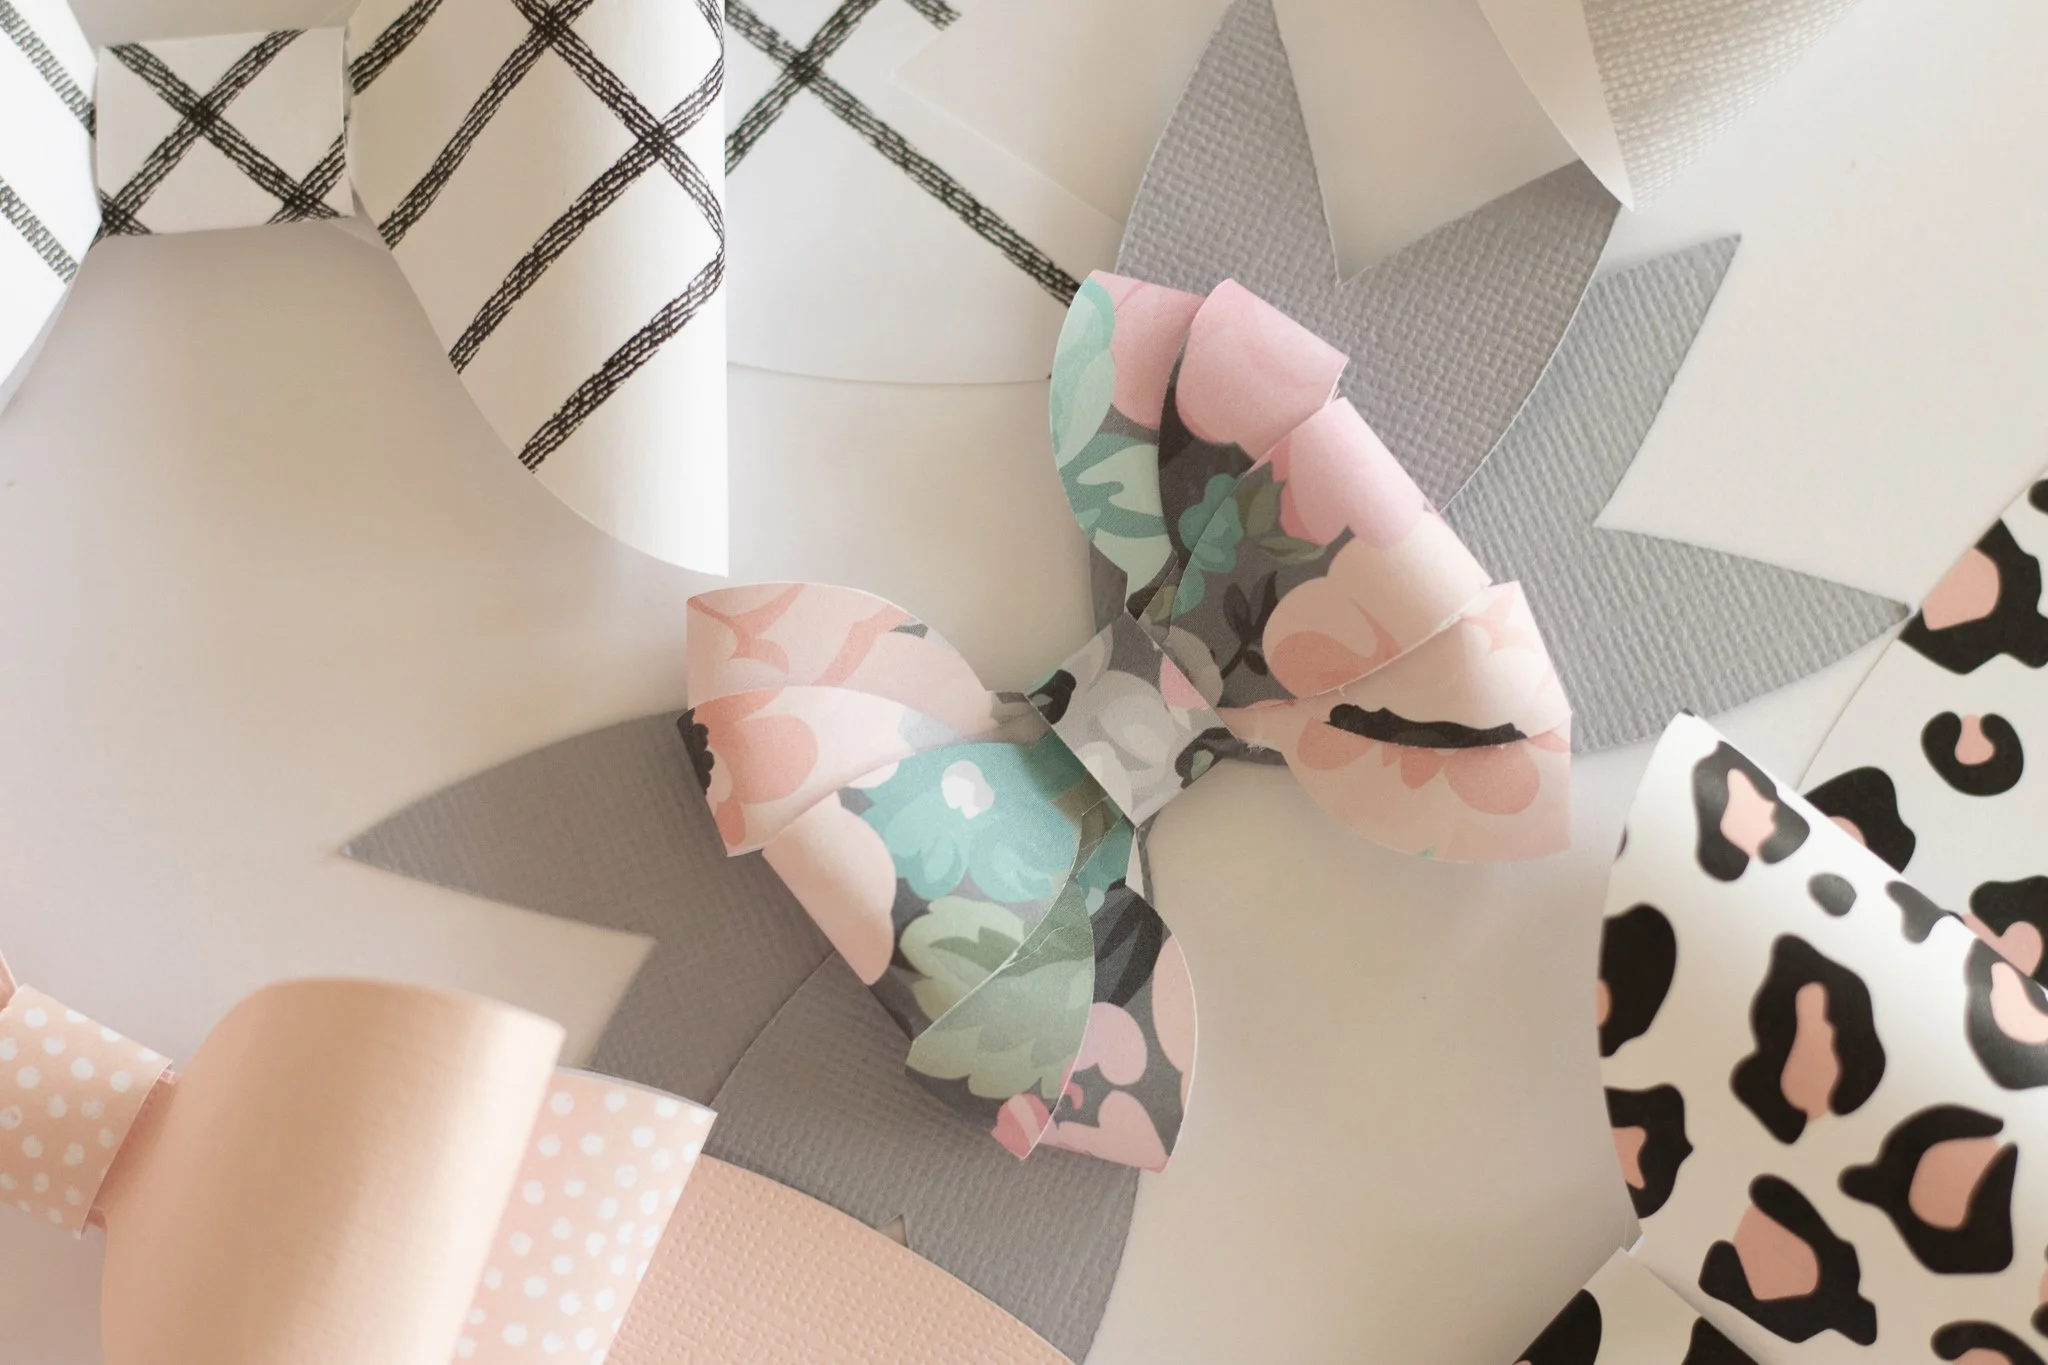
The multiple loops make it a more sophisticated looking bow with the same amount of ease to assemble as the others.
Assembling:
Starting with the outer strips on each side, loop them around into the center and secure.
With this bow, it’s important to leave enough space for the middle piece as you’re gluing.
Work your way into the middle, gluing each strip into the center.
Follow the steps to wrap the middle piece around the center & glue on your tails!
When I pull my materials out, I usually make several different bows to save and quickly grab when I need them. Once you make one, I promise you’ll find yourself starting a collection!
If you give my patterns a try, let me know below & tag me on Instagram!
Happy crafting <3