

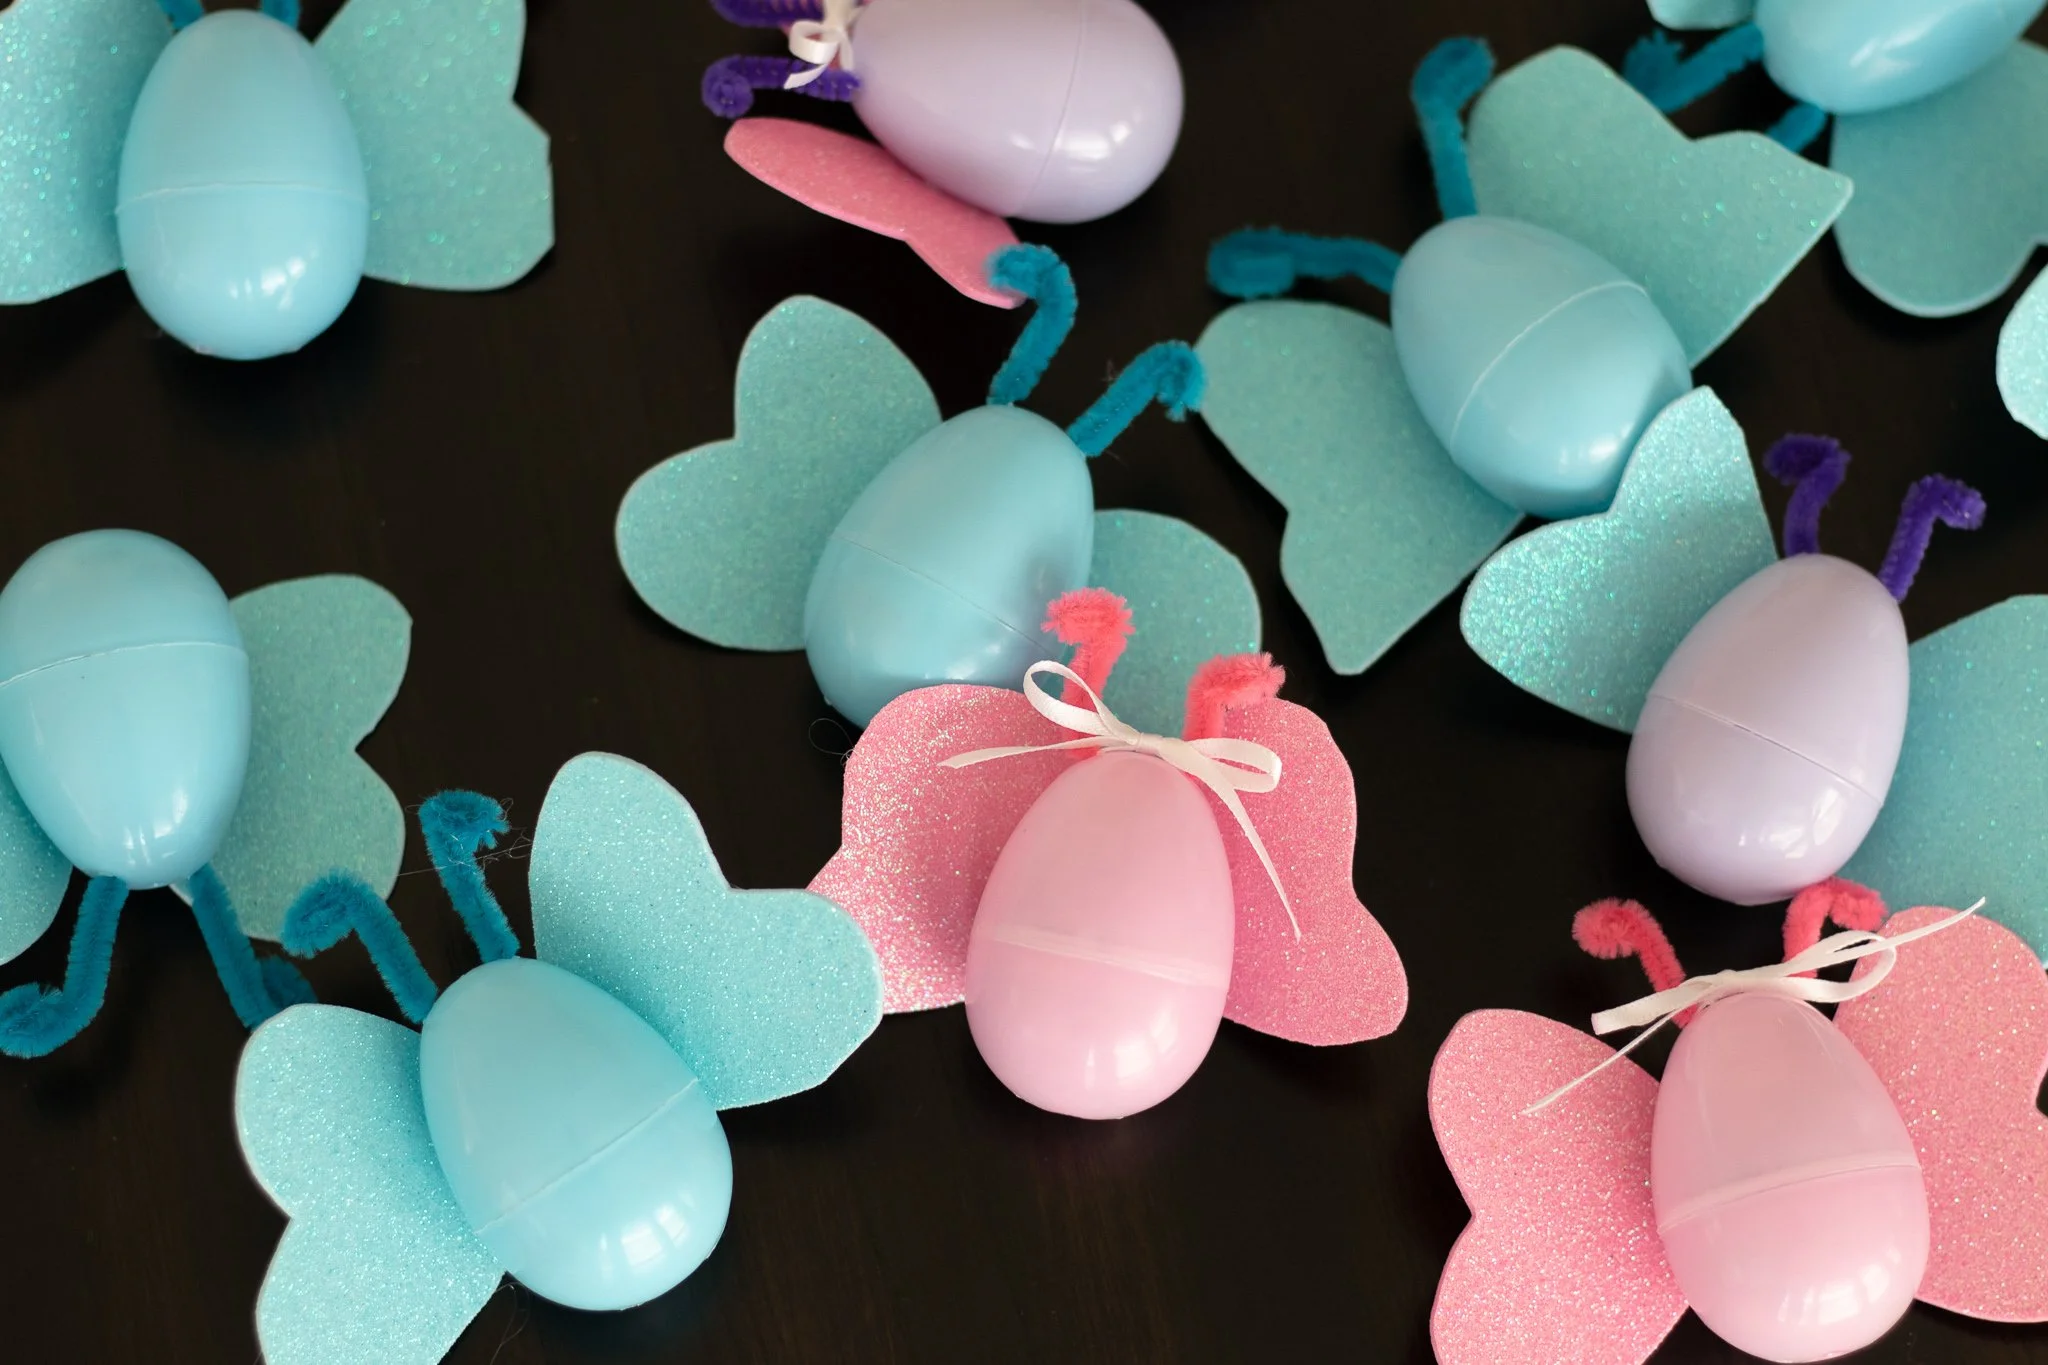
EGG Butterflies
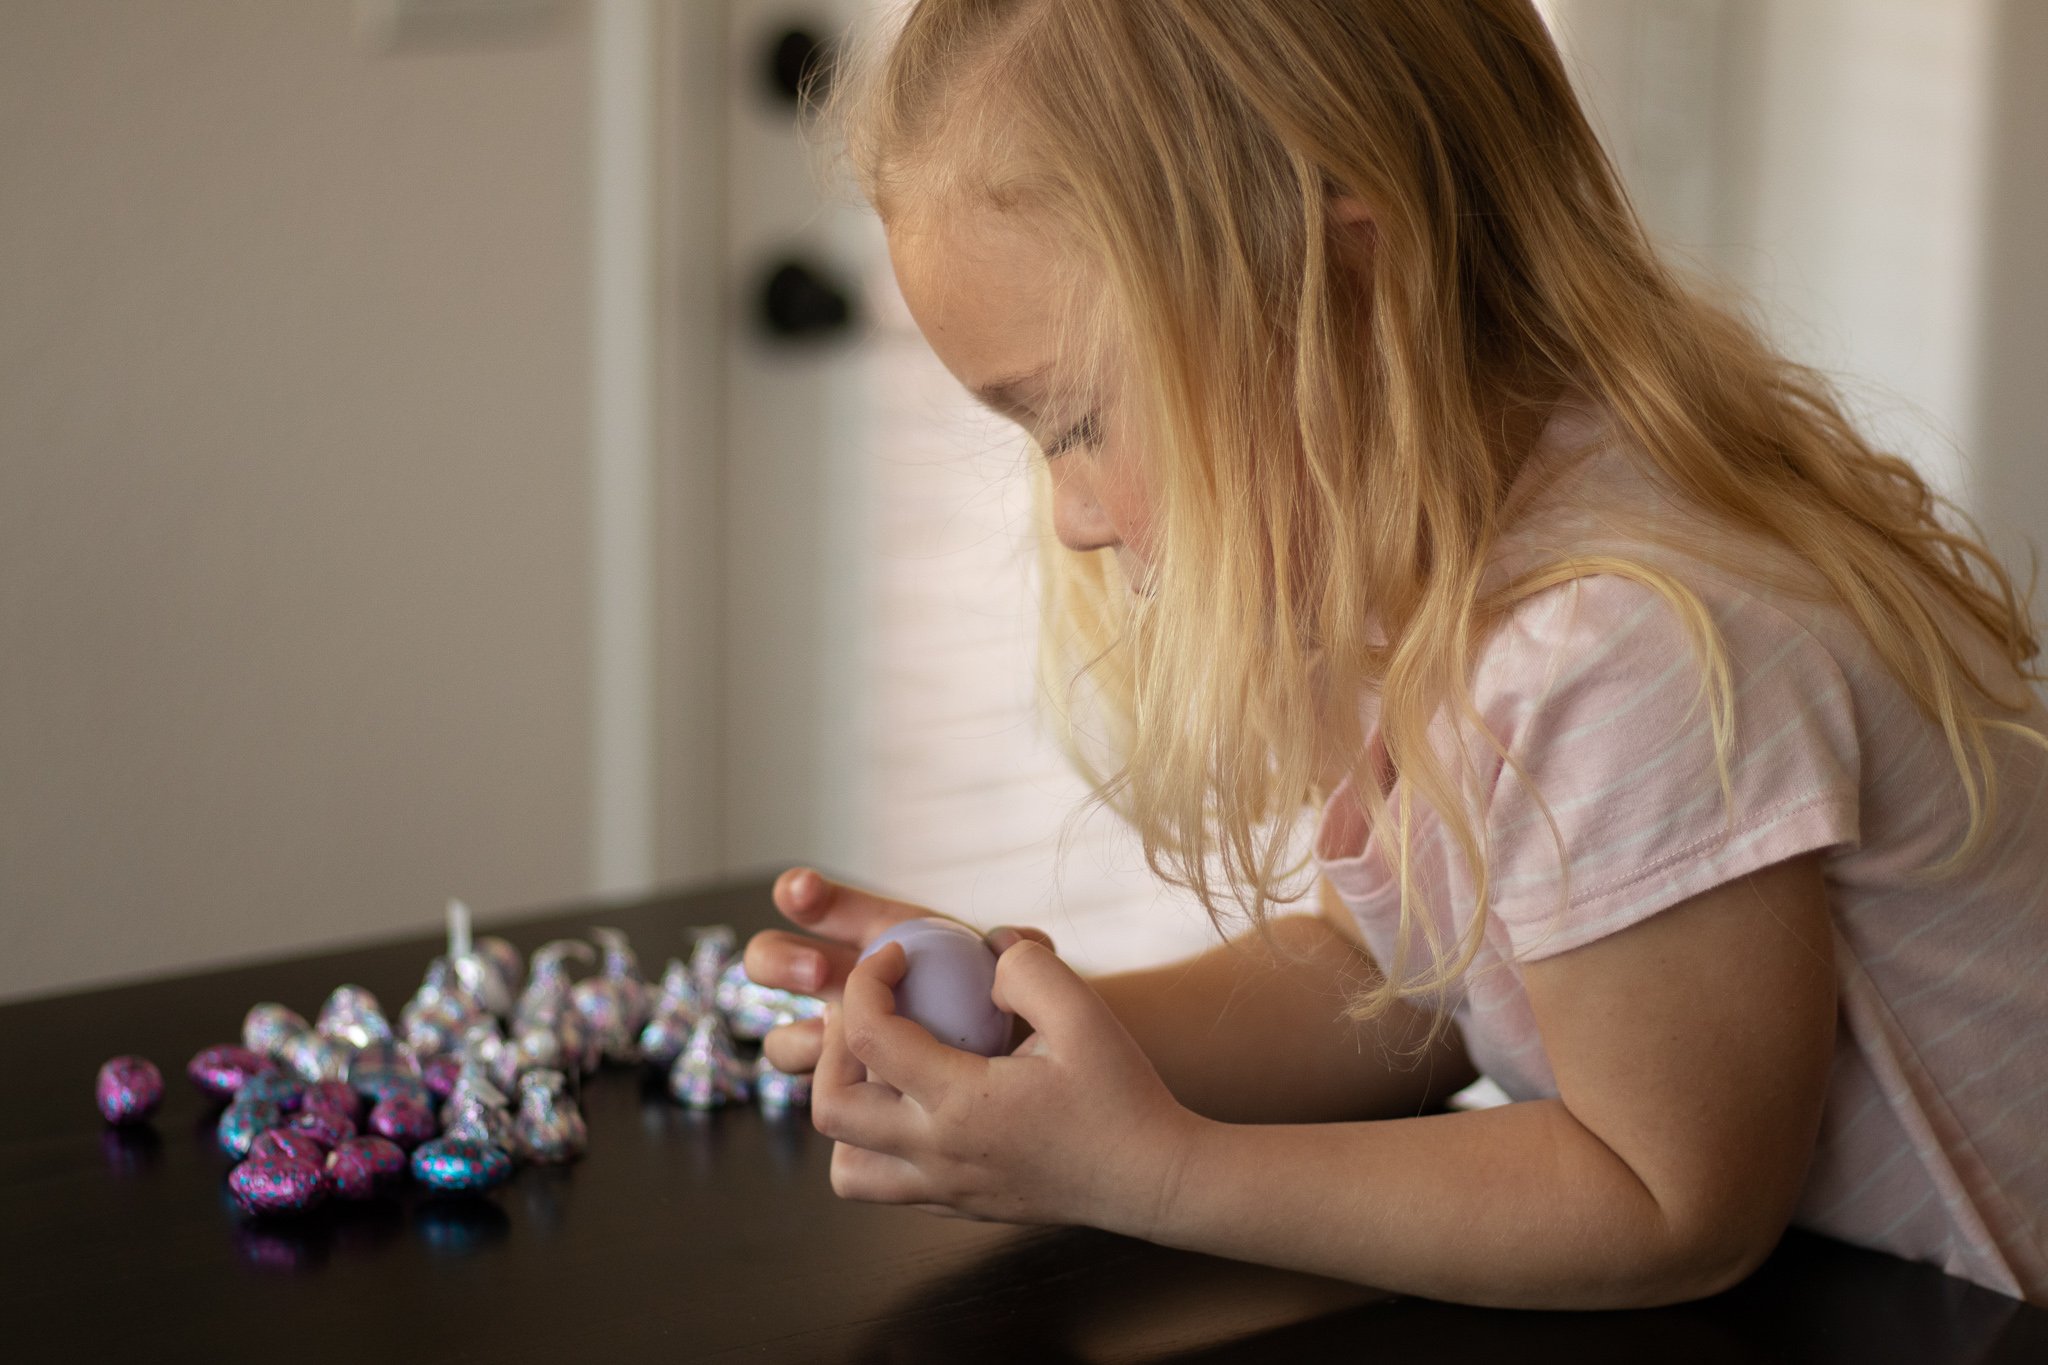
There’s something about Easter eggs kids absolutely love.
I think it has to do with the mystery and excitement of what’s inside. We do egg hunts every year the morning of Easter so I have a HUGE box of plastic eggs.
They became the inspiration for this little craft!
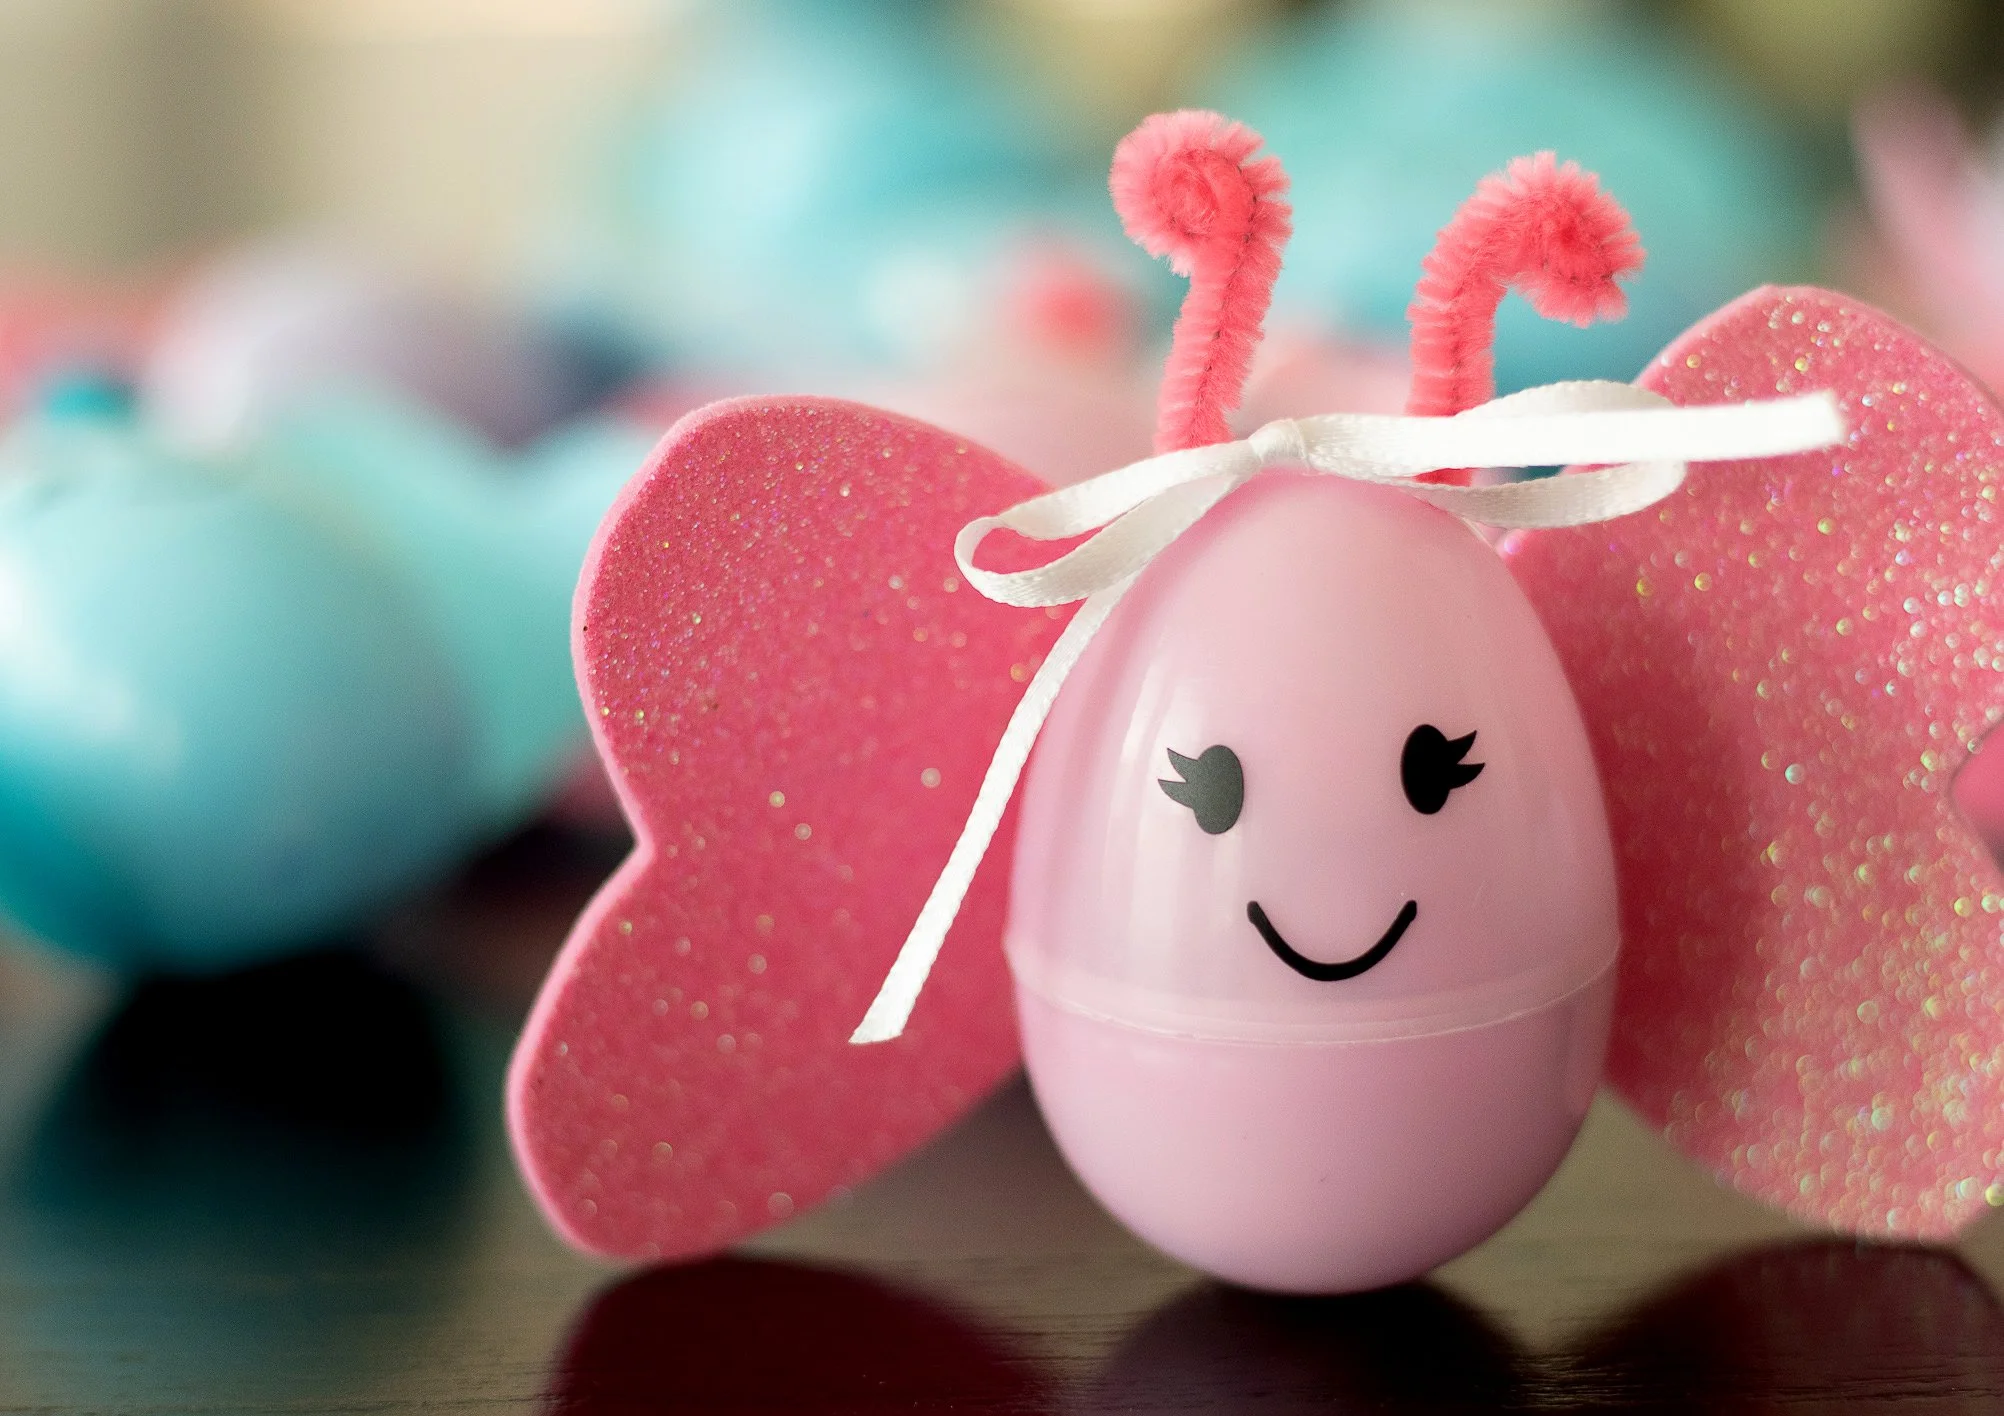
The shape of an egg is a little awkward so I had to get creative with this one. Thinking of all things Spring, BUTTERFLIES seemed like such a fun idea. So I went with it!

I shared our craft below if you are looking for another quick, easy, and low budget way to make something super cute & fun with your kids this Easter!
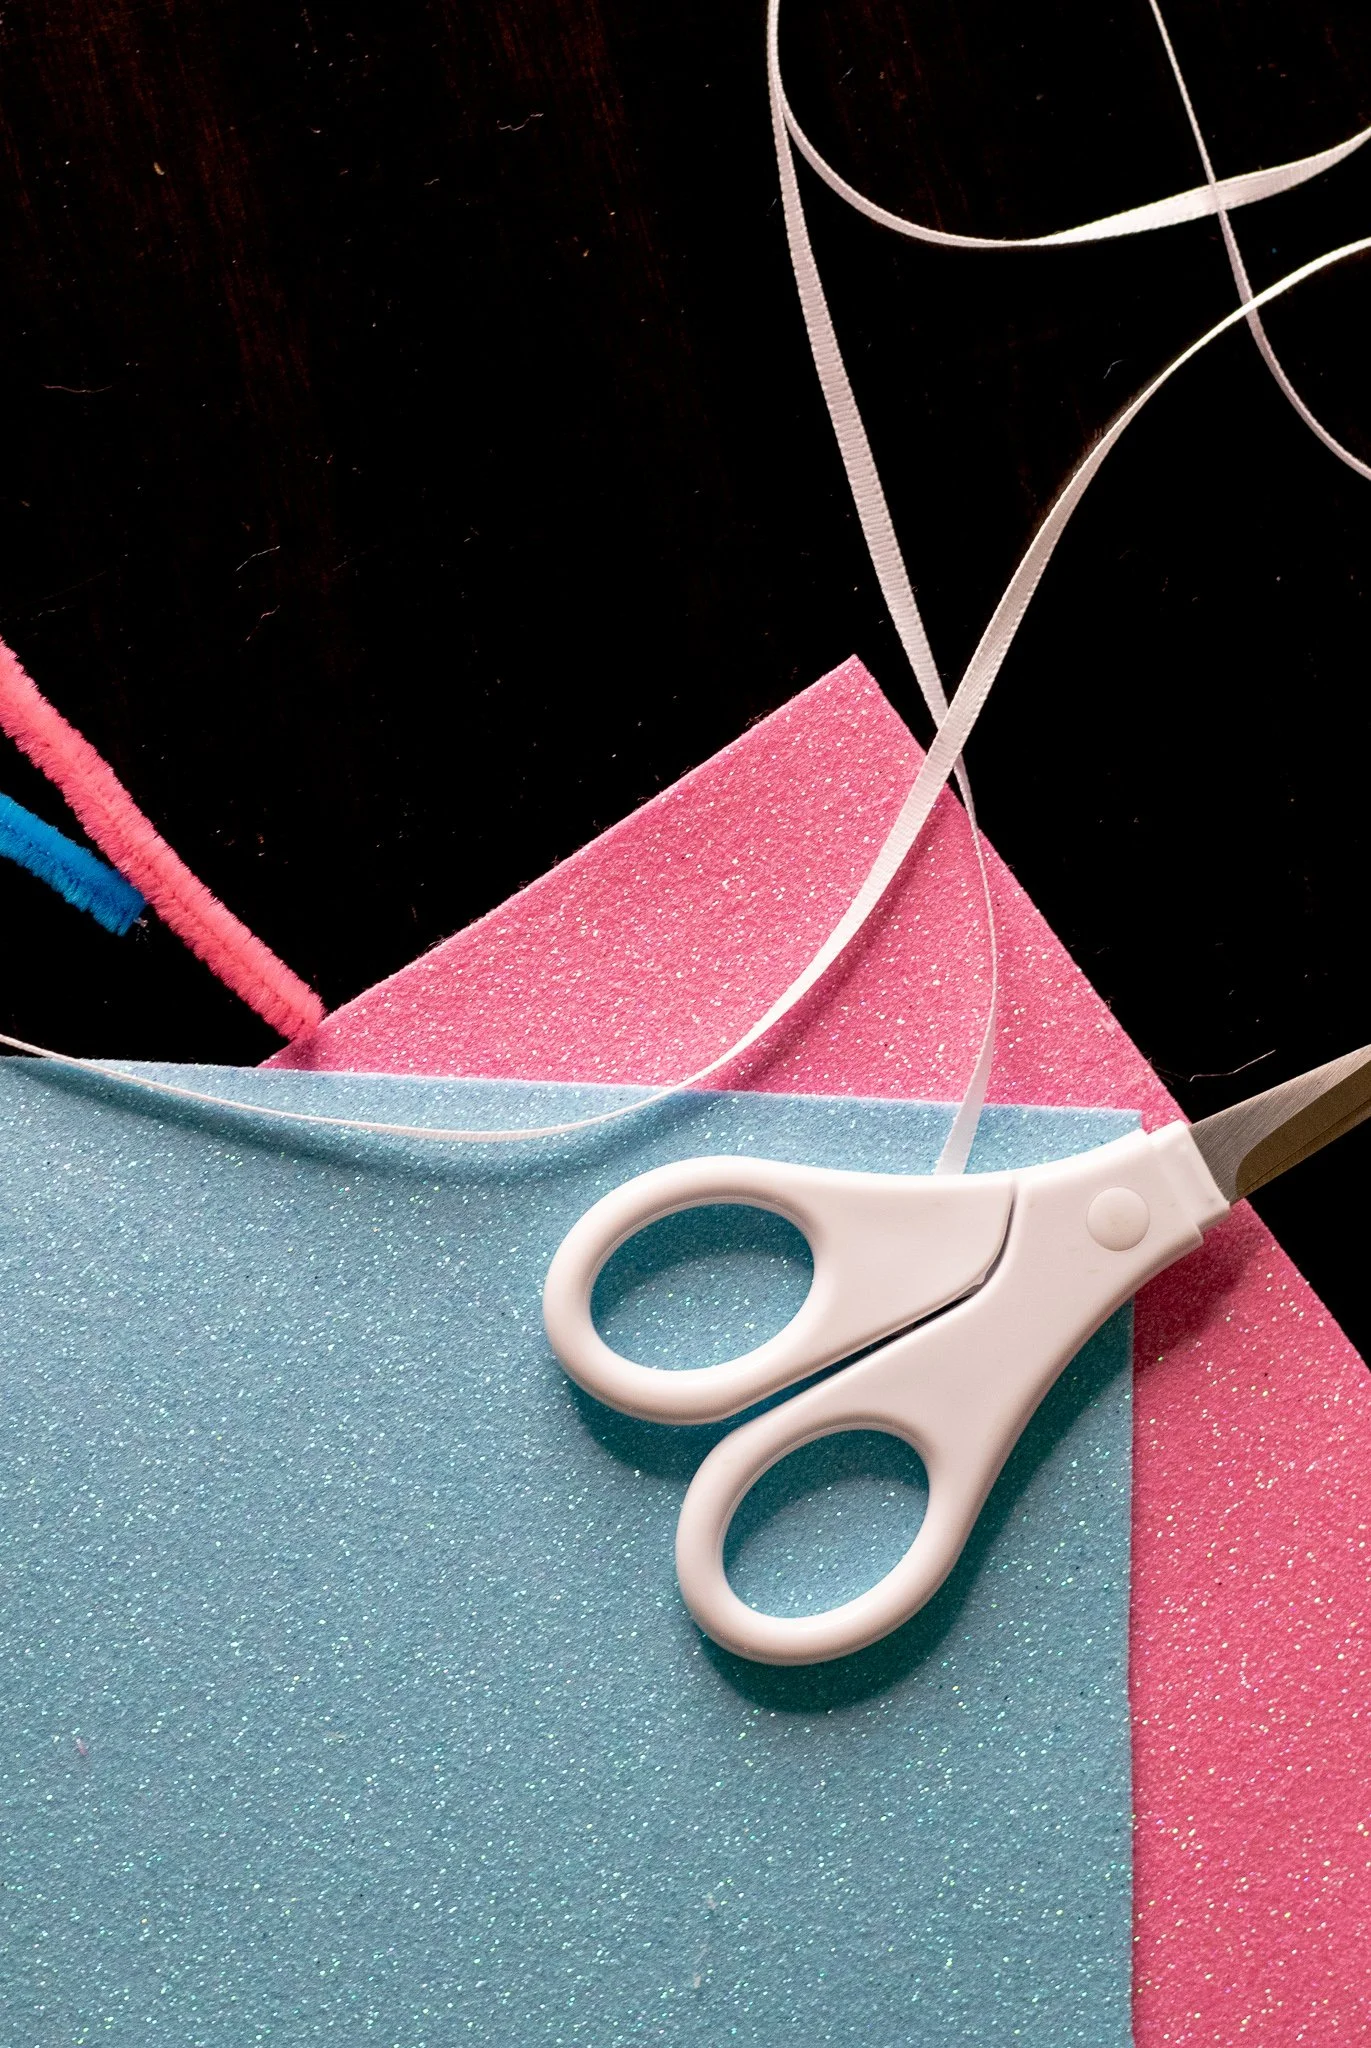
Materials
Plastic Eggs
Foam Sheets (colors & quantity depends on the amount of eggs you are making)
Heart tracer (about 2 ½ inches at it’s widest part)
⅛ inch ribbon
Pipe cleaners
Googly eyes OR Vinyl & my SVG butterfly smile cut file HERE!
Glue (Hot glue works best)
Treats to put into eggs
Steps
The most beautiful part of a butterfly is it’s wings so this naturally seemed like the best place to start. I chose some pink & blue sparkly foam and kept with that color scheme with the eggs. You can use ANY color combo you want!
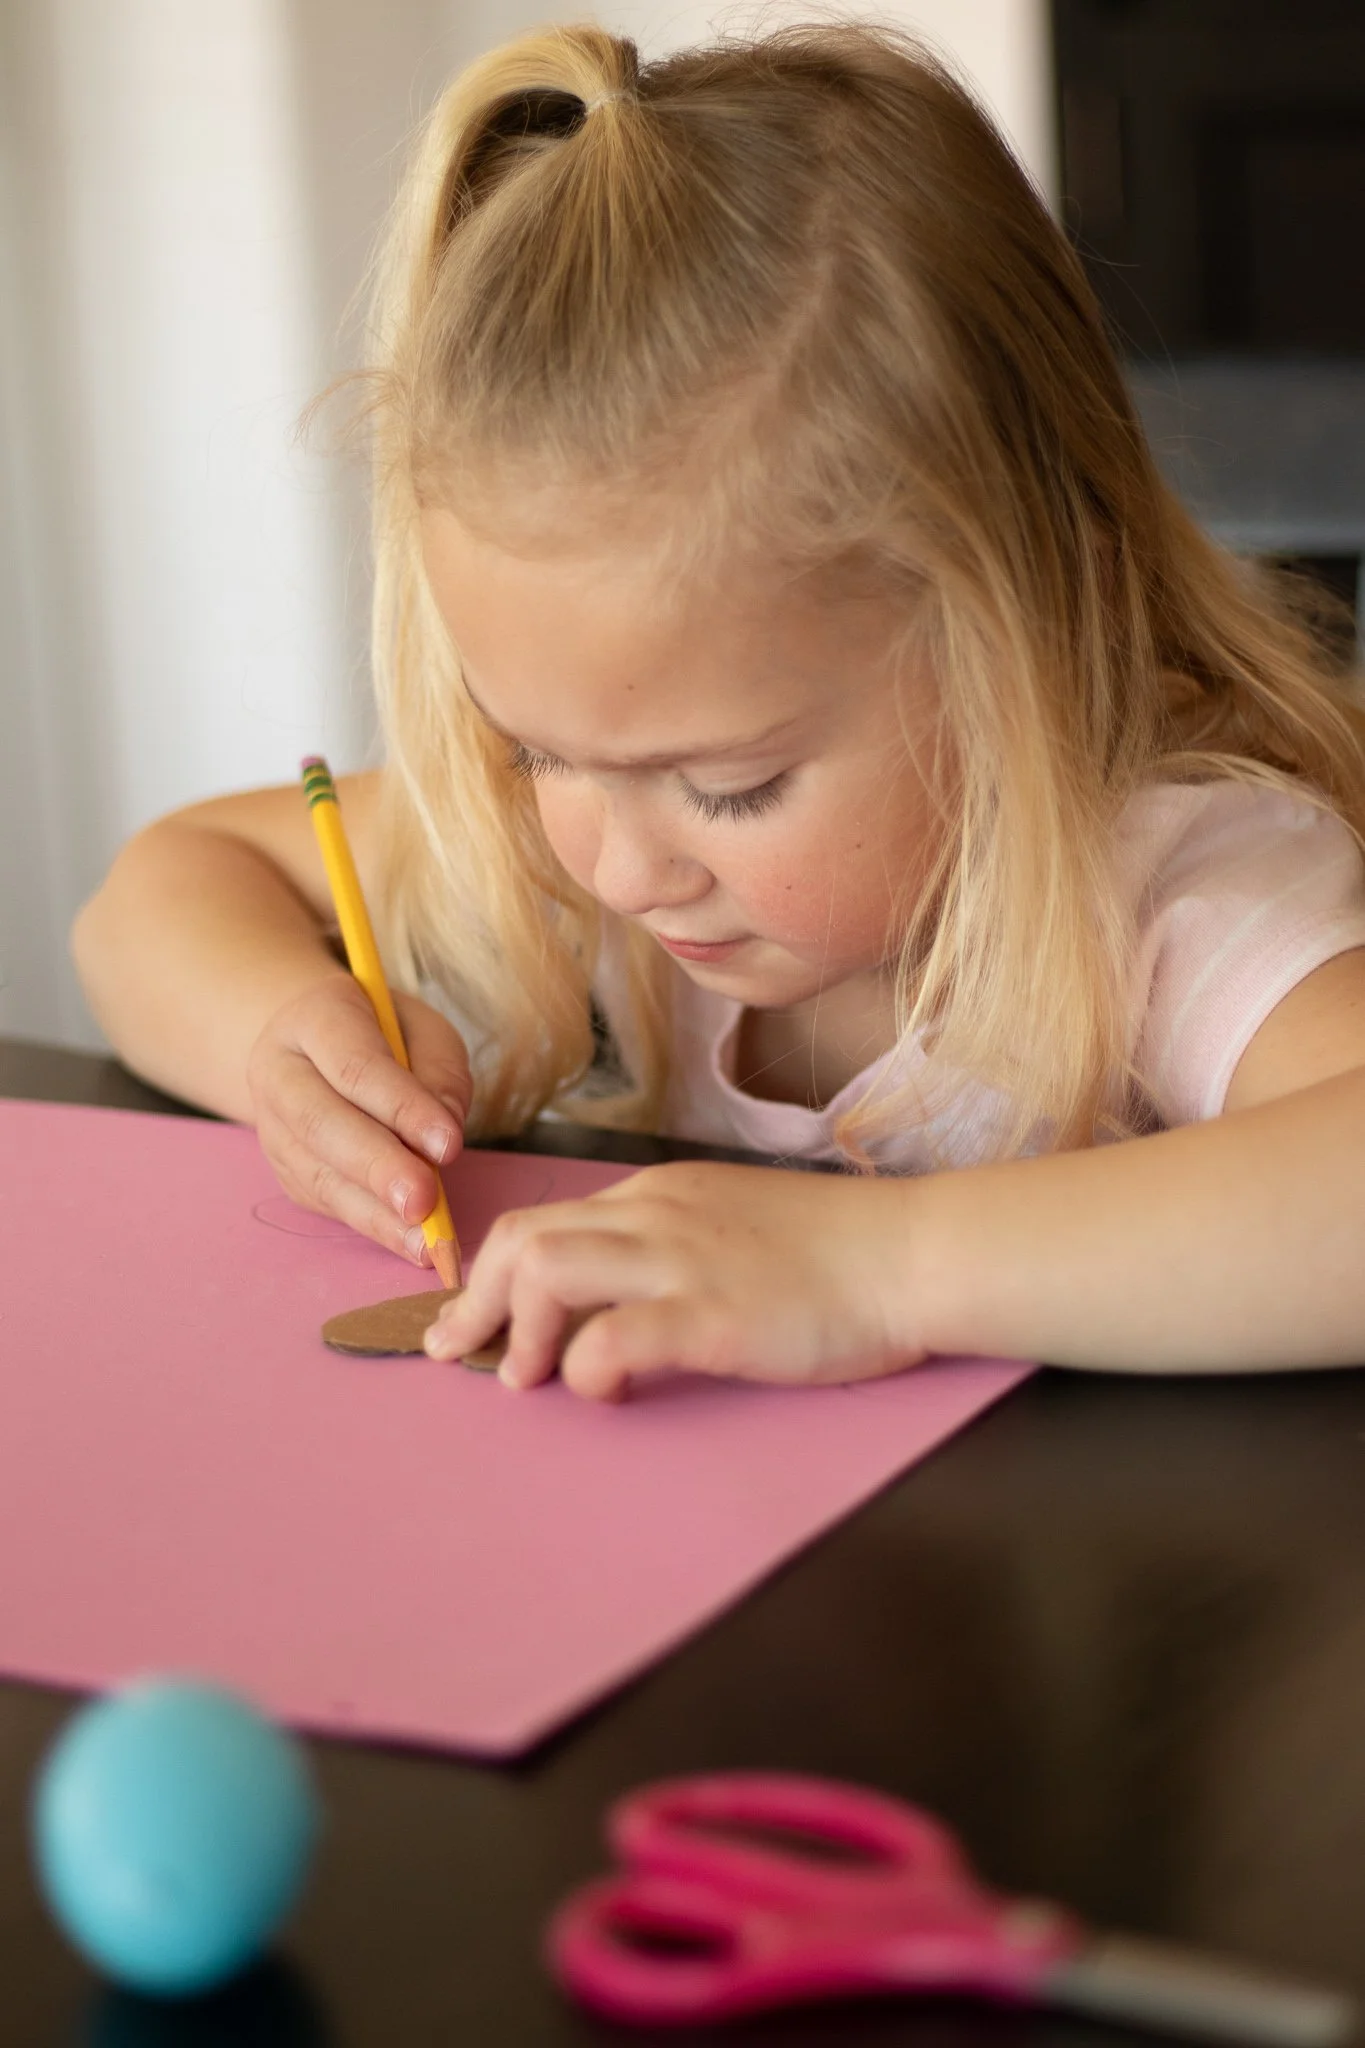
I wanted my kids to have a hand in making the butterfly wings so I kept the shape to a simple heart.
On a scrap piece of cardboard, I cut a heart tracer. My daughter traced the shape onto the foam pieces filling the entire sheet.
*Keep in mind you need 2 wings per egg.
I also gave her the task of cutting a few of the hearts out! (We had A LOT of eggs to make!)
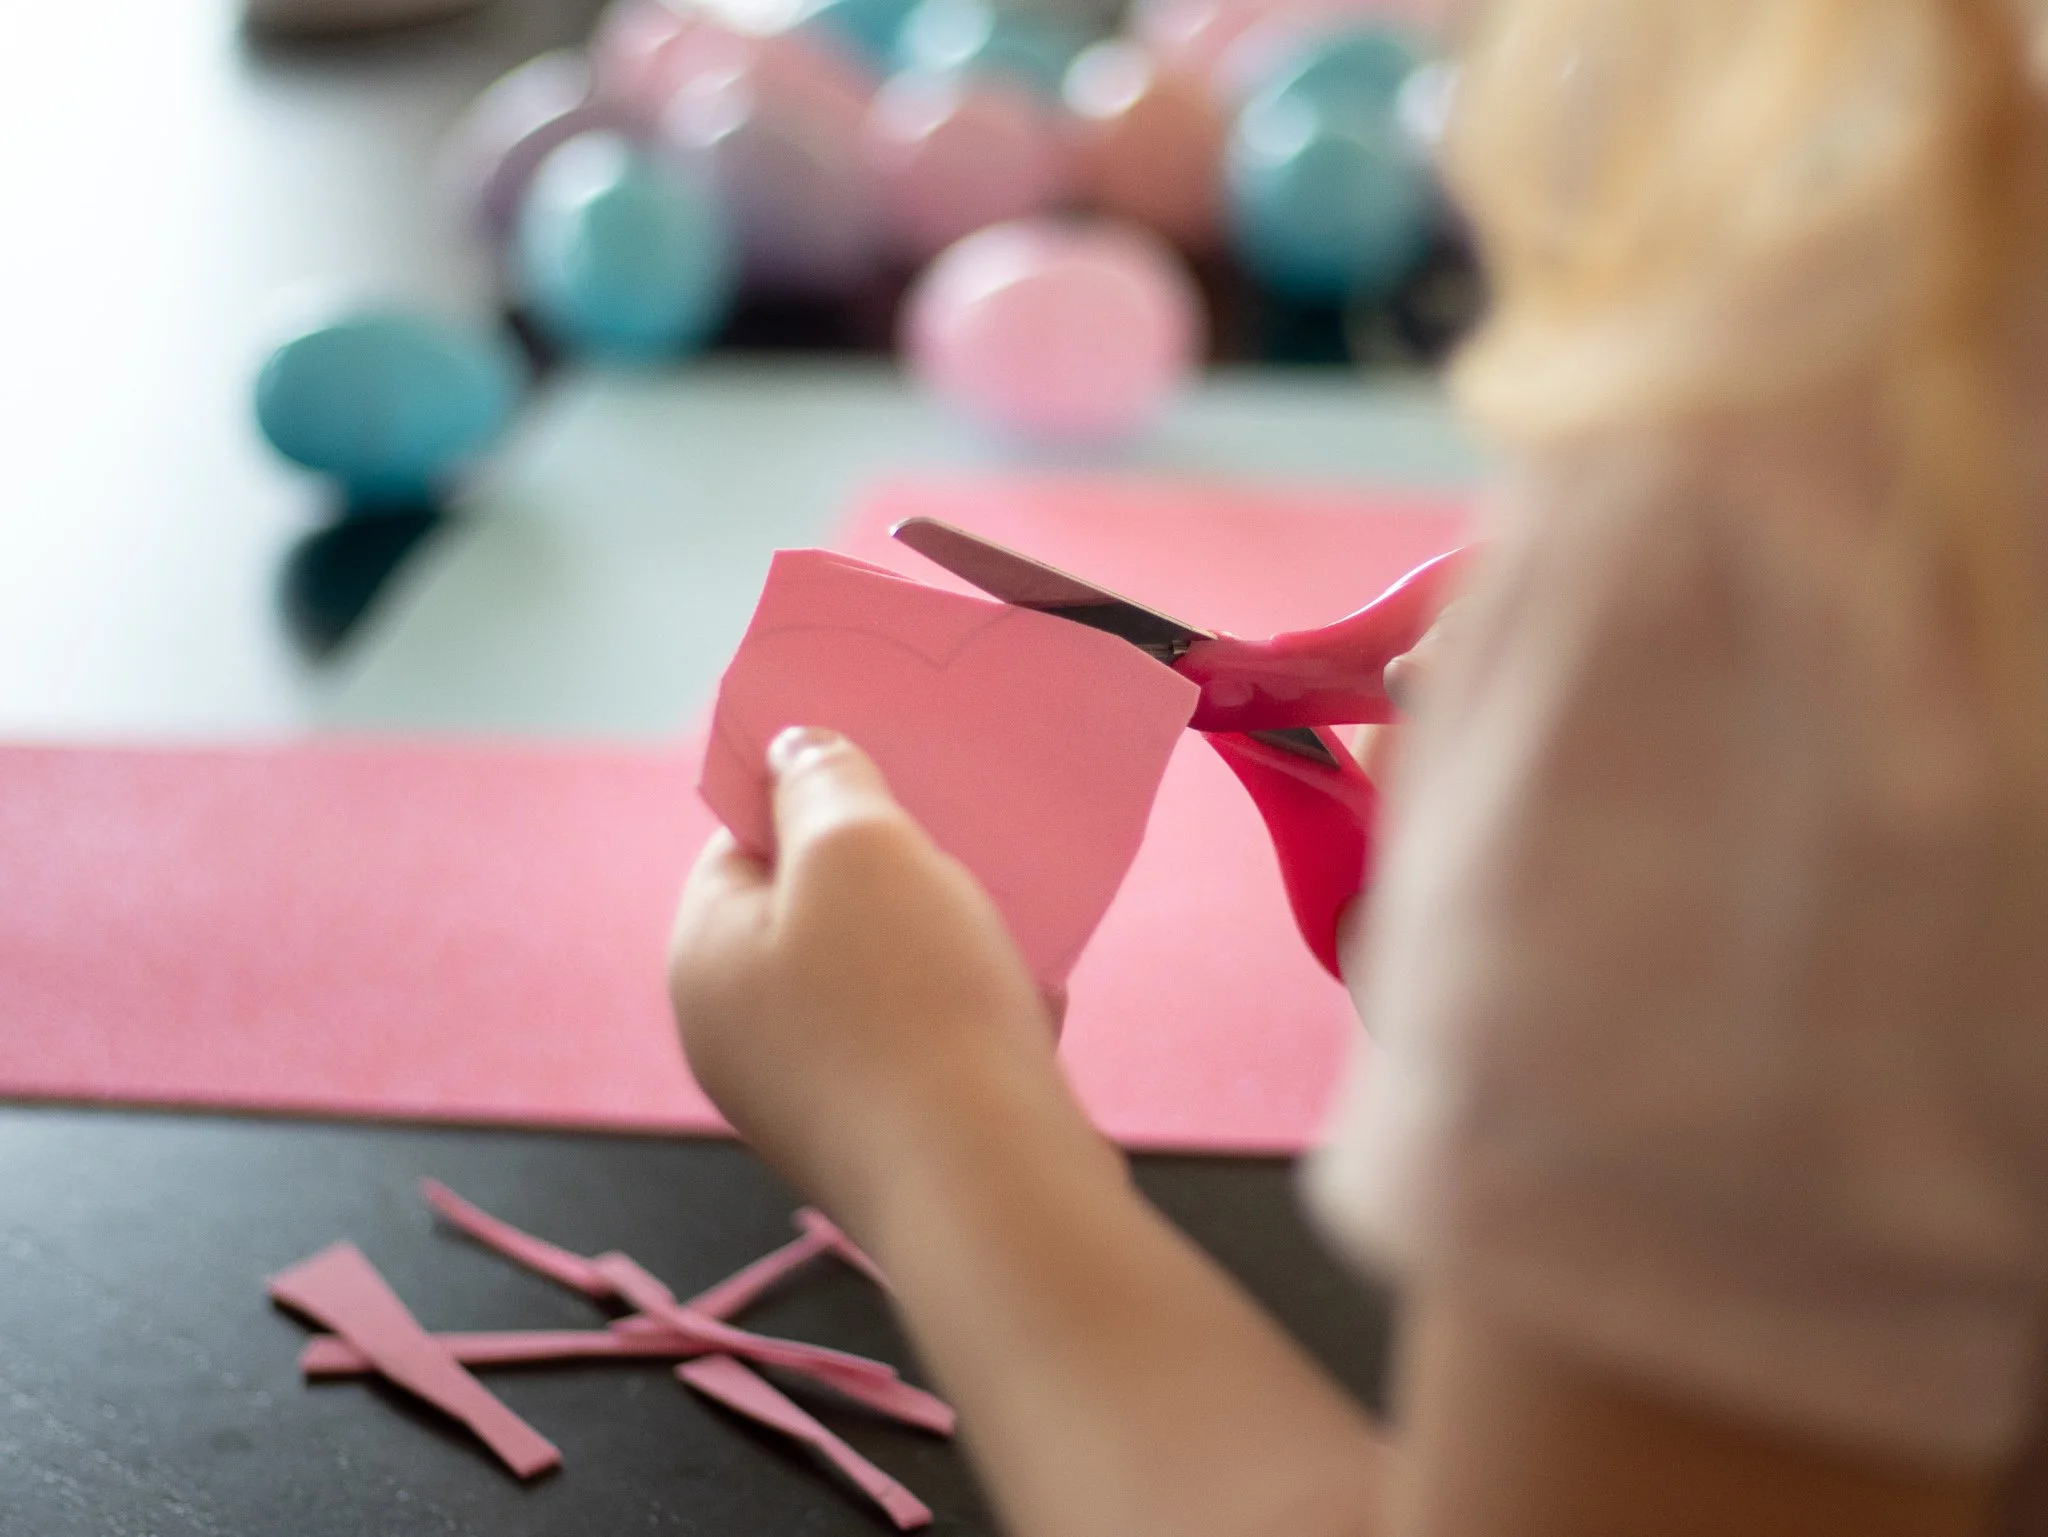
These are the PERFECT steps for kids. As a former elementary art teacher, tracing & cutting are just two things that I believe EVERY kid should have experience with!
Our hearts were NOT perfectly shaped but that’s what I LOVED about them! Anything that’s made by kid’s hands is just better.
TIP: If you wanted to get even more creative, you could add beads, sequins, glitter, gems… WHATEVER to the wings too!
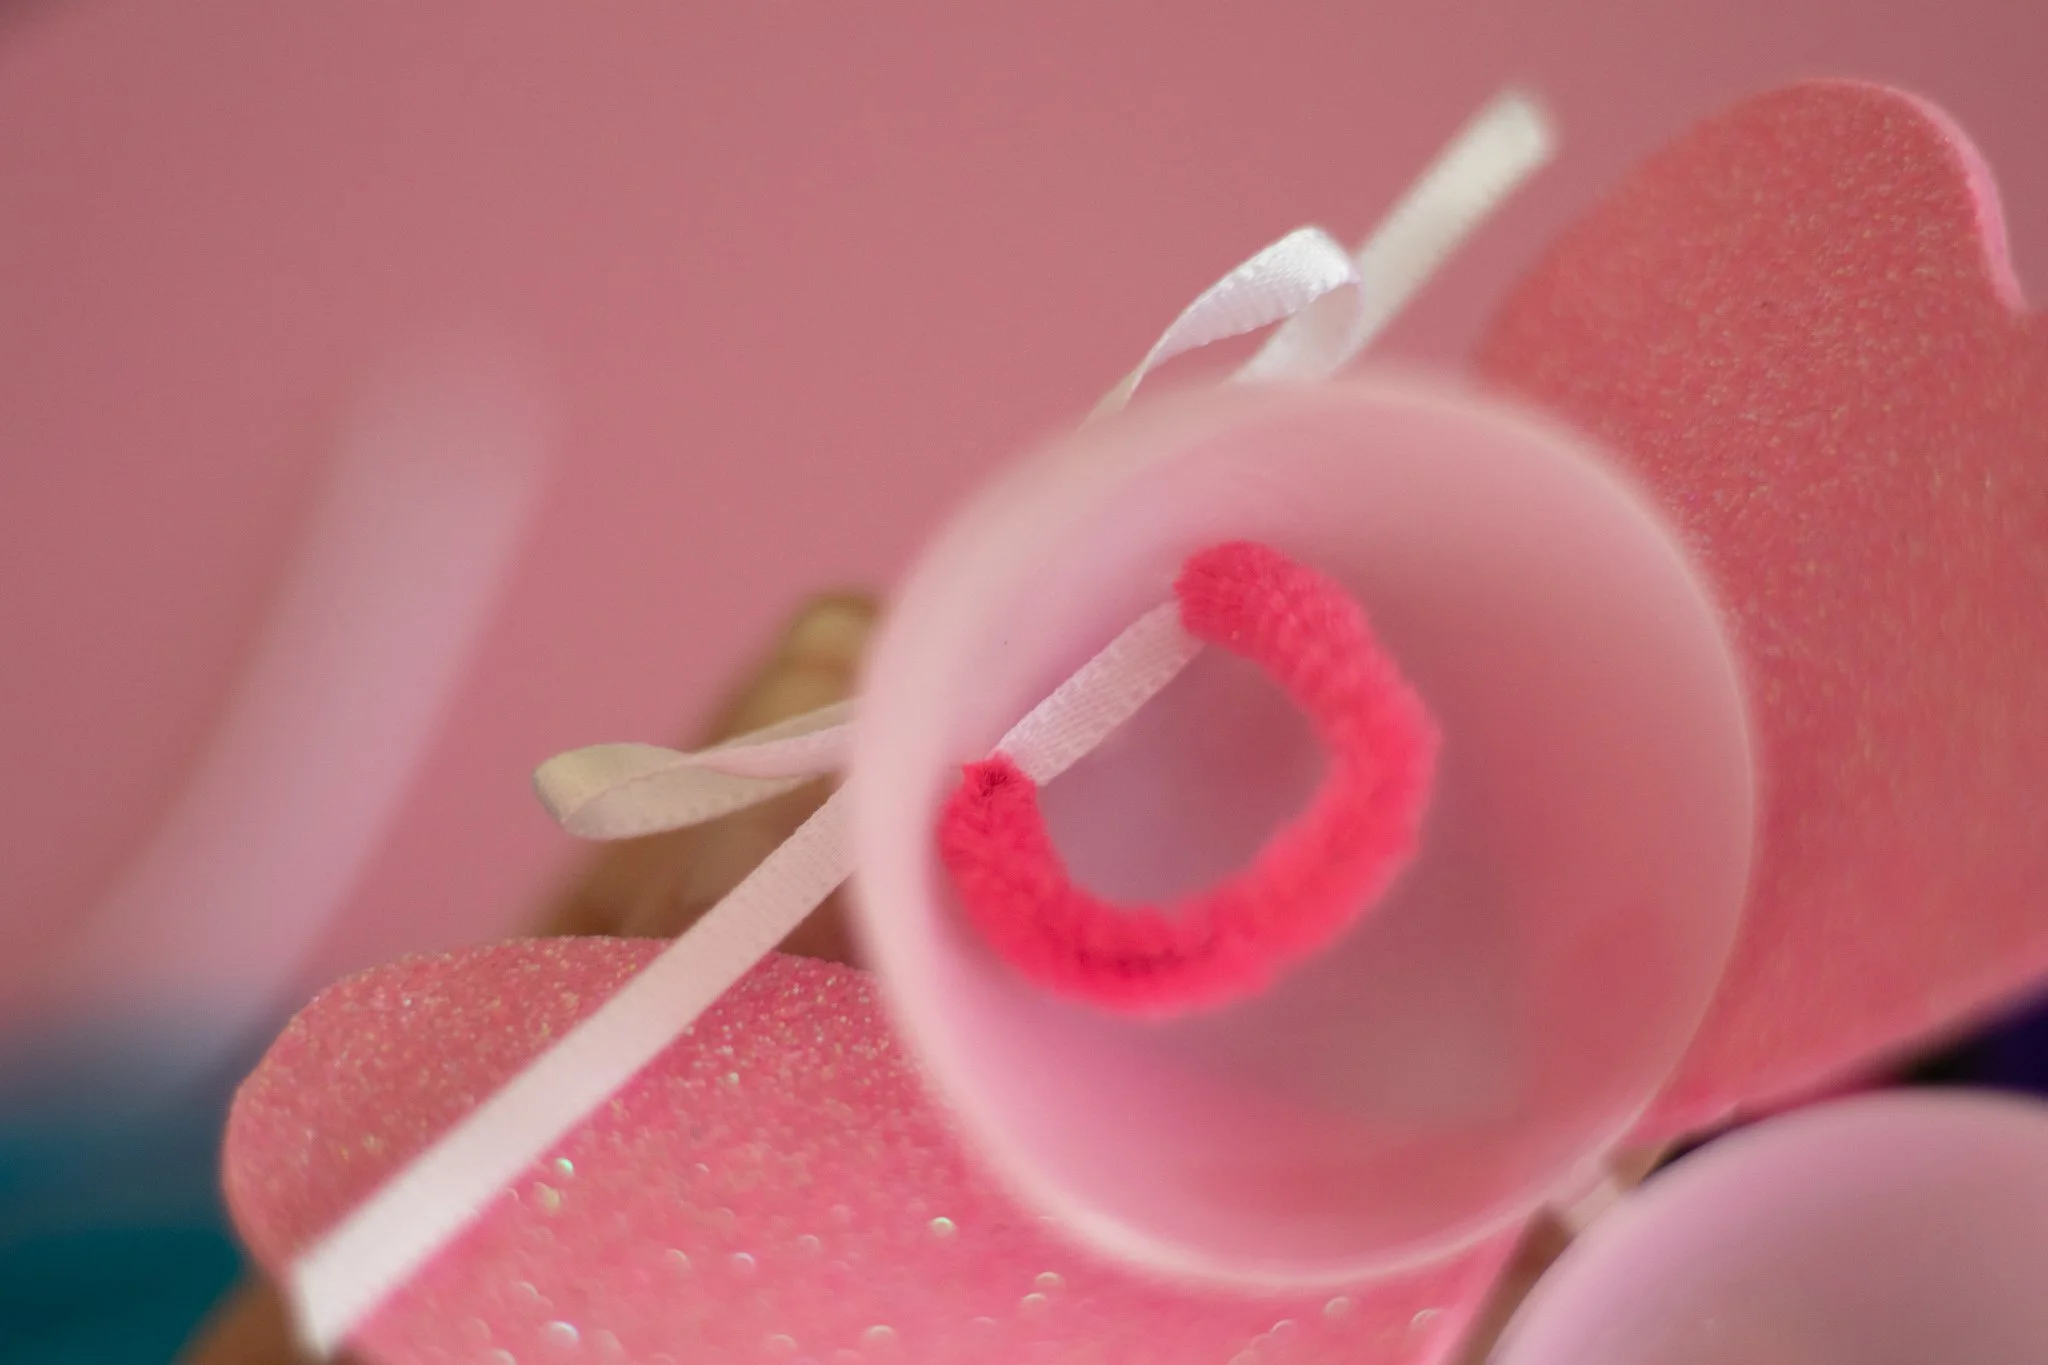
2. Most plastic eggs have two holes in the top. I cut the pipe cleaners into thirds and threaded it through the holes.
I kept with the same colors to match the eggs but again, you can definitely mix & match.
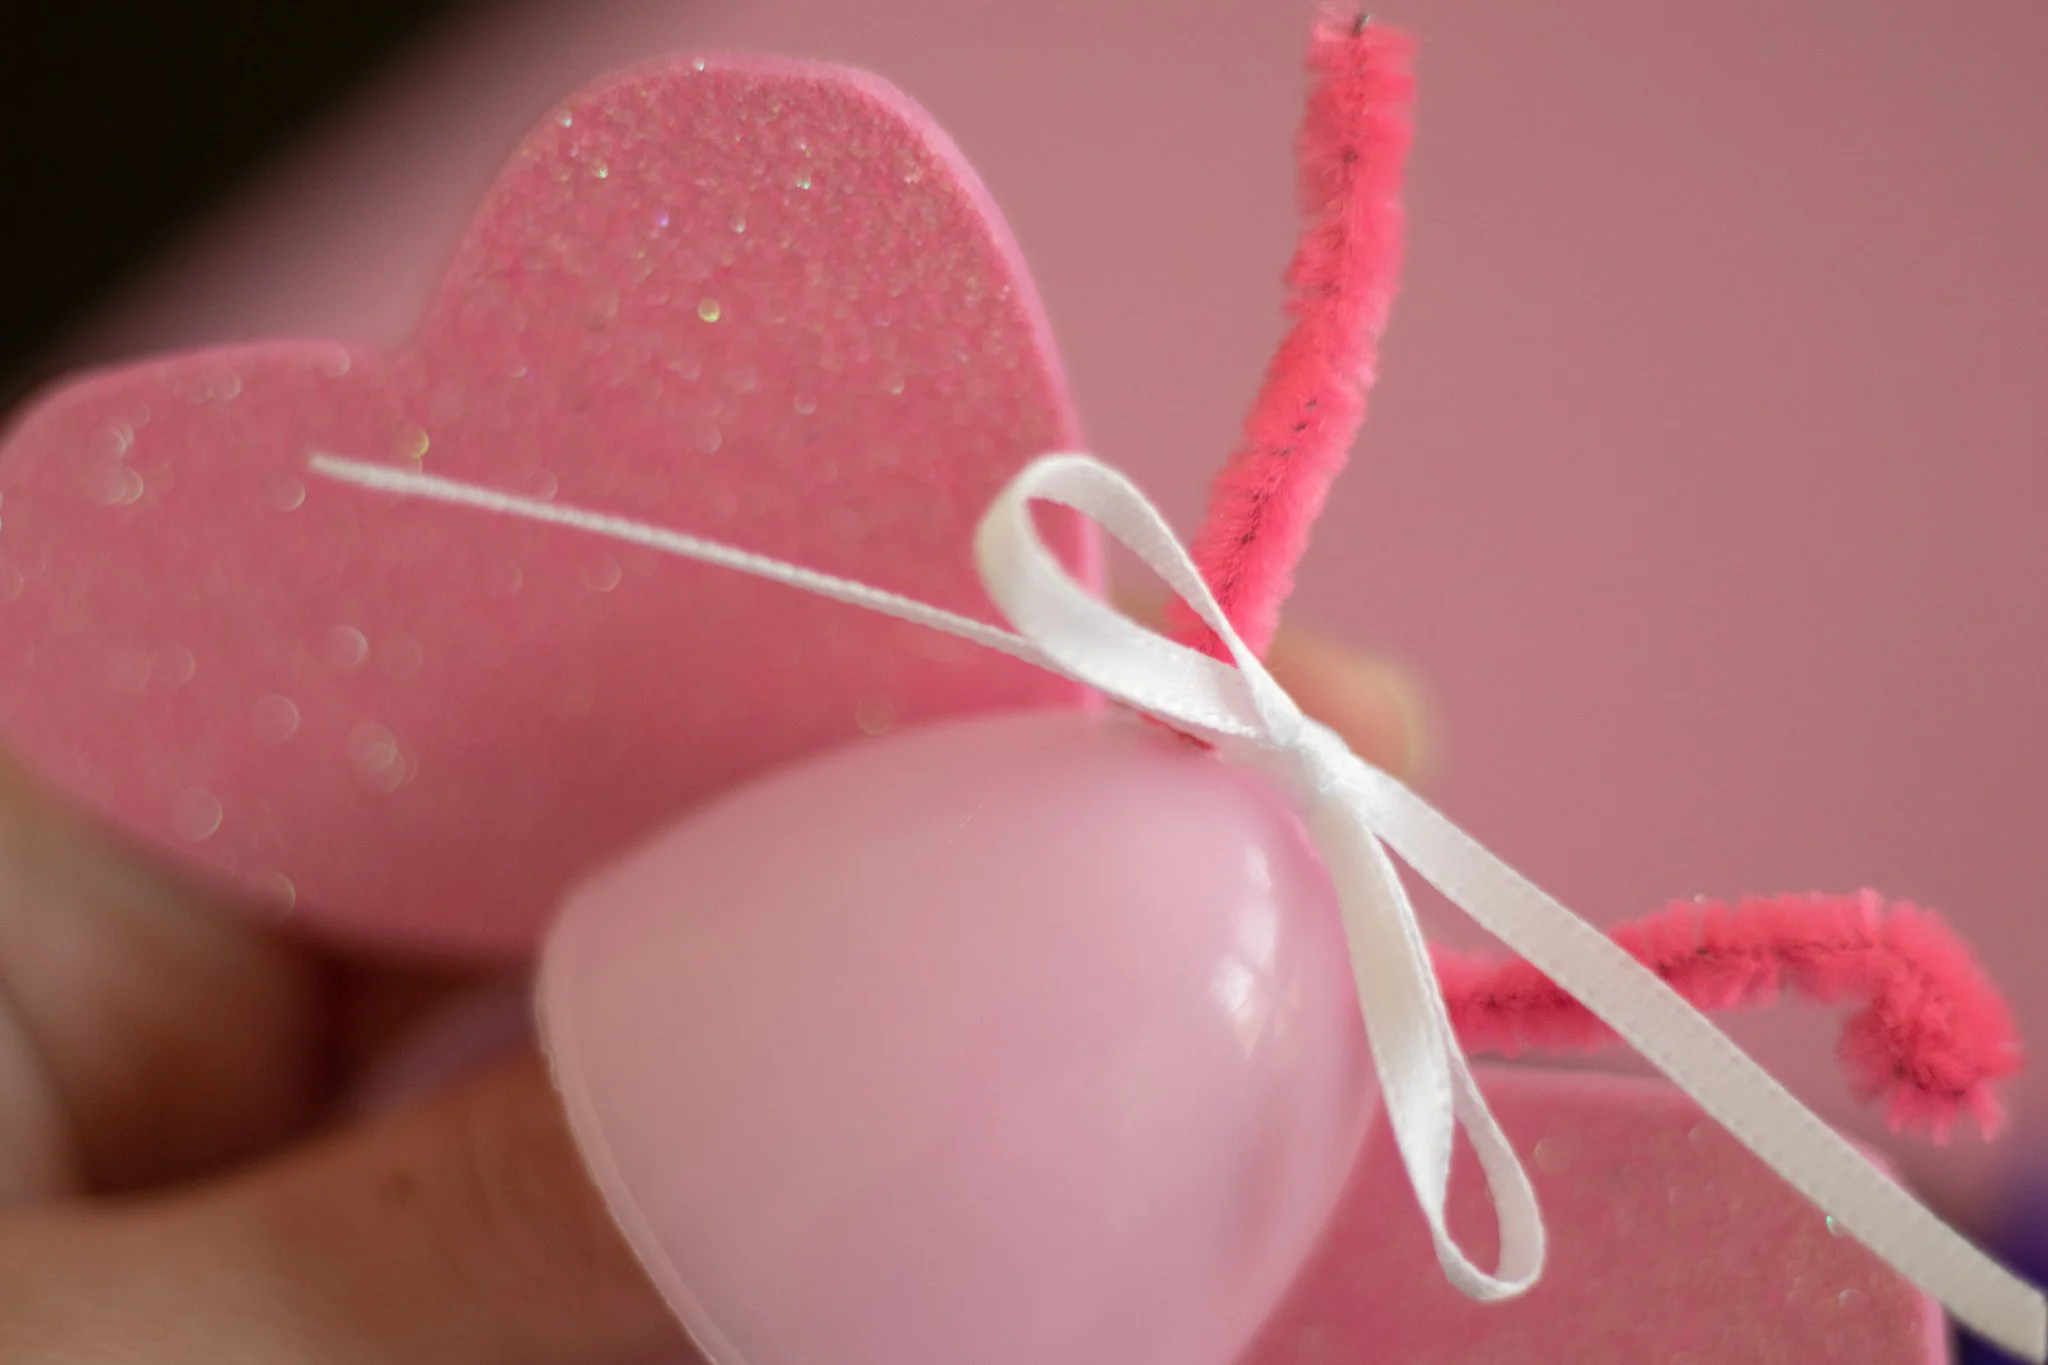
For an extra cute little detail, I also threaded a piece of ribbon through the holes on the top for a bow!
3. My daughter filled the eggs with Hershey’s Kisses & chocolate eggs while I finished cutting some of her heart shapes out. You can fill the eggs with jelly beans or other fun candy too.
This is another great job for those tiny fingers!
4. Once the eggs are filled, it's time to glue on the wings! I found that hot glue works best and dries fast.
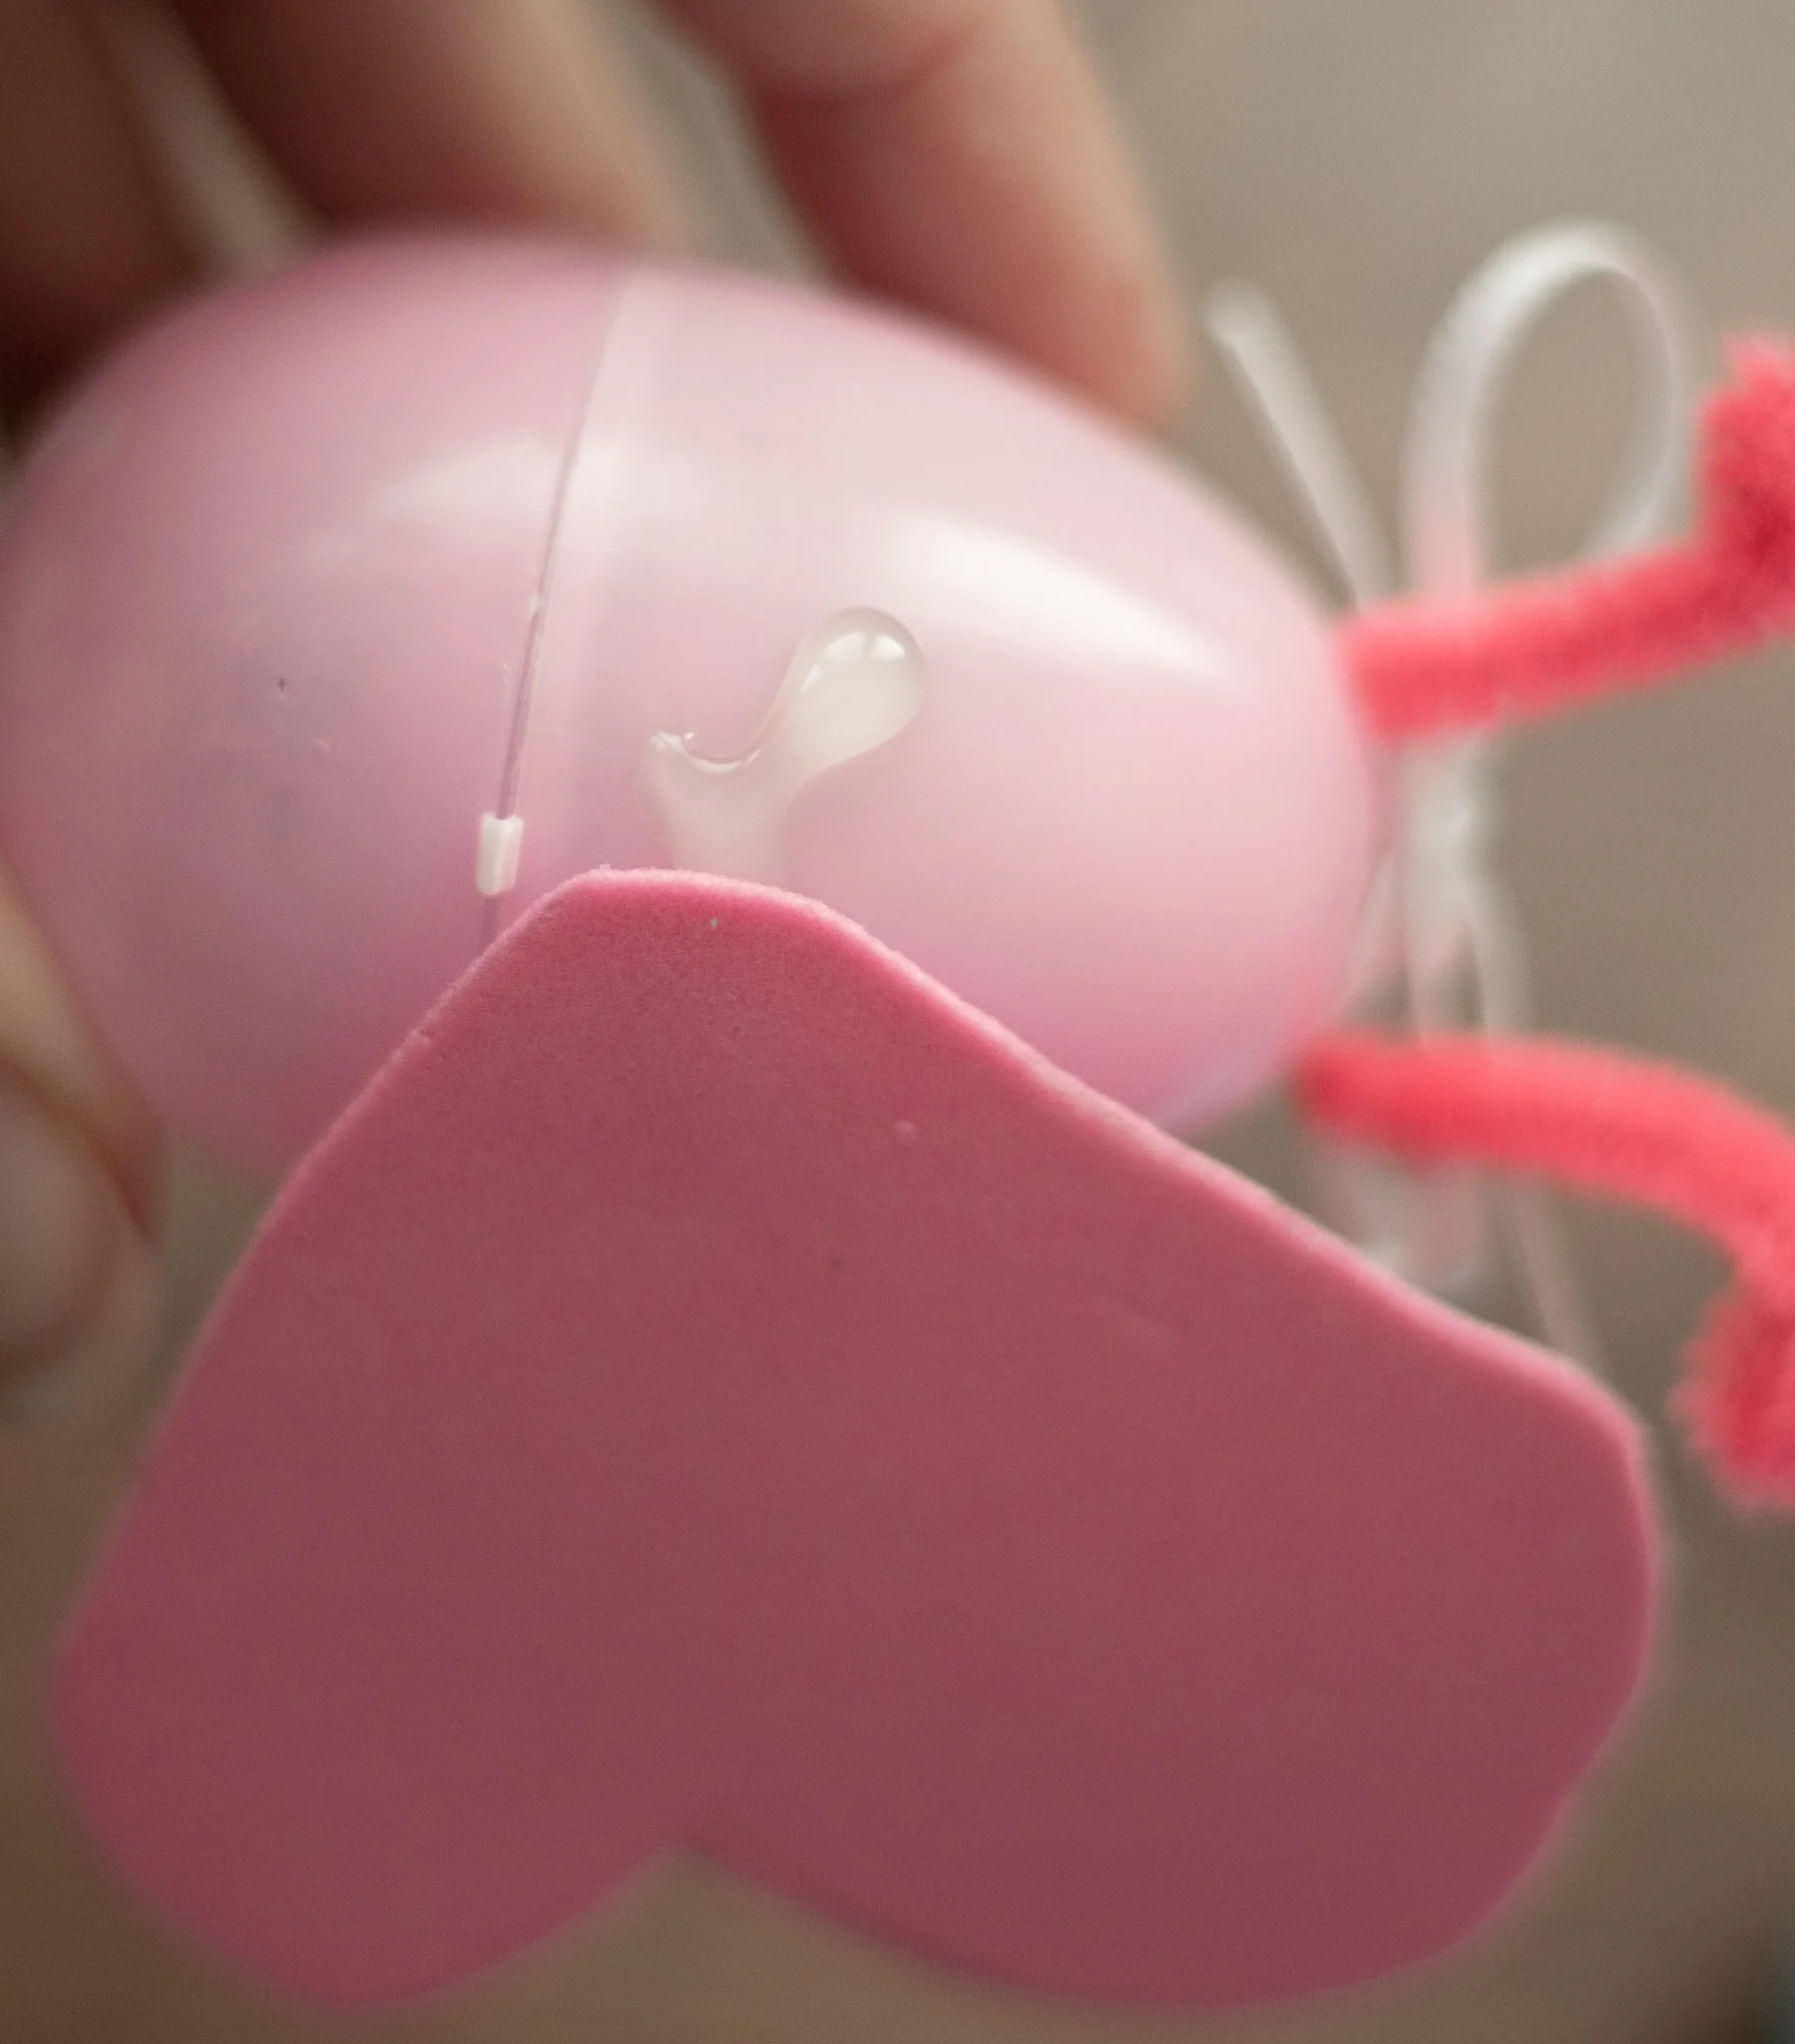
Glue the points of the hearts together above the “hinge” on the top half of the egg. Be careful not to glue on the seam!

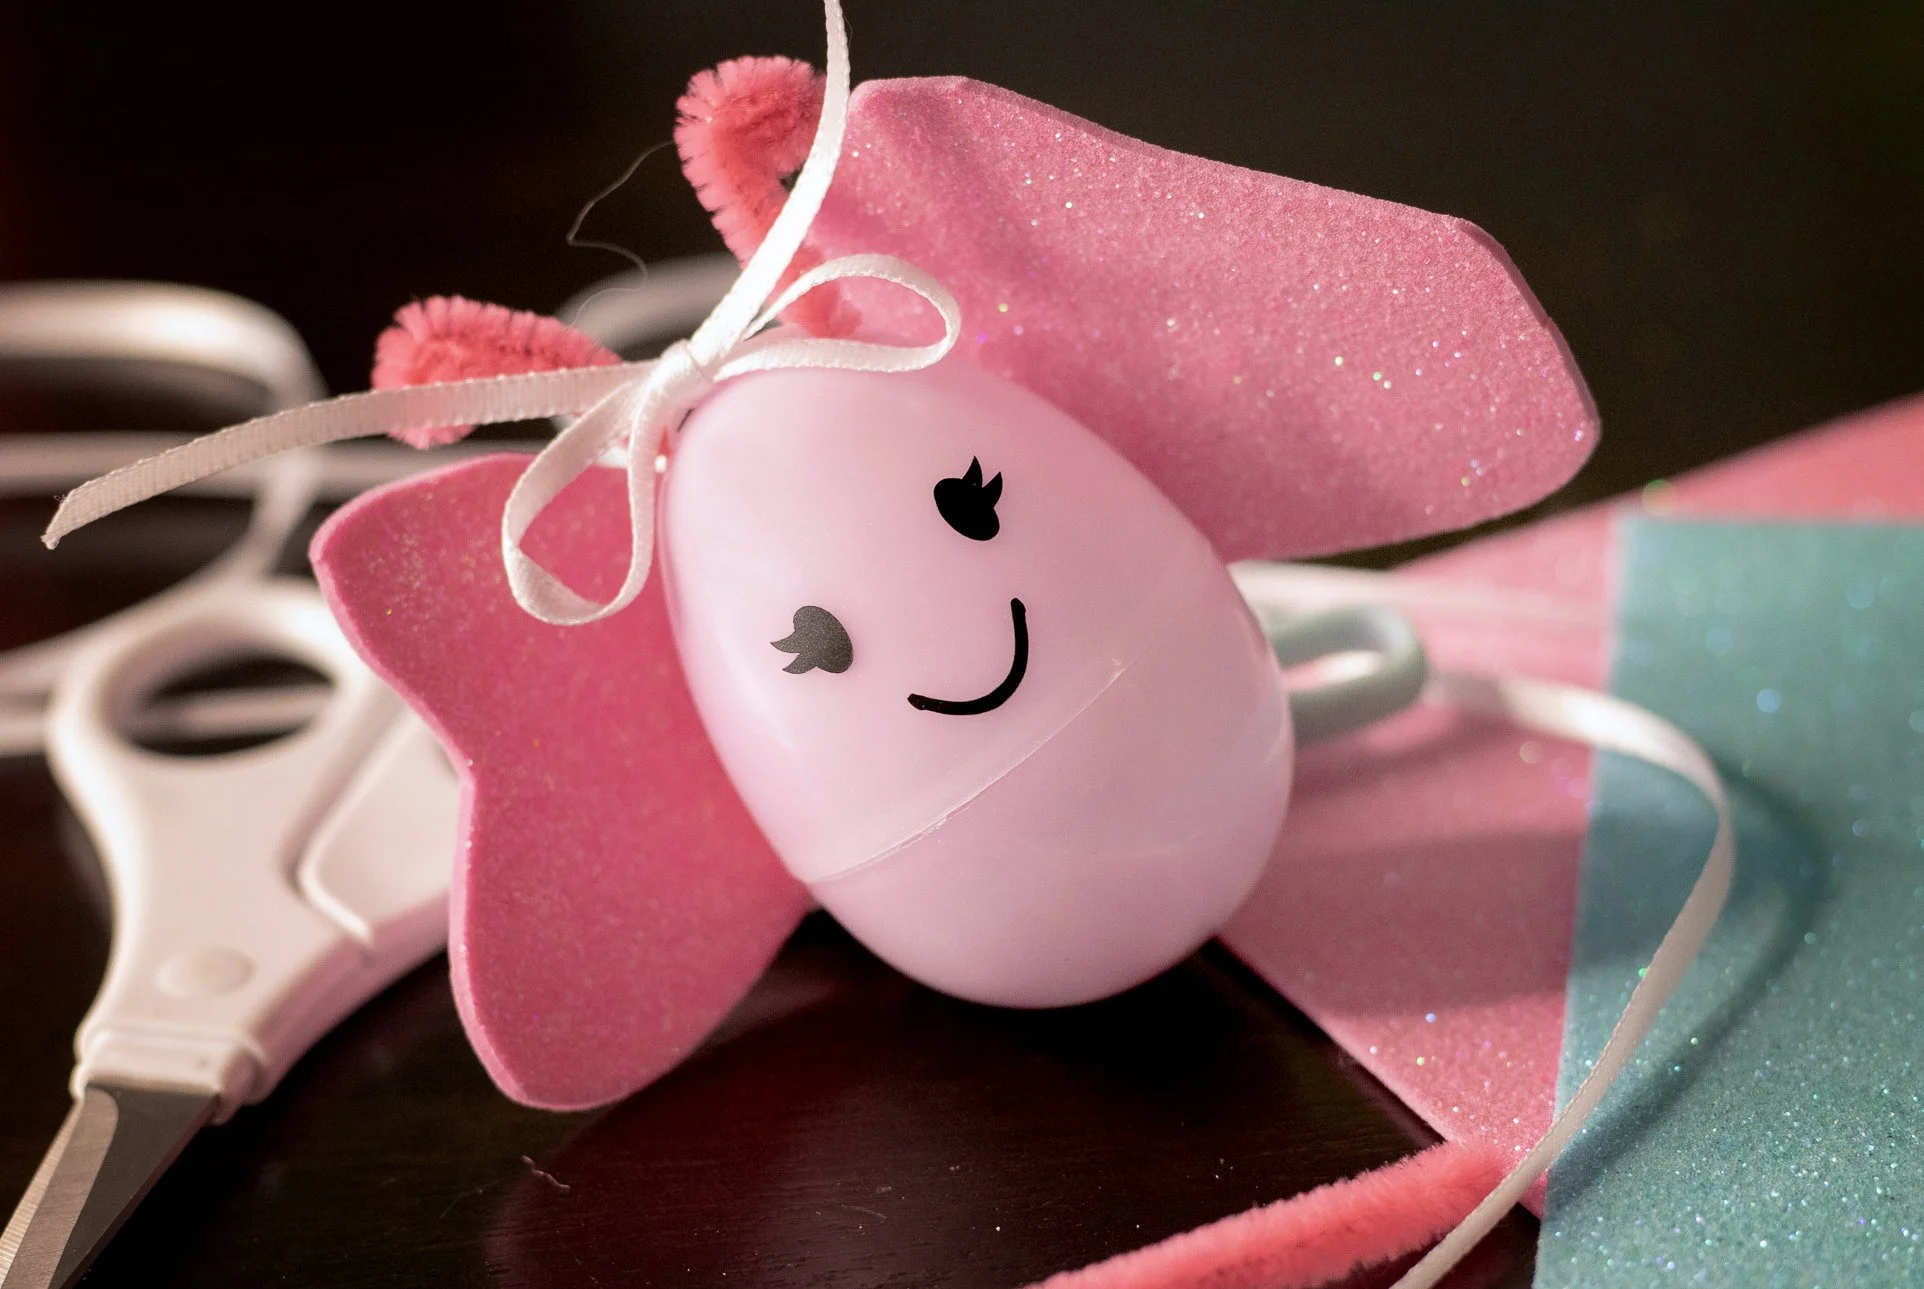
5. Our butterflies were going to really young kids so I skipped the small googly eyes and created a cute little butterfly face to cut out of vinyl.

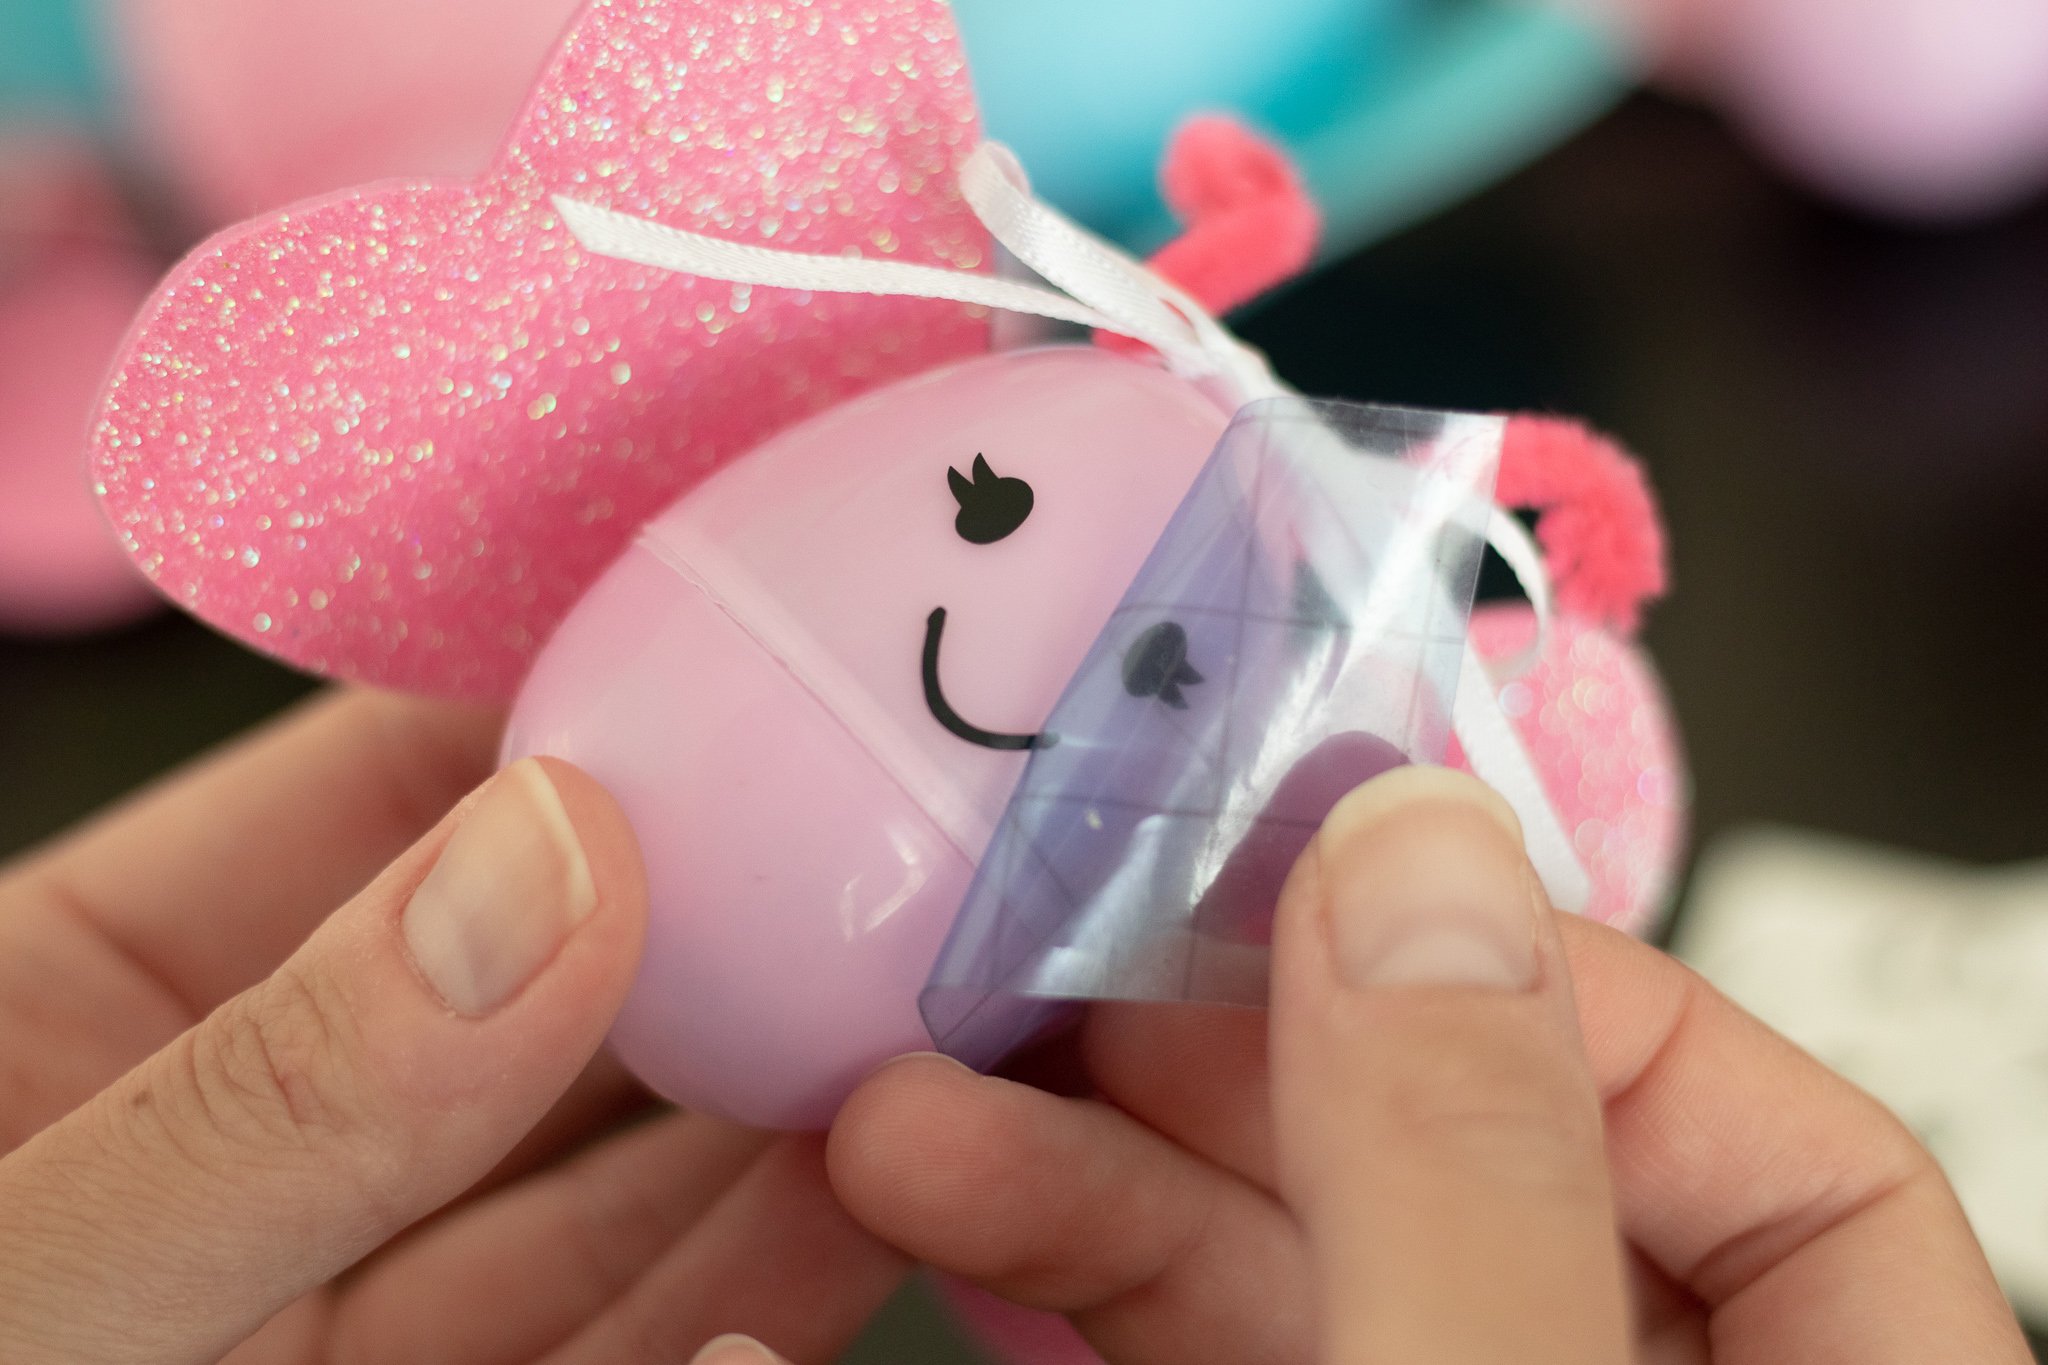
TIP: Looking for another option? You could also use puffy paint, sharpie, buttons, or stickers instead!

I just love these turned out! My daughter loved helping make them & can’t WAIT to give them to her friends.

If you give these a try, be sure to comment below or tag me on Instagram! I love to hear your thoughts!
Happy crafting <3